


1.介紹
liblinphone官網除了提供了完整的源碼下載外,還提供了liblinphone-android-sdk 的下載。由於源碼複雜、難編譯。。。,但你可以使用sdk開發。官網及網上的使用教程很少,所以我把他寫出來 在之前需準備一臺sip服務器 我用的freeswitch
2.下載
sdk 下載地址http://www.linphone.org/technical-corner/liblinphone/downloads

下載安卓的sdk 就行了 不是下載源碼大概15m左右吧
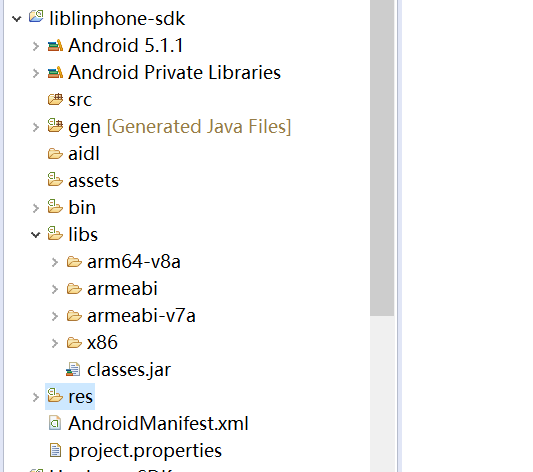
3. 解壓拿到liblinphone-sdk.aar 由於是aar的 哎 。。這個是一個android studio的程序 如果你的開發平臺是這個 你可以導入裏面作爲一個模塊就行了 由於下載了個是最新的可以創建安卓8的 創建低版本的有各種蛋疼的問題所以放棄改用eclipse 非eclipse 可以跳過這段到4( 本文基於android5.1使用的 官網https://wiki.linphone.org/xwiki/wiki/public/view/Lib/Gettin提供了aar的使用)
- 修改aar爲zip
- 解壓到和到時候安卓工程同目錄下
- 把classes.jar和jni目錄下的所有文件考到libs下
- 刪除jni目錄
- 創建project.properties 寫入
- target=android-22
- android.library=true
- 最後將工程導入eclipse
- ok
4.創建android工程
這裏創建一個android 5.1的項目
在引進sdk
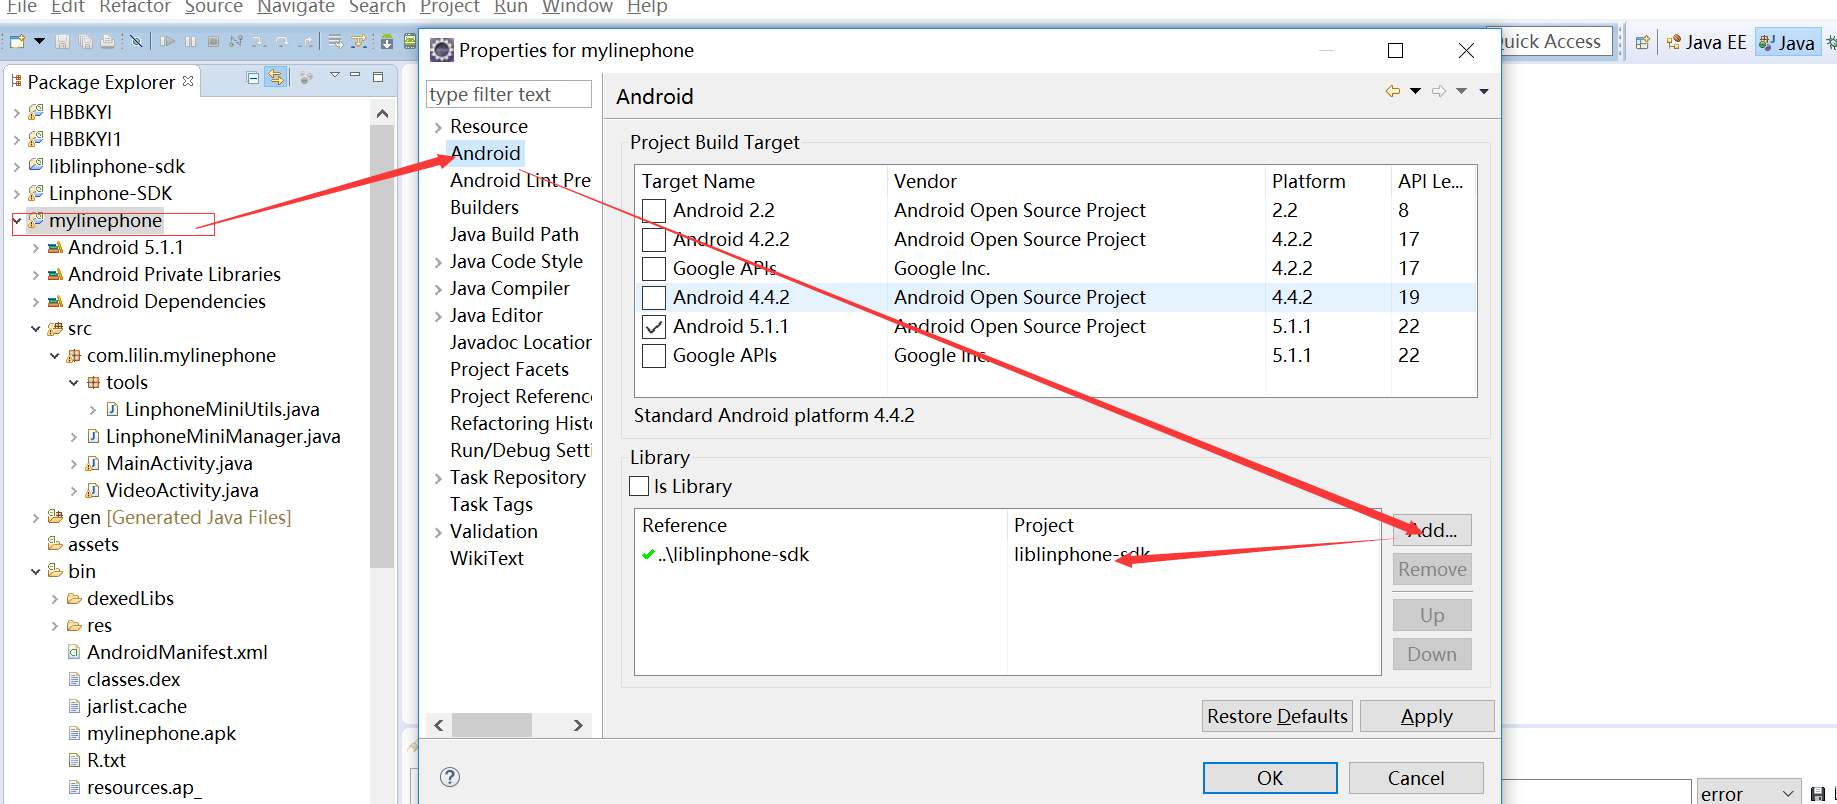
出現紅色的?那就是sdk和項目沒在一個目錄 eclipse bug
官網寫了一個簡單的使用說明
How to use the SDK
There is a documentation (javadoc) of the methods wrapped above the linphone C layer to be used in your Android application available.
You can also download the source code of Linphone Android (see the Source Code part of this page) and take a look either at the LinphoneMini project in the sample/ folder or at the tutorials in the submodules/linphone/coreapi/help/java/org/linphone/core/tutorials/ folder.
看來還是要下載下源碼(下載麻煩的可以到這裏下載https://download.csdn.net/download/java_lilin/10452836 主要是不成功git )
找這兩個文件夾 sample/ submodules/linphone/coreapi/help/java/org/linphone/core/tutorials/
把sample裏面的res、xml的權限、src下的LinphoneMiniUtils.java LinphoneMiniManager.java考到新建的工程
權限新增 <!--電池權限-->
<uses-permission android:name="android.permission.WAKE_LOCK"/>
<uses-permission android:name="android.permission.WRITE_EXTERNAL_STORAGE" />
在LinphoneMiniActivity.java裏面的以下代碼考到自己的activity裏面
private LinphoneMiniManager mManager;
@Override
protected void onCreate(Bundle savedInstanceState) {
super.onCreate(savedInstanceState);
mManager = new LinphoneMiniManager(this);
}
....................................
protected void onDestroy() {
mManager.destroy();
super.onDestroy();
}
此時LinphoneMiniManager.java 出現報錯
一個是沒這個方法多了個@Override 另外是一個是少了一個string的參數 會java的都能改
最後在實現下沒有實現的方法就不會有錯了
ok 環境已經準備好了
5、開始註冊 註冊的時候就簡單點擊一個按鈕 輸出 註冊成功
我們在activity_main.xml 裏面添加
<TextView
android:layout_width="wrap_content"
android:layout_height="wrap_content"
android:id="@+id/id_text_status"
android:textSize="20dip"
android:text="註冊狀態" />
<Button
android:layout_marginTop="20dip"
android:id="@+id/id_btn_reg"
android:layout_width="match_parent"
android:layout_height="wrap_content"
android:text="註冊" />
設置點擊
((Button)this.findViewById(R.id.id_btn_reg)).setOnClickListener(this);
點擊方法 (裏面的就是sip地址、密碼 、端口 )
String sipAddress="sip:[email protected]",password="12345"
mManager.lilin_reg(sipAddress, password,"5060");
在LinphoneMiniManager.java添加
public void lilin_reg(String sipAddress,String password,String port) throws LinphoneCoreException{
LinphoneAddress address = lcFactory.createLinphoneAddress(sipAddress);
String username = address.getUserName();
String domain = address.getDomain();
LinphoneProxyConfig[] proxyConfigList = mLinphoneCore.getProxyConfigList();
for (LinphoneProxyConfig linphoneProxyConfig : proxyConfigList) {
mLinphoneCore.removeProxyConfig( linphoneProxyConfig);
}//刪除原來的
mLinphoneCore.addAuthInfo(lcFactory.createAuthInfo(username, password, null, domain+":"+port));
// create proxy config
LinphoneProxyConfig proxyCfg = mLinphoneCore.createProxyConfig(sipAddress, domain+":"+port, null, true);
proxyCfg.enablePublish(true);
proxyCfg.setExpires(2000);
mLinphoneCore.addProxyConfig(proxyCfg); // add it to linphone
mLinphoneCore.setDefaultProxyConfig(proxyCfg);//註冊一次就好了 下次啓動就不用註冊
}
再到方法添加註冊輸出
@Override
public void registrationState(LinphoneCore lc, LinphoneProxyConfig cfg,
RegistrationState cstate, String smessage) {
Log.e("lilin Registration state: " + cstate + "(" + smessage + ")");
}
啓動安卓測試點擊按鈕輸出 lilin Registration state: xx(registered successfully)表示註冊成功了
未完待續 更多到博客列表
對此感興趣的可以加羣261074724 可免費下載東西哦哦哦哦哦