elasticsearch簡介
ElasticSearch是一個基於Lucene的搜索服務器。它提供了一個分佈式多用戶能力的全文檢索引擎,基於RESTful web接口。Elasticsearch是用Java開發的,並作爲Apache許可條款下的開放源碼發佈,是當前流行的企業級搜索引擎。設計用於雲計算中,能夠達到實時搜索,穩定,可靠,快速,安裝使用方便。
實驗部署
1、實驗所需組件及環境
1)JDK8以上環境
2)Centos7.3,IP地址:192.168.144.112
3)elasticsearch6.3.2
- es最新軟件軟件包可在官方網站下載:https://www.elastic.co/downloads/elasticsearch
2、安裝jdk8以上版本
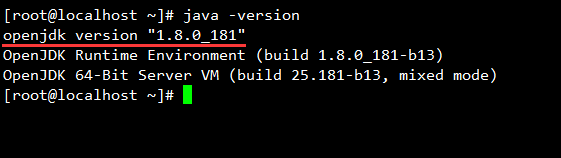
yum install java -y
java -version 查看java版本
3、部署elasticsearch6.3.2
-
首先在官網當中下載es的軟件包,本文采用壓縮包解壓縮安裝方式啓動服務。
- 值得注意的是,在es5.0版本後不支持與logstash和kibana2.x版本的混用,且安全級別的提升,使得es在後續的版本中不允許使用root用戶啓動,因此我們需要創建另外獨立賬戶專供es使用。並且需要在root權限下將該特定環境準備好。
tar zxvf elasticsearch-6.3.2.tar.gz -C /opt/
- 創建獨立用戶與組(root用戶下創建設定)
groupadd ela 創建ela組
useradd -g ela ela 創建ela用戶,並且加入ela組
passwd ela 爲ela用戶設定登錄密碼
visudo(或者vim /etc/sudoers)
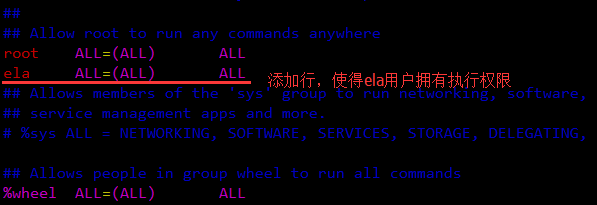
- 爲了讓ela用戶擁有對elasticsearch執行權限,在root用戶權限下解壓後,需要將軟件包更改屬主屬組。
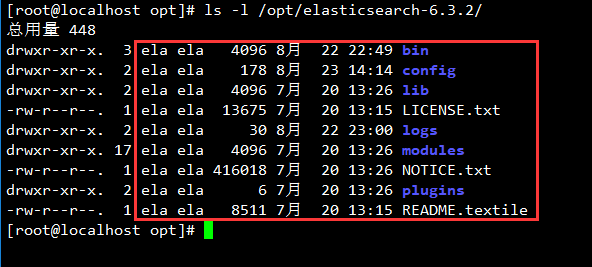
chown -R ela.ela /opt/elasticsearch-6.3.2/
ls -l /opt/elasticsearch-6.3.2/
- 切換到ela用戶,編輯配置文件,準備啓動es
su ela
[ela@localhost ~]$ cd /opt/elasticsearch-6.3.2/config/
[ela@localhost config]$ sudo vim elasticsearch.yml
# ---------------------------------- Cluster -----------------------------------
#
# Use a descriptive name for your cluster:
#
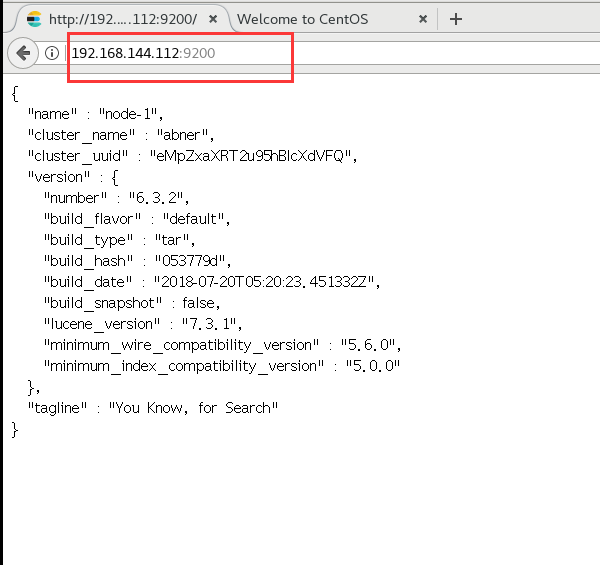
cluster.name: abner //打開設定es羣集名稱
#
# ------------------------------------ Node ------------------------------------
#
# Use a descriptive name for the node:
#
node.name: node-1 //es當前節點名稱,用於區分不同節點
#
# Add custom attributes to the node:
#
#node.attr.rack: r1
#
# ----------------------------------- Paths ------------------------------------
#
# Path to directory where to store the data (separate multiple locations by comma):
#
path.data: /data/es-data //修改數據目錄,此目錄爲自定義,需要在root用戶下創建,且屬主屬組更改爲ela
#
# Path to log files:
#
path.logs: /var/log/elasticsearch //日誌目錄位置,需自己創建,方式同上
//yum安裝則系統自定義,在軟件版本或者系統升級時會被刪除,所以建議修改
#
# ----------------------------------- Memory -----------------------------------
#
# Lock the memory on startup:
#
bootstrap.memory_lock: true //elasticsearch官網建議生產環境需要設置bootstrap.memory_lock: true
#
# Make sure that the heap size is set to about half the memory available
# on the system and that the owner of the process is allowed to use this
# limit.
#
# Elasticsearch performs poorly when the system is swapping the memory.
#
# ---------------------------------- Network -----------------------------------
#
# Set the bind address to a specific IP (IPv4 or IPv6):
#
network.host: 0.0.0.0 //監聽訪問地址爲任意網段
#
# Set a custom port for HTTP:
#
http.port: 9200 //服務監聽端口
#- 編輯完成配置文件後,數據目錄以及日誌文件目錄需要創建
sudo mkdir -p /data/es-data
sudo mkdir -p /var/log/elasticsearch
sudo chown -R ela.ela /data/
sudo chown -R ela.ela /var/log/elasticsearch
- 準備工作完成,啓動es
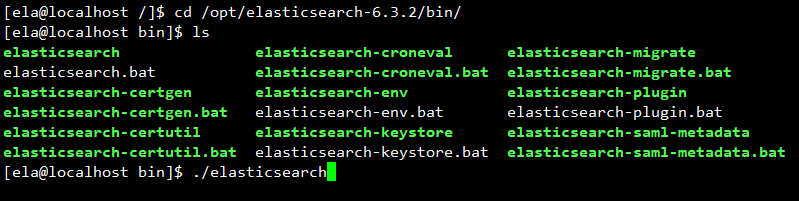
[ela@localhost /]$ cd /opt/elasticsearch-6.3.2/bin/
[ela@localhost bin]$ ./elasticsearch 後面可以跟上-d後臺執行
4、啓動發現異常情況以及處理方式

-當發現如上圖無法分配內存錯誤等,可執行如下操作。(需要在root用戶權限下)
vim /etc/security/limits.conf
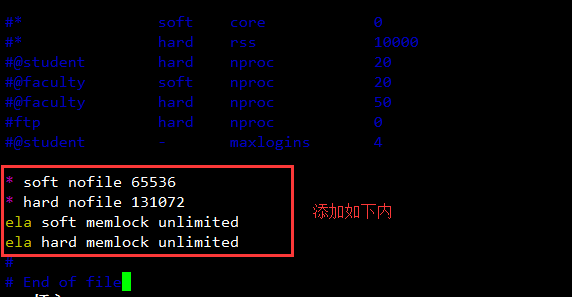
* soft nofile 65536
* hard nofile 131072
ela soft memlock unlimited
ela hard memlock unlimited- 當發現ERROR: [1] bootstrap checks failed錯誤時,解決方式如下(root用戶狀態下)

vim /etc/sysctl.conf
vm.max_map_count = 655360 //添加sysctl -p
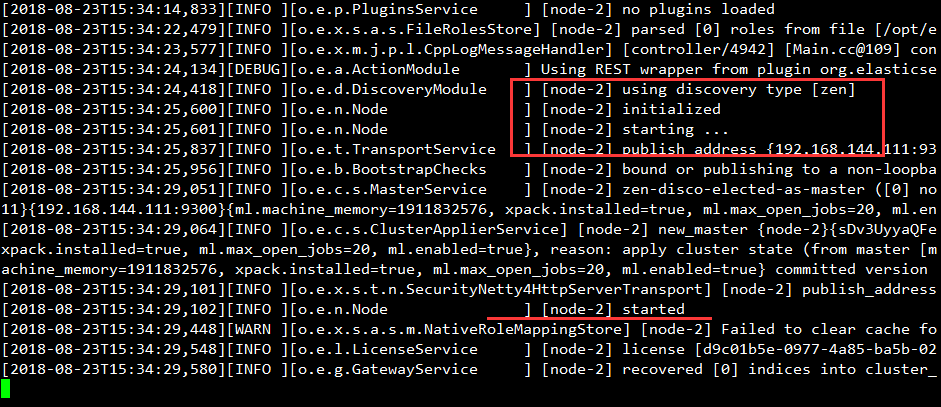
- 切換到ela用戶,執行啓動程序
[ela@localhost abc]$ cd /opt/elasticsearch-6.3.2/bin/
[ela@localhost bin]$ ./elasticsearch
- 新建終端,以root用戶查看9200端口是否開啓
netstat -ntap | grep 9200
tcp6 0 0 :::9200 :::* LISTEN 2095/java- 打開瀏覽器訪問驗證,出現如下界面即安裝成功,訪問時記得關閉防火牆!!!