本文章轉載出處:https://blog.whsir.com/post-1419.html
測試系統CentOS6.9,IP地址192.168.0.80
源碼編譯需要很多依賴,很容易出錯,此處直接選擇rpm包方式安裝
官方地址:https://about.gitlab.com/downloads
中文網站地址:https://www.gitlab.com.cn/downloads
Gitlab安裝
安裝所需依賴
yum -y install openssh-server cronie git wget patch
關閉防火牆,關閉selinux(或者自行開放相應端口lokkit -s http -s ssh)
service iptables stop
setenforce 0
下載所需rpm包
cd /usr/src/
wget https://mirror.tuna.tsinghua.edu.cn/gitlab-ce/yum/el6/gitlab-ce-9.1.3-ce.0.el6.x86_64.rpm
rpm -ivh gitlab-ce-9.1.3-ce.0.el6.x86_64.rpm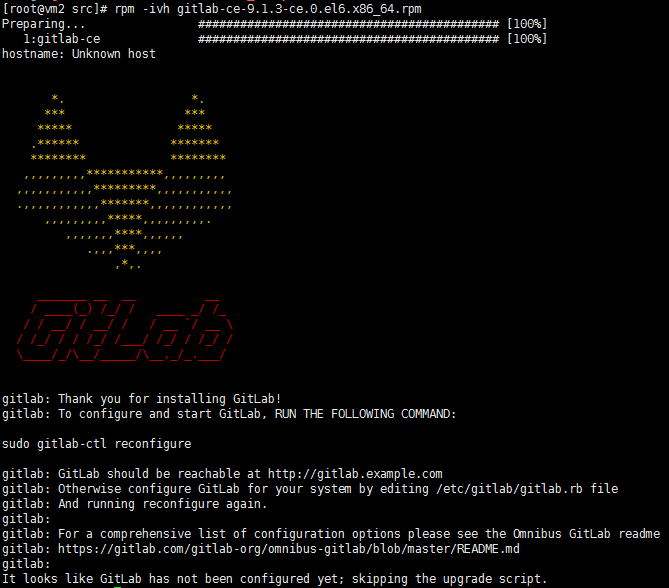
注意:此處如果不是gitlab: GitLab should be reachable at http://gitlab.example.com這句的話,可能會在初始化時有問題,可以修改/etc/gitlab/gitlab.rb文件,改成external_url 'http://gitlab.example.com'然後在進行初始化
初始化gitlab
gitlab-ctl reconfigure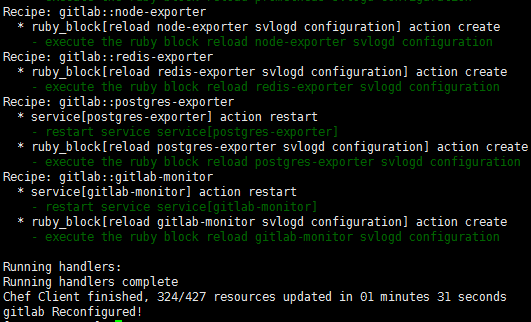
查看服務
gitlab-ctl status
重啓、停止或啓動服務
gitlab-ctl restart/stop/start
配置文件目錄
/etc/gitlab/gitlab.rb
安裝完成,可以通過瀏覽器訪問IP測試(如訪問不了,請檢查iptables、selinux)
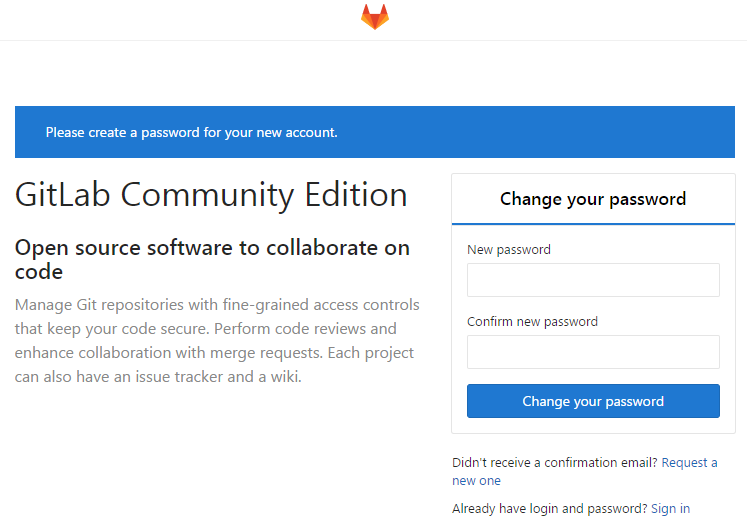
首次訪問Gitlab需要設置管理員密碼,設置成功後會返回登錄頁面,默認管理員帳號是root,如果想更改默認管理員帳號,需要進入系統後修改帳號名。
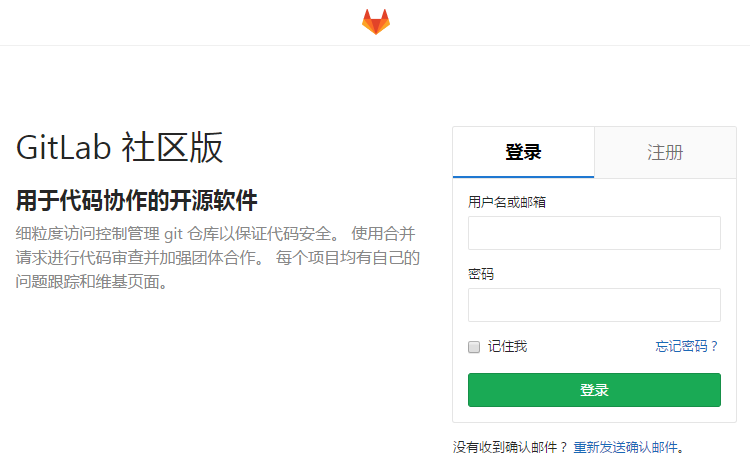
Gitlab漢化
Gitlab中文社區版地址:https://gitlab.com/xhang/gitlab
感謝漢化項目發起人@larryli,感謝@xhang繼續漢化本項目
先確認當前Gitlab版本
cat /opt/gitlab/embedded/service/gitlab-rails/VERSION
克隆版本庫(我在這裏克隆時大概用了20分鐘)
cd /usr/src/
git clone https://gitlab.com/xhang/gitlab.git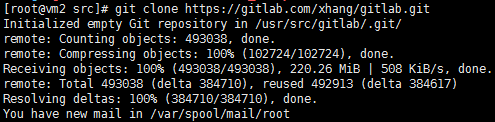
比較原標籤和漢化標籤,導出patch用的diff文件
cd gitlab/
git diff v9.1.0 v9.1.0-zh > ../9.1.0-zh.diff
先停止gitlab
gitlab-ctl stop
上傳9.1.0-zh.diff文件到服務器
patch -d /opt/gitlab/embedded/service/gitlab-rails -p1 < ../9.1.0-zh.diff
然後啓動gitlab
gitlab-ctl start
此時訪問http://192.168.0.80就是全中文頁面了