一、qq的第三方認證
打開qq互聯 http://connect.qq.com/ ,創建應用
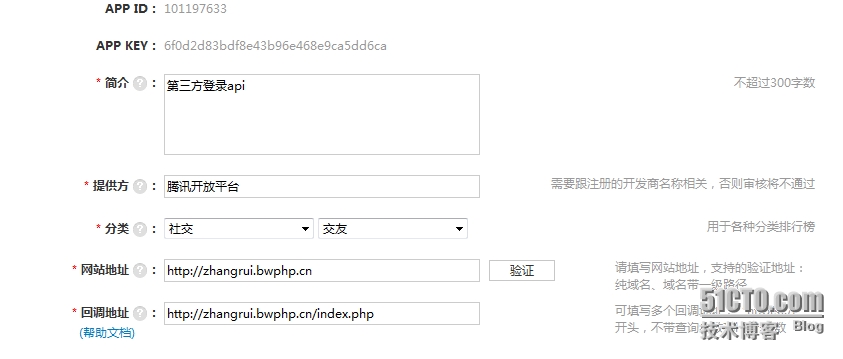
創建成功後會有 App Id 和App Key
下面我們就可以添加我們的網站地址,然後進行認證,並輸入回調地址,這樣我們的qq第三方就配置完成了。代碼實現如下,可供參考
html代碼如下
<meta property="qc:admins" content="160022761067251627000636" />
<html>
    <head>
        <meta charset="utf-8" />
        <title>第三方登錄</title>
    </head>
    <body>
        <a href="https://graph.qq.com/oauth2.0/authorize?response_type=code&client_id=101197633&redirect_uri=http://zhangrui.bwphp.cn/index.php&state=test"><img src="/qq.png"/></a>
    </body>
</html>
php代碼如下
<?php
header("content-type:text/html;charset=utf-8");
    //獲取Authorization Code
    $url = 'https://graph.qq.com/oauth2.0/token?client_id=101197633'
         .'&client_secret=6f0d2d83bdf8e43b96e468e9ca5dd6ca'
         .'&redirect_uri=http://zhangrui.bwphp.cn/index.php'
         .'&grant_type=authorization_code'
         .'&code='.$_REQUEST['code'];//訪問https://graph.qq.com/oauth2.0/token,傳值APPID,APPKEY,並接收到Authorization Code
         $info = file_get_contents($url);//得到Access Token
//        print_r($info);die;


        $params = array();
    parse_str($info, $params);//把接收到的字符串轉化爲數組
//print_r($params['access_token']);die;   $params['access_token']爲接收到的token值
    $url1='https://graph.qq.com/oauth2.0/me?access_token='.$params['access_token'];
$open=file_get_contents($url1);//訪問https://graph.qq.com/oauth2.0/me?access_token  傳值token  得到callback響應函數
    print_r($open);"<br/>";
    $str1 = substr($open,9,-3);//將得到的字符串截串爲json格式數據

//print_r($str1);die;
    $arr= json_decode($str1, true);//解析json數據,true設置可以使json數據以數組格式打印出
    print_r($arr['openid']);echo "<br/>";     //$arr['openid']爲openid
//die;
    $url2="https://graph.qq.com/user/get_user_info?access_token=".$params['access_token']."&oauth_consumer_key=101197633&openid=".$arr['openid'];//訪問https://graph.qq.com/user/get_user_info  傳值token,APPID,openid
print_r($url2);    echo "<br/>";
    $data=file_get_contents($url2);//抓取用戶信息數據  返回json格式數據
    print_r($data);
/*以下爲入庫*/
    //判斷數據庫是否存在
//    $db = new PDO("mysql:host=localhost;dbname=zhangrui","zhangrui", "123456");
    $aa = @mysql_connect('localhost','zhangrui','1234');
    $db = mysql_select_db('zhangrui');
    $selSql = "select userid, token, openid, type from user_oauth where token= '".$params['access_token'] ."' and type = 'qq'";
//    $selRe = $db->query($selSql);
    $selRe = mysql_query($selSql);
    $num = mysql_num_rows($selRe);
//    $num = $selRe->rowCount();
    if($num>0)
    {
        echo "歡迎再次登陸!";exit;
    }


//    $addRe= $db->exec($addSql);
//    print_r($addRe);die;
//    $addRe= mysql_query($addSql);


    $addSql = "insert into user_oauth (token,openid,type) values ('".$params['access_token']."','".$arr['openid']."','qq')";
    $addRe= mysql_query($addSql);
    if($addRe)
    {
        echo "登陸成功!";exit;
    }
    echo "登陸失敗!";exit;
這樣我們就可以實現簡單的登錄並且將用戶信息簡單的入庫了。
可以參考 http://wiki.connect.qq.com/%E5%BC%80%E5%8F%91%E6%94%BB%E7%95%A5_server-side
這個鏈接,需要的都打開看看哦
二、新浪微博的第三方認證
我們也是首先要創建應用 http://open.weibo.com/
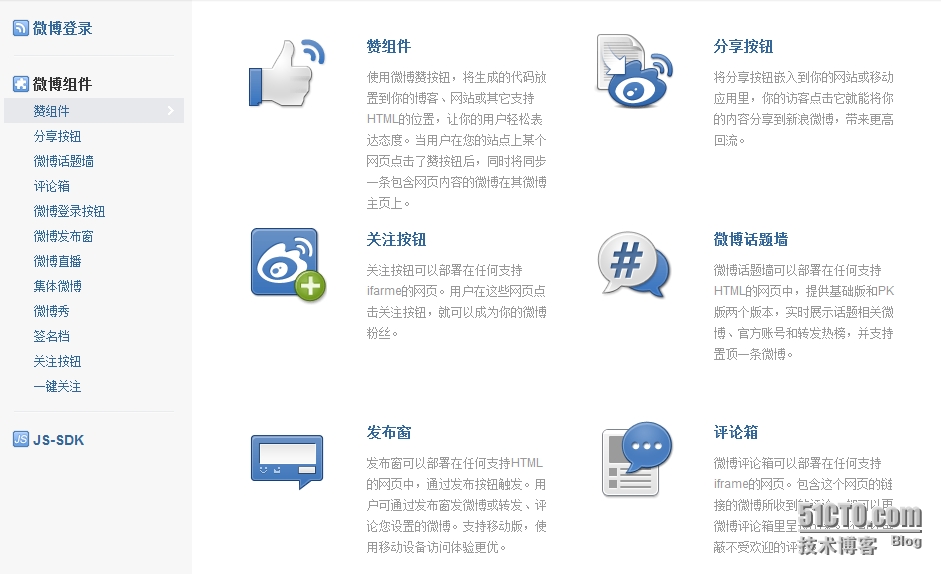
,打開http://open.weibo.com/widget/ 這個裏邊有各種應用微博的組件


