參考了一下鏈接的內容:
http://blog.csdn.net/cnbird2008/article/details/8723149
讓 Nginx 支持 WAF 防護功能實戰 (安裝使用)
http://wiki.nginx.org/HttpLuaModule
https://github.com/loveshell/ngx_lua_waf
作者github地址(源碼)
http://drops.wooyun.org/tips/734
通過nginx配置文件抵禦***(原理)
一、安裝
1 下載luajit 2.0並安裝
http://luajit.org/download.html
直接使用源碼make && make install
所以lib和include是直接放在/usr/local/lib和usr/local/include
2 下載nginx源碼解壓
wget http://nginx.org/download/nginx-1.2.7.tar.gz
注意版本號,如果機子上已經裝了nginx,不想升級的話,請使用/to/nginx/sbin/nginx -v 來查看版本號
tar -zxvf nginx-1.2.7.tar.gz
3 下載ngx_devel_kit解壓
https://github.com/simpl/ngx_devel_kit/tags
wget https://github.com/simpl/ngx_devel_kit/archive/v0.2.18.tar.gz --no-check-certificate
tar -zxvf v0.2.18
4 下載nginx_lua_module解壓
https://github.com/chaoslawful/lua-nginx-module/tags
wget https://github.com/chaoslawful/lua-nginx-module/archive/v0.7.18rc2.tar.gz --no-check-certificate
tar -zxvf v0.7.18rc2
5 進入nginx源碼文件夾
cd nginx-1.2.7/
6 導入環境變量,編譯
export LUAJIT_LIB=/usr/local/lib #這個很有可能不一樣
export LUAJIT_INC=/usr/local/include/luajit-2.0 #這個很有可能不一樣
./configure --prefix=/opt/nginx \ #nginx的安裝路徑
--add-module=/path/to/ngx_devel_kit \ #ngx_devel_kit 的源碼路徑
--add-module=/path/to/lua-nginx-module #nginx_lua_module 的源碼路徑
例子:
./configure --prefix=/usr/local/nginx-help --add-module=/root/jiangbin/ngx_devel_kit-0.2.18 --add-module=/root/jiangbin/lua-nginx-module-0.7.18rc2 --with-ld-opt="-Wl,-rpath,$LUAJIT_LIB"
make -j2
make install
安裝lua模塊發現的問題:
我在編譯安裝 Nginx 的第三方模塊時,碰到一個錯誤:
[plain] view plaincopyprint?
/usr/local/nginx/sbin/ngxin -s reload
/usr/local/nginx/sbin/nginx: error while loading shared libraries: libluajit-5.1.so.2: cannot open shared object file: No such file or directory
百事不得其解,後來Google之,發現瞭解決辦法。
在 Nginx 編譯時,需要指定 RPATH,加入下面選項即可:
[plain] view plaincopyprint?
./configure --with-ld-opt="-Wl,-rpath,$LUAJIT_LIB"
或者
export LD_LIBRARY_PATH=/usr/local/lib/:$LD_LIBRARY_PATH
7 請提前新建/data/logs/hack/目錄***日誌,並賦予nginx用戶對該目錄的寫入權限。
mkdir -p /data/logs/hack/
www賬戶是跑nginx和php-fpm
chown -R www:www /data/logs/hack/
chmod -R 755 /data/logs/hack/
該目錄是lua日誌目錄,可以自定義配置路徑,查看源碼下config.lua文件
attacklog = "on"
logdir = "/data/logs/hack/"
8 安裝ngx_lua_waf模塊
git clone 'https://github.com/loveshell/ngx_lua_waf.git'
ll ngx_lua_waf/
-rw-r--r-- 1 root root 288 Apr 22 15:51 config.lua
-rw-r--r-- 1 root root 5705 Apr 22 15:51 init.lua
-rw-r--r-- 1 root root 1587 Apr 22 15:51 install.sh
-rw-r--r-- 1 root root 4547 Apr 22 15:51 README.md
drwxr-xr-x 2 root root 4096 Apr 22 15:51 wafconf
-rw-r--r-- 1 root root 1721 Apr 22 15:51 waf.lua
mv ngx_lua_waf /opt/nginx/etc/waf
在nginx中引入ngx_lua_waf模塊
#lua_code_cache off; #是否開啓cache,off:修改.lua文件不需要reload nginx lua_need_request_body on;
lua_package_path "/opt/nginx/etc/waf/?.lua";
lua_shared_dict limit 20m;
init_by_lua_file "/opt/nginx/etc/waf/init.lua";
access_by_lua_file /opt/nginx/etc/waf/waf.lua;
9 使用
server {
listen 80;
server_name nginxlua.com;
error_log /var/nginx/logs/debug_preview.log debug;
location = /hello.html{
default_type 'text/plain';
content_by_lua 'ngx.say("hello,nginx_lua!")';
}
}
測試一下有沒有500 如果有一般就是ngx_lua_waf模塊目錄不對。
10 進階
模塊的邏輯關係都在waf.lua文件裏面,通過調用init.lua中定義的函數實現各個不同的功能。
白名單,黑名單,cc***,whiteurl,useragent,url,參數,cookie,post參數過濾等。
再次我們需要根據業務來適當修改添加某些功能。添加的函數都放在init.lua文件裏面,在waf.lua中應用。
--添加單純的對於ip併發的限制
config.lua 中設置CCiprate = "10/60"
每分鐘10個。可設置。
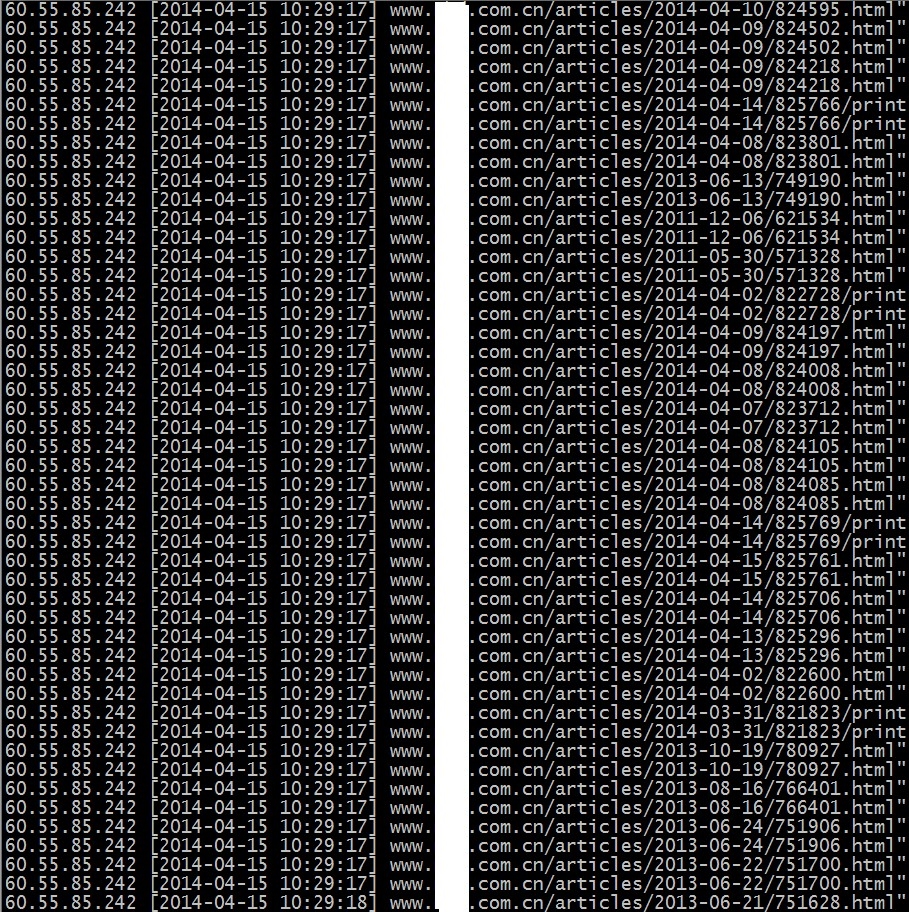
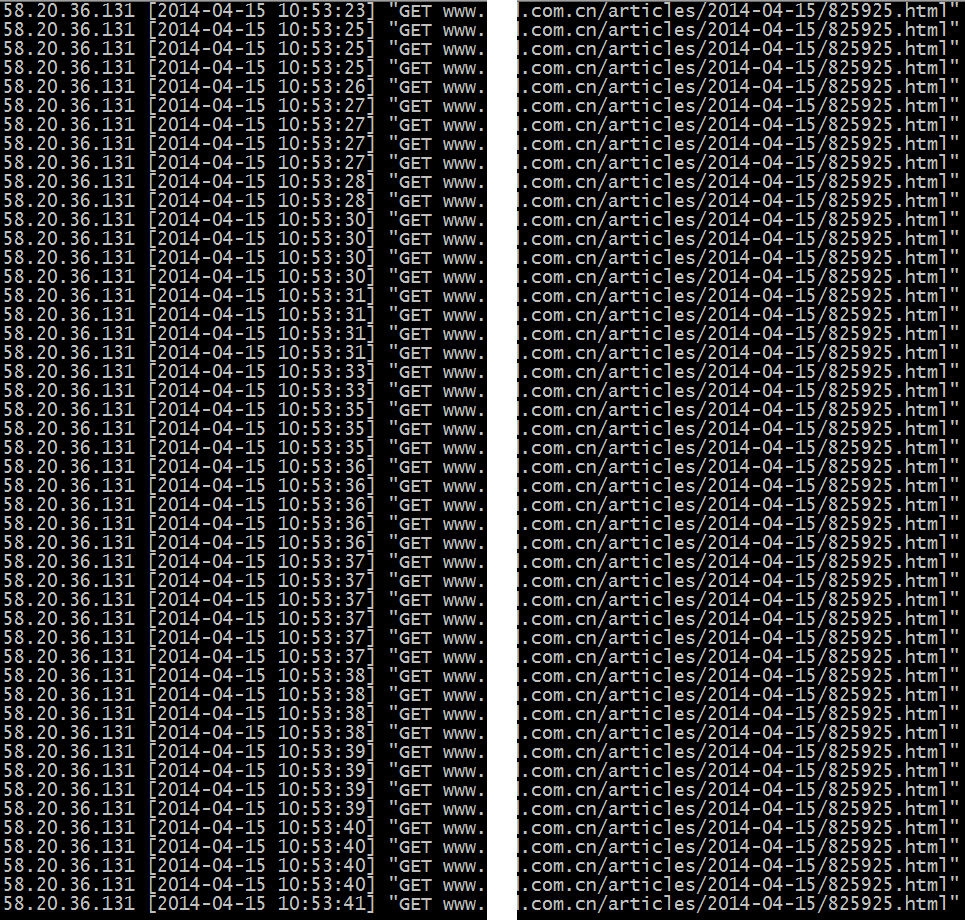
適用於:類似爬蟲類的高併發cc
function denyipcc()
if CCDeny then
CCipcount=tonumber(string.match(CCiprate,'(.*)/'))
CCipseconds=tonumber(string.match(CCiprate,'/(.*)'))
local token = getClientIp()
local limit = ngx.shared.limit
local req,_=limit:get(token)
if req then
if req > CCipcount then
local rule="ip-cc-attrack"
log('GET',ngx.var.request_uri,"-",rule)
ngx.exit(503)
return true
else
limit:incr(token,1)
end
else
limit:set(token,1,CCipseconds)
end
end
return false
end
--重新改寫denycc()函數
適用於:
function denycookiecc()
if CCDeny then
local ck = ngx.var.http_cookie
CCcookiecount=tonumber(string.match(CCcookierate,'(.*)/'))
CCcookieseconds=tonumber(string.match(CCcookierate,'/(.*)'))
if ck then
local token = string.match(ck,'_session_id=(.*)')
local limit = ngx.shared.limit
local req,_=limit:get(token)
if req then
if req > CCcookiecount then
local rule="cookie-cc-attrack"
log('GET',ngx.var.request_uri,"-",rule)
ngx.exit(503)
return true
else
limit:incr(token,1)
end
else
limit:set(token,1,CCcookieseconds)
end
else
denycc()
end
end
return false
end
根據是否包含cookie來處理,很多程序或者說肉雞發起cc***時不包含cookie可以將這部分流量分離出來,進入更加嚴格的函數denycc(),設置的頻率同樣通過config.lua來讀取。
CCrate = "10/60"
CCcookierate = "15/60"
--添加日誌標記
是由哪個函數處理的,添加標誌,方便以後的日誌分析。
local rule="cookie-cc-attrack"
log('GET',ngx.var.request_uri,"-",rule)
更多功能。可以自己動手嘗試。可以開啓nginx的debug日誌,方便調試,前提是編譯了nginx debug module。一些lua的語法,不懂的自查下,腳本語言學起來還是不太費力的。


