CentOS7, apm+xcache, php module;
a) 一個虛擬主機提供phpMyAdmin,另一個虛擬主機提供wordpress;
b) 爲phpMyAdmim提供https服務;
selinux處於關閉狀態
httpd2.4
mariadb5.5
php5.4
安裝:php-mysql phpmariadb-server httpd
yum-y install php-mysql php mariadb-server httpd
配置安裝PHP組件
yum install php-mysql php-gd libjpeg* php-ldap php-odbc
安裝https相關模塊
mod_ssl
配置httpd虛擬主機
vim/etc/httpd/conf.d/FQDN.conf

<VirtualHost*:80>
    ServerName www. phpmyadmin.com
    DocumentRoot /httpd/vhosts/phpmyadmin
    <Directory "/httpd/vhosts/ phpmyadmin">
        Options None
        AllowOverride None
        Require all granted
    </Directory>
    ErrorLog /var/log/httpd/ phpmyadmin /error.log
    CustomLog /var/log/httpd/ phpmyadmin /access.logcombined
</VirtualHost>

<VirtualHost*:80>
    ServerName www. wordpress.com
    DocumentRoot /httpd/vhosts/wordpress
    <Directory"/httpd/vhosts/wordpress">
        Options None
        AllowOverride None
        Require all granted
    </Directory>
    ErrorLog /var/log/httpd/wordpress/error.log
    CustomLog/var/log/httpd/wordpress/access.log combined
</VirtualHost>
創建日誌文件夾
[root@localhost~]# mkdir /var/log/httpd/wordpress
[root@localhost~]# mkdir /var/log/httpd/phpmyadmin
創建根文件夾
[root@localhost~]# mkdir -p /httpd/vhosts/wordpress
[root@localhost~]# mkdir -p /httpd/vhosts/phpMyAdmin
檢查httpd語法,啓動服務,設置開機自動啓動服務
[root@localhost~]# httpd -t
SyntaxOK
[root@localhost~]# systemctl start httpd
[root@localhost~]# systemctl enable httpd
啓動mariadb,並設置爲開啓
[root@localhost~]# systemctl start mariadb.service
[root@localhost~]# systemctl enable mariadb.service
運行mariadb的安全配置
[[email protected]]# mysql_secure_installation
/usr/bin/mysql_secure_installation:line 379: find_mysql_client: command not found

NOTE:RUNNING ALL PARTS OF THIS SCRIPT IS RECOMMENDED FOR ALL MariaDB
      SERVERS IN PRODUCTION USE!  PLEASE READ EACH STEP CAREFULLY!

Inorder to log into MariaDB to secure it, we'll need the current
passwordfor the root user.  If you've justinstalled MariaDB, and
youhaven't set the root password yet, the password will be blank,
soyou should just press enter here.

Entercurrent password for root (enter for none): (回車)
OK,successfully used password, moving on...

Settingthe root password ensures that nobody can log into the MariaDB
rootuser without the proper authorisation.

Setroot password? [Y/n] Y
Newpassword:
Re-enternew password:
Passwordupdated successfully!
Reloadingprivilege tables..
 ... Success!


Bydefault, a MariaDB installation has an anonymous user, allowing anyone
tolog into MariaDB without having to have a user account created for
them.  This is intended only for testing, and tomake the installation
go abit smoother.  You should remove thembefore moving into a
productionenvironment.

Removeanonymous users? [Y/n] y
 ... Success!

Normally,root should only be allowed to connect from 'localhost'.  This
ensuresthat someone cannot guess at the root password from the network.

Disallowroot login remotely? [Y/n] y
 ... Success!

Bydefault, MariaDB comes with a database named 'test' that anyone can
access.  This is also intended only for testing, andshould be removed
beforemoving into a production environment.

Removetest database and access to it? [Y/n] y
 - Dropping test database...
 ... Success!
 - Removing privileges on test database...
 ... Success!

Reloadingthe privilege tables will ensure that all changes made so far
willtake effect immediately.

Reloadprivilege tables now? [Y/n] y
 ... Success!

Cleaningup...

Alldone!  If you've completed all of theabove steps, your MariaDB
installationshould now be secure.

Thanksfor using MariaDB!
編輯mariadb的配置文件,在[mysqld]中添加配置
[root@localhost~]#vim /etc/my.cnf

innodb_file_per_table= ON
skip_name_resolve= ON
進入mariadb數據庫
[root@localhost~]# mysql -u root -p
Enterpassword:
Welcometo the MariaDB monitor.  Commands endwith ; or \g.
YourMariaDB connection id is 10
Serverversion: 5.5.47-MariaDB MariaDB Server

Copyright(c) 2000, 2015, Oracle, MariaDB Corporation Ab and others.

Type'help;' or '\h' for help. Type '\c' to clear the current input statement.

MariaDB[(none)]>
創建wordpress用數據庫
MariaDB[(none)]> grant all on wpdb.* to '[email protected].%.%' identified by'password'
    -> ;
QueryOK, 0 rows affected (0.00 sec)
更新權限後退出
MariaDB[(none)]> flush privileges
    -> ;
QueryOK, 0 rows affected (0.00 sec)

MariaDB[(none)]> quit
Bye
安裝WordPress
[root@localhostwordpress]# yum -y install wordpress
將配置文件移動至/httpd/vhost/wordpress文件夾下
[root@localhostwordpress]# mv /usr/share/wordpress /httpd/vhosts/wordpress/
配置相應wordpress配置文件
[root@localhostwordpress]# vim wp-config.php
// **MySQL settings - You can get this info from your web host ** //
/**The name of the database for WordPress */
define('DB_NAME','wpdb');

/**MySQL database username */
define('DB_USER','wpuser');

/**MySQL database password */
define('DB_PASSWORD','password');

/**MySQL hostname */
define('DB_HOST','192.168.1.10');
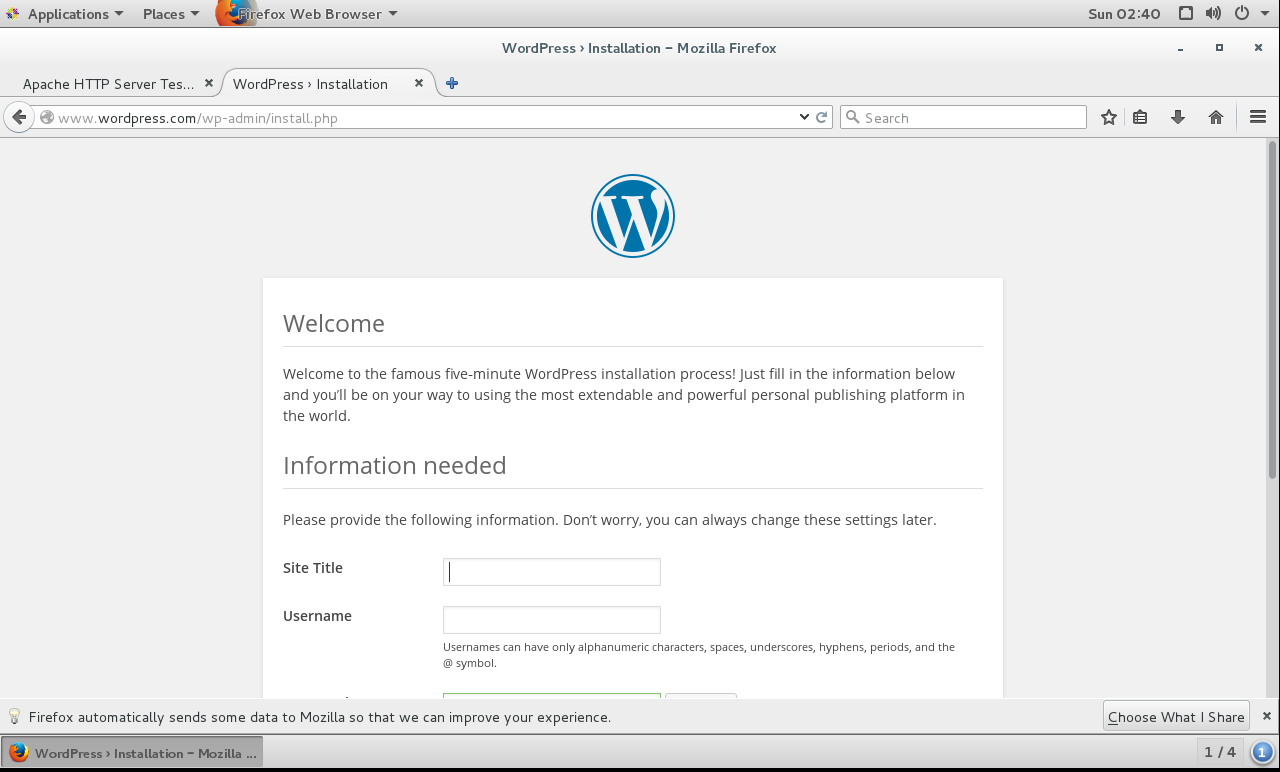
輸入www.wordpress.com後進入主頁
安裝phpMyAdmin
[root@wwwphpMyAdmin]# yum -y install phpMyAdmin
將安裝文件複製至相應目錄下
cp -r./ /httpd/vhosts/phpmyadmin/
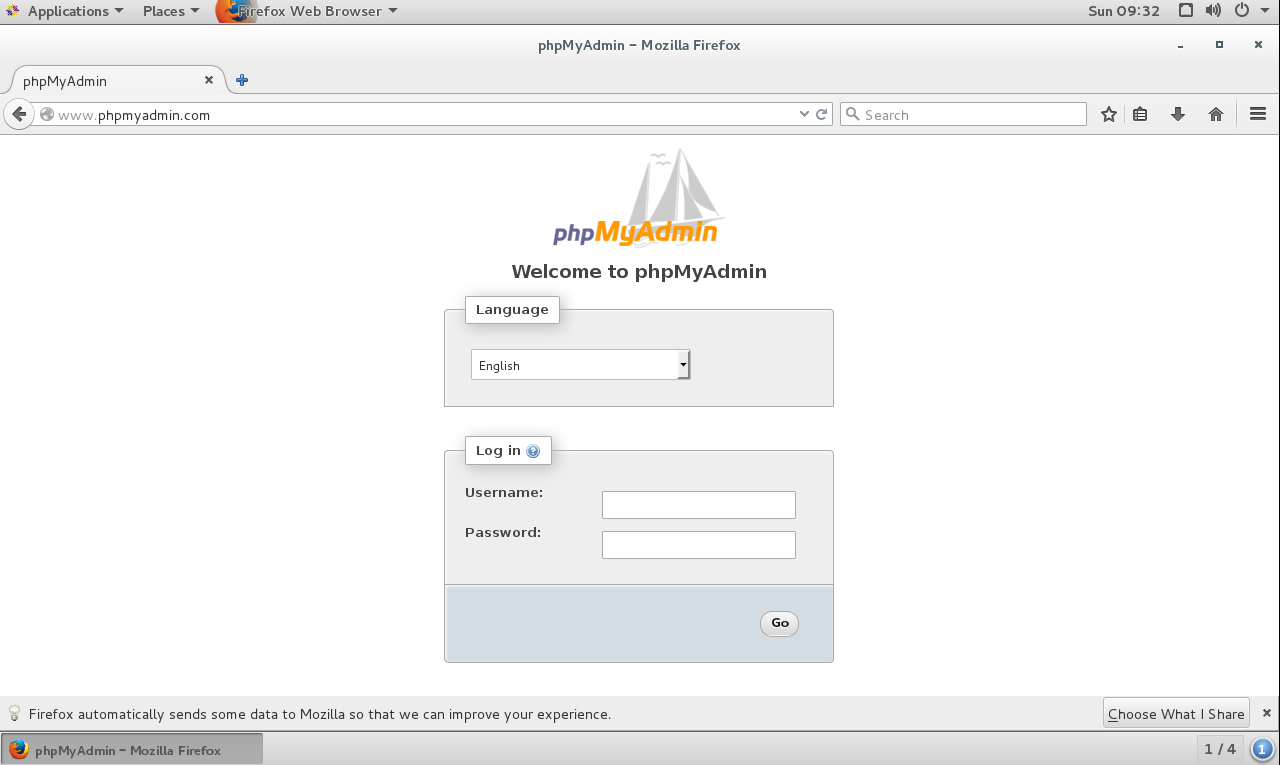
用瀏覽器打開
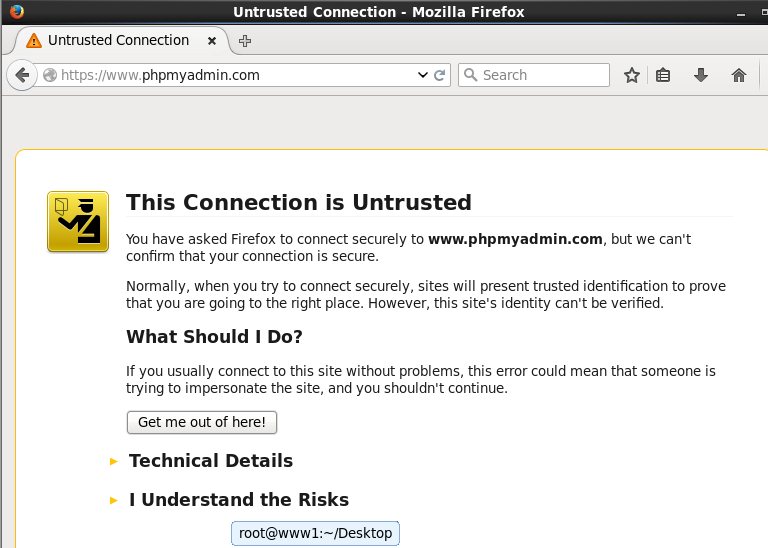
爲phpMyAdmin配置https
使用192.186.1.7爲192.168.1.10頒發CA證書
爲192.168.1.7創建私有CA;切換至/etc/pki/CA/目錄
[root@bogon~]# cd /etc/pki/CA/
[root@bogonCA]# (umask 077; openssl genrsa -out private/cakey.pem 1024)
GeneratingRSA private key, 1024 bit long modulus
.................++++++
......................................++++++
e is65537 (0x10001
創建自簽證書
[root@bogonCA]# openssl req -new -x509 -key private/cakey.pem -out cacert.pem
Youare about to be asked to enter information that will be incorporated
intoyour certificate request.
Whatyou are about to enter is what is called a Distinguished Name or a DN.
Thereare quite a few fields but you can leave some blank
Forsome fields there will be a default value,
Ifyou enter '.', the field will be left blank.
-----
CountryName (2 letter code) [XX]:CN
Stateor Province Name (full name) []:beijing
LocalityName (eg, city) [Default City]:beijing
OrganizationName (eg, company) [Default Company Ltd]:phpmyadmin
OrganizationalUnit Name (eg, section) []:phpmyadmin
CommonName (eg, your name or your server's hostname) []:ca.admin.com
EmailAddress []:[email protected]
創建結構文件
[root@bogonCA]# touch index.txt
[root@bogonCA]# echo 01 > serial
爲服務端配置證書
[root@wwwssl]# openssl req -new -key httpd.key -out httpd.csr
Youare about to be asked to enter information that will be incorporated
intoyour certificate request.
Whatyou are about to enter is what is called a Distinguished Name or a DN.
Thereare quite a few fields but you can leave some blank
Forsome fields there will be a default value,
Ifyou enter '.', the field will be left blank.
-----
CountryName (2 letter code) [XX]:CN
Stateor Province Name (full name) []:beijing
LocalityName (eg, city) [Default City]:beijing
OrganizationName (eg, company) [Default Company Ltd]:phpmyadmin
OrganizationalUnit Name (eg, section) []:phpmyadmin
CommonName (eg, your name or your server's hostname) []:www.phpmyadmin.com
EmailAddress []:[email protected]

Pleaseenter the following 'extra' attributes
to besent with your certificate request
Achallenge password []:
Anoptional company name []:
講所需簽名證書複製至CA服務器
[root@wwwssl]# scp httpd.csr 192.168.1.7:/tmp
Theauthenticity of host '192.168.1.7 (192.168.1.7)' can't be established.
ECDSAkey fingerprint is 4b:8b:6d:c8:53:c4:7e:ff:dd:26:a2:b9:67:1d:ab:cd.
Areyou sure you want to continue connecting (yes/no)? yes
Warning:Permanently added '192.168.1.7' (ECDSA) to the list of known hosts.
給服務器簽發證書
[root@bogonCA]# openssl ca -in /tmp/httpd.csr -out /tmp/httpd.crt
Usingconfiguration from /etc/pki/tls/openssl.cnf
Checkthat the request matches the signature
Signatureok
CertificateDetails:
        Serial Number: 1 (0x1)
        Validity
            Not Before: Jul 17 02:49:36 2016GMT
            Not After : Jul 17 02:49:36 2017GMT
        Subject:
            countryName               = CN
            stateOrProvinceName       = beijing
            organizationName          = phpmyadmin
            organizationalUnitName    = phpmyadmin
            commonName                = www.phpmyadmin.com
            emailAddress              = [email protected]
        X509v3 extensions:
            X509v3 Basic Constraints:
                CA:FALSE
            Netscape Comment:
                OpenSSL Generated Certificate
            X509v3 Subject Key Identifier:
                97:05:5A:39:41:43:C0:61:6E:E1:23:18:98:78:02:0D:21:F3:2B:EE
            X509v3 Authority Key Identifier:
               keyid:0F:9B:41:AB:0F:47:89:C2:28:98:0F:59:61:BE:D3:4E:04:C9:51:81

Certificateis to be certified until Jul 17 02:49:36 2017 GMT (365 days)
Signthe certificate? [y/n]:y


1 outof 1 certificate requests certified, commit? [y/n]y
Writeout database with 1 new entries
DataBase Updated
將簽發好的證書複製至phpMyAdmin服務器
[root@bogonCA]# scp /tmp/httpd.crt 192.168.1.10:/etc/httpd/ssl
Theauthenticity of host '192.168.1.10 (192.168.1.10)' can't be established.
ECDSAkey fingerprint is d3:71:51:da:74:25:b2:af:b6:d2:d4:98:9a:cd:f4:ee.
Areyou sure you want to continue connecting (yes/no)? yes
Warning:Permanently added '192.168.1.10' (ECDSA) to the list of known hosts.
[email protected]'spassword:
httpd.crt                                                      100% 3317     3.2KB/s   00:00
編輯ssl.conf文件,
 [root@www ssl]# cd ../conf.d
 [root@www conf.d]# vim ssl.conf
將頁面文件路徑修改至phpMyAdmin頁面路徑
#General setup for the virtual host, inherited from global configuration
#DocumentRoot"/var/www/html"
#ServerNamewww.example.com:443
DocumentRoot"/httpd/vhosts/phpmyadmin"
ServerNamewww.phpmyadmin.com:443#   Server Certificate:
#Point SSLCertificateFile at a PEM encoded certificate.  If
# thecertificate is encrypted, then you will be prompted for a
#pass phrase.  Note that a kill -HUP willprompt again.  A new
#certificate can be generated using the genkey(1) command.
SSLCertificateFile/etc/httpd/ssl/httpd.crt
修改證書文件路徑
#   Server Certificate:
#Point SSLCertificateFile at a PEM encoded certificate.  If
# thecertificate is encrypted, then you will be prompted for a
#pass phrase.  Note that a kill -HUP willprompt again.  A new
#certificate can be generated using the genkey(1) command.
SSLCertificateFile/etc/httpd/ssl/httpd.crt

#   Server Private Key:
#   If the key is not combined with thecertificate, use this
#   directive to point at the key file.  Keep in mind that if
#   you've both a RSA and a DSA private key youcan configure
#   both in parallel (to also allow the use ofDSA ciphers, etc.)
SSLCertificateKeyFile/etc/httpd/ssl/httpd.key
重啓httpd服務
[[email protected]]# systemctl restart httpd
安裝xcache後重啓httpd服務
[[email protected]]# yum -y install php-xcache
[root@bogonvhosts]# systemctl restart httpd
使用ab命令進行壓力測試(進行10次)
[root@bogonvhosts]# ab -c 100 -n 1000 http://www.xcache.com/index.php
Timeper request:       132.352 [ms] (mean)
Timeper request:       1.324 [ms] (mean,across all concurrent requests)
Transferrate:          34763.10 [Kbytes/sec]received
[root@bogonvhosts]# ab -c 200 -n 2000 http://www.xcache.com/index.php
Timeper request:       334.702 [ms] (mean)
Timeper request:       1.674 [ms] (mean,across all concurrent requests)
Transferrate:          27492.89 [Kbytes/sec]received

[root@bogonvhosts]# ab -c 300 -n 3000 http://www.xcache.com/index.php
Timeper request:       1513.902 [ms] (mean)
Timeper request:       5.046 [ms] (mean,across all concurrent requests)
Transferrate:          9117.43 [Kbytes/sec]received

[root@bogonvhosts]# ab -c 400 -n 4000 http://www.xcache.com/index.php
Timeper request:       5866.443 [ms] (mean)
Timeper request:       14.666 [ms] (mean,across all concurrent requests)
Transferrate:          3039.11 [Kbytes/sec]received

[root@bogonvhosts]# ab -c 500 -n 5000 http://www.xcache.com/index.php
Timeper request:       5984.272 [ms] (mean)
Timeper request:       11.969 [ms] (mean,across all concurrent requests)
Transferrate:          3681.99 [Kbytes/sec]received

[root@bogonvhosts]# ab -c 600 -n 6000 http://www.xcache.com/index.php
Timeper request:       6207.417 [ms] (mean)
Timeper request:       10.346 [ms] (mean,across all concurrent requests)
Transferrate:          4296.02 [Kbytes/sec]received

[root@bogonvhosts]# ab -c 700 -n 7000 http://www.xcache.com/index.php
Timeper request:       1901.629 [ms] (mean)
Timeper request:       2.717 [ms] (mean,across all concurrent requests)
Transferrate:          16936.40 [Kbytes/sec]received、

[root@bogonvhosts]# ab -c 800 -n 8000 http://www.xcache.com/index.php
Timeper request:       3199.896 [ms] (mean)
Timeper request:       4.000 [ms] (mean,across all concurrent requests)
Transferrate:          11224.73 [Kbytes/sec]received

[root@bogonvhosts]# ab -c 900 -n 9000 http://www.xcache.com/index.php
Timeper request:       3335.247 [ms] (mean)
Timeper request:       3.706 [ms] (mean, across all concurrentrequests)
Transferrate:          12321.67 [Kbytes/sec]received

[root@bogonvhosts]# ab -c 1000 -n 10000 http://www.xcache.com/index.php
Timeper request:       4754.311 [ms] (mean)
Timeper request:       4.754 [ms] (mean,across all concurrent requests)
Transferrate:          9507.14 [Kbytes/sec]received


