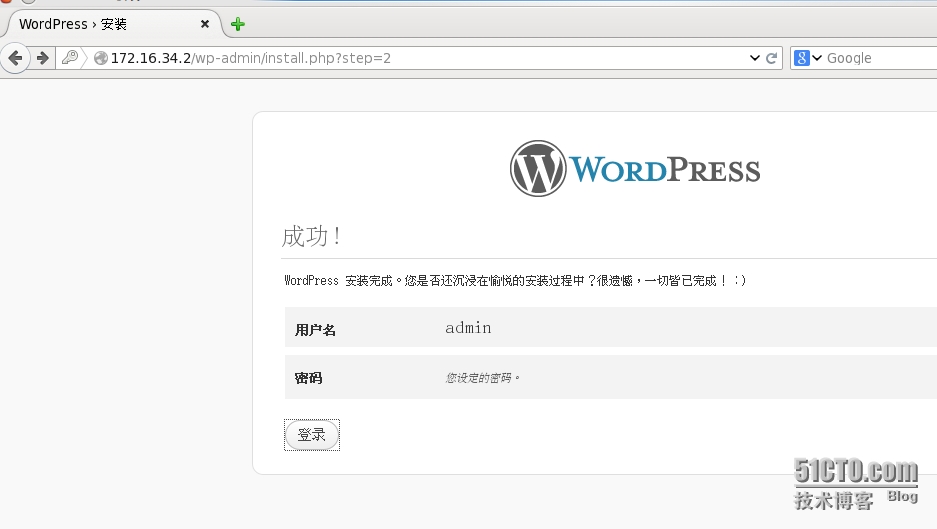
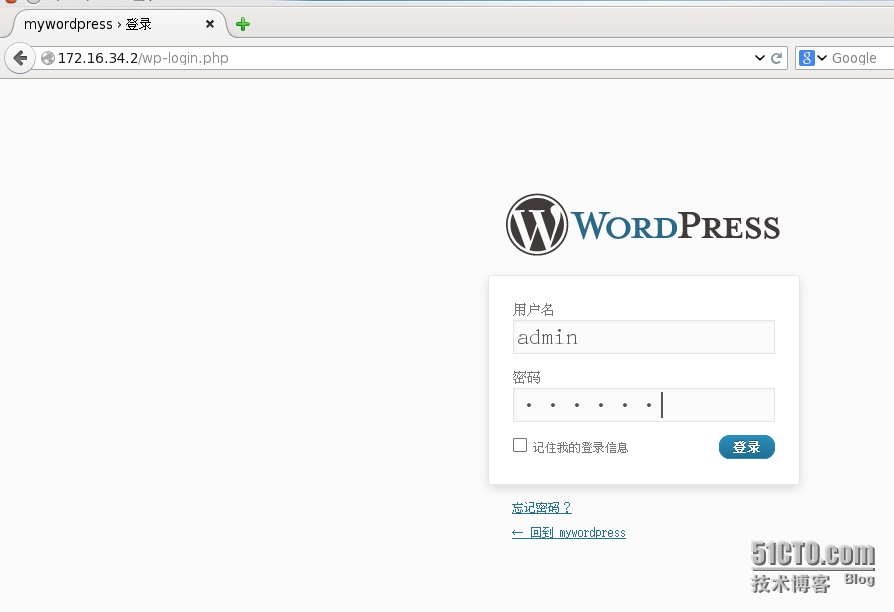
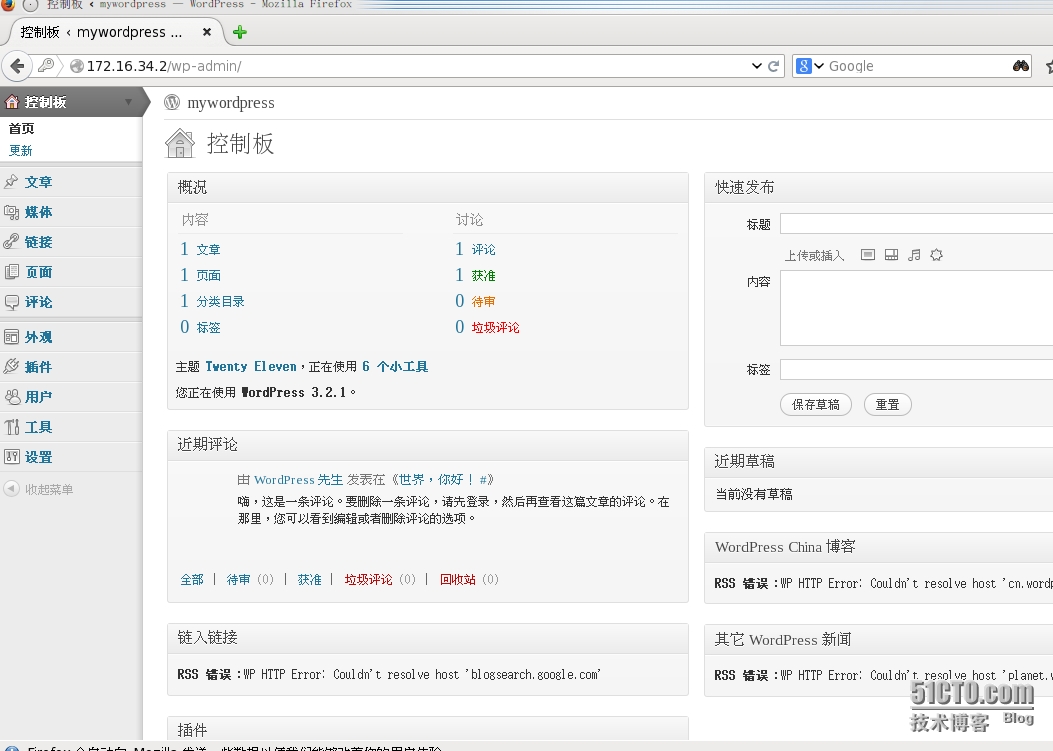
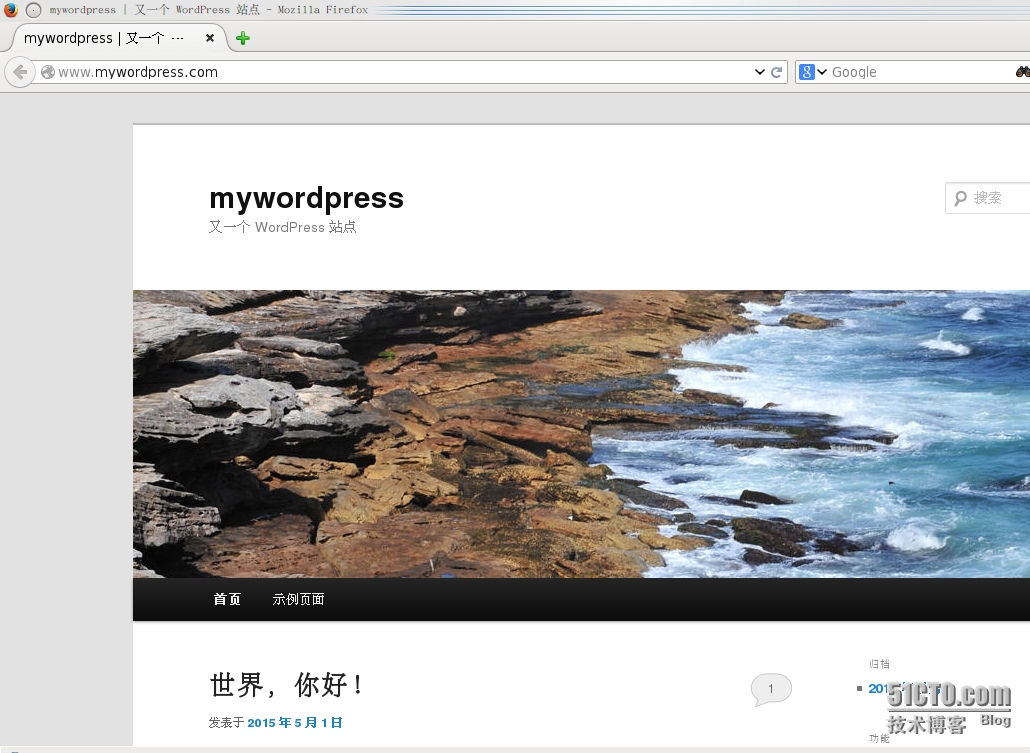
友情提示:本文系統環境:Centos 6.6 X86_64 KDE DISKTOP + VirtualBOX(Centos 6.6 X86_64,安裝類型選擇爲server), KSnapshot抓圖,Konsole 終端連接遠程虛擬機。
LAMP是Linux,Apache,Mysql,Php(perl/python)的簡寫,Linux提供OS平臺,Apche(現在應該稱爲httpd)提供html協議報文的解析和響應,Mysql提供結構化數據的查詢,Php(或者perl,python)的應用程序提供腳本語言的解析,4者合力實現了web動態網站,是種非常經典的wen站點的構架。現在非常著名的電商站點淘寶,當初創建之時也就是採用的這種構架,詳見子柳所著《淘寶技術這十年》。
Apache(下面稱爲httpd),Mysql,Php這三者可以放置以同一服務器,也可各自各自以獨立守護進程形式安裝在不同的服務器上。在一臺服務器上實現時,httpd同php可以以3種形式組合:php作爲httpd的一個模塊;使用fastcgi做爲協議來組合;使用cgi做爲協議來組合。本文采用:Centos系統光盤自帶rpm包在一臺服務器上實現LAMP構架模型,php採用模塊形式同httpd組合在一起。
實驗環境:
實驗網絡爲:172.16.0.0/16
| 主機 | IP地址 | 角色 |
| Test02.lijun.com | 172.16.34.2/16 | 提供OS平臺 提供基於80端口的虛擬主機站點:www.mywordpress.com 提供基於443端口的虛擬主機站點:www.myphpadmin.com |
| server.lijun.com | 172.16.34.100/16 | 站點測試機 |
實驗步驟:
一。構建yum環境,提供程序包的安裝源。
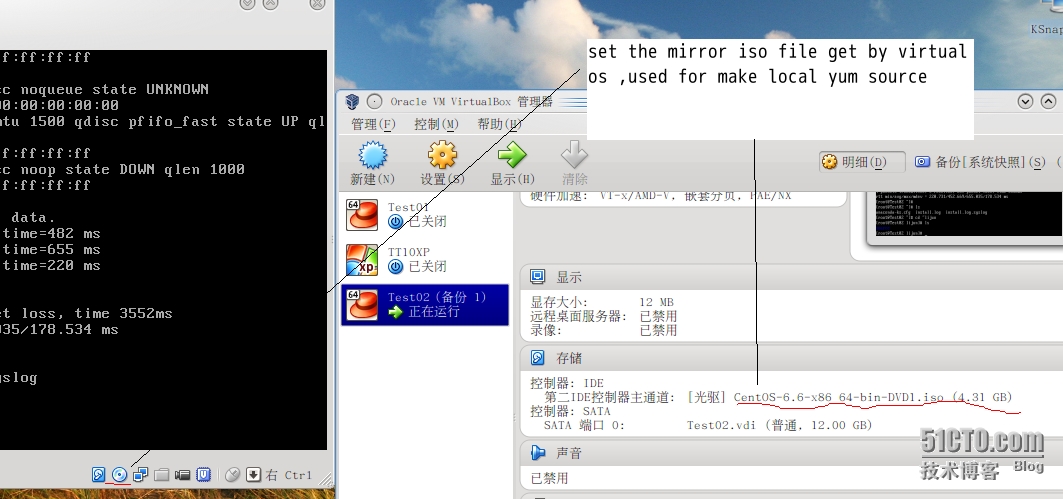
1.1)使用Centos6.6 x86_64 DVD1系統光盤,掛載至系統。
[lijun@Test02 ~]$ mount | egrep '(cdrom|sr0|media)'
[lijun@Test02 ~]$ sudo mount -r /dev/sr0 /media
We trust you have received the usual lecture from the local System
Administrator. It usually boils down to these three things:
    #1) Respect the privacy of others.
    #2) Think before you type.
    #3) With great power comes great responsibility.
[sudo] password for lijun:
[lijun@Test02 ~]$ mount | egrep '(cdrom|sr0|media)'
/dev/sr0 on /media type iso9660 (ro)
1.2)建立本地yum repo文件,指導yum程序安裝rpm包
#設定本地repo文件
[lijun@Test02 ~]$ cd /etc/yum.repos.d/
[lijun@Test02 yum.repos.d]$ sudo mkdir beifen
[lijun@Test02 yum.repos.d]$ sudo mv CentOS* beifen/
[lijun@Test02 yum.repos.d]$ sudo touch local.repo
[lijun@Test02 yum.repos.d]$ sudo vim local.repo
[localyumrepo]
name='this is local yum source'
baseurl=file:///media/
enable=1
gpgcheck=0
:wq
#建立本地yum庫緩存
[lijun@Test02 yum.repos.d]$ sudo yum clean all
已加載插件:fastestmirror, security
Cleaning repos: localyumrepo
清理一切
[lijun@Test02 yum.repos.d]$ sudo yum repolist
已加載插件:fastestmirror, security
Determining fastest mirrors
localyumrepo                                                                    | 4.0 kB     00:00 ...
localyumrepo/primary_db                                                         | 4.5 MB     00:00 ...
倉庫標識                                  倉庫名稱                                                狀態
localyumrepo                              'this is local yum source'                              6,518
repolist: 6,518
[lijun@Test02 yum.repos.d]$ sudo yum makecache
已加載插件:fastestmirror, security
Loading mirror speeds from cached hostfile
localyumrepo                                                                    | 4.0 kB     00:00 ...
localyumrepo/group_gz                                                           | 216 kB     00:00 ...
localyumrepo/filelists_db                                                       | 6.0 MB     00:00 ...
localyumrepo/other_db                                                           | 2.8 MB     00:00 ...
元數據緩存已建立
#安裝tree命令包做測試
[lijun@Test02 yum.repos.d]$ sudo yum -y install tree
已加載插件:fastestmirror, security
設置安裝進程
Loading mirror speeds from cached hostfile
解決依賴關係
--> 執行事務檢查
---> Package tree.x86_64 0:1.5.3-2.el6 will be 安裝
--> 完成依賴關係計算
依賴關係解決
=======================================================================================================
 軟件包             架構                 版本                         倉庫                        大小
=======================================================================================================
正在安裝:
 tree               x86_64               1.5.3-2.el6                  localyumrepo                36 k
事務概要
=======================================================================================================
Install       1 Package(s)
總下載量:36 k
Installed size: 65 k
下載軟件包:
運行 rpm_check_debug
執行事務測試
事務測試成功
執行事務
  正在安裝   : tree-1.5.3-2.el6.x86_64                                                             1/1
  Verifying  : tree-1.5.3-2.el6.x86_64                                                             1/1
已安裝:
  tree.x86_64 0:1.5.3-2.el6
完畢!
[lijun@Test02 yum.repos.d]$
二.安裝程序包,並設定程序啓動
php-mysql是php應用程序服務程序中提供mysql查詢的驅動程序。
[lijun@Test02 yum.repos.d]$ sudo yum -y install httpd php mysql-server php-mysql mod_ssl
。。。。。。
已安裝:
  httpd.x86_64 0:2.2.15-39.el6.centos        mod_ssl.x86_64 1:2.2.15-39.el6.centos        mysql-server.x86_64 0:5.1.73-3.el6_5
  php.x86_64 0:5.3.3-38.el6                  php-mysql.x86_64 0:5.3.3-38.el6
作爲依賴被安裝:
  apr-util-ldap.x86_64 0:1.3.9-3.el6_0.1       httpd-tools.x86_64 0:2.2.15-39.el6.centos       mysql.x86_64 0:5.1.73-3.el6_5
  perl-DBD-MySQL.x86_64 0:4.013-3.el6          php-cli.x86_64 0:5.3.3-38.el6                   php-common.x86_64 0:5.3.3-38.el6
  php-pdo.x86_64 0:5.3.3-38.el6
完畢!
[lijun@Test02 yum.repos.d]$
#mysql啓動並初始化
[lijun@Test02 ~]$ sudo service mysqld  start
Initializing MySQL database:  WARNING: The host 'Test02.lijun.com' could not be looked up with resolveip.
This probably means that your libc libraries are not 100 % compatible
with this binary MySQL version. The MySQL daemon, mysqld, should work
normally with the exception that host name resolving will not work.
This means that you should use IP addresses instead of hostnames
when specifying MySQL privileges !
Installing MySQL system tables...
OK
Filling help tables...
OK
To start mysqld at boot time you have to copy
support-files/mysql.server to the right place for your system
PLEASE REMEMBER TO SET A PASSWORD FOR THE MySQL root USER !
To do so, start the server, then issue the following commands:
/usr/bin/mysqladmin -u root password 'new-password'
/usr/bin/mysqladmin -u root -h Test02.lijun.com password 'new-password'
Alternatively you can run:
/usr/bin/mysql_secure_installation
which will also give you the option of removing the test
databases and anonymous user created by default.  This is
strongly recommended for production servers.
See the manual for more instructions.
You can start the MySQL daemon with:
cd /usr ; /usr/bin/mysqld_safe &
You can test the MySQL daemon with mysql-test-run.pl
cd /usr/mysql-test ; perl mysql-test-run.pl
Please report any problems with the /usr/bin/mysqlbug script!
                                                           [  OK  ]
Starting mysqld:                                           [  OK  ]
[lijun@Test02 ~]$
三 修改httpd配置文件,配置虛擬主機
[lijun@Test02 ~]$ cd /etc/httpd/conf
[lijun@Test02 conf]$ sudo cp httpd.conf{,.bak}
[lijun@Test02 conf]$ sudo vim httpd.conf
ServerName 127.0.0.1:80
#DocumentRoot "/var/www/html"
NameVirtualHost *:80
<VirtualHost 172.16.34.1:80>
ServerAdmin [email protected]
DocumentRoot /var/www/mywordpress.com
ServerName www.mywordpress.com
ErrorLog logs/mywordpress.com-error_log
CustomLog logs/mywordpress.com-access_log common
</VirtualHost>
:wq

[lijun@Test02 conf]$ cd ../conf.d/
[lijun@Test02 conf.d]$ sudo cp ssl.conf{,.bak}
[lijun@Test02 conf.d]$ sudo vim ssl.conf
<VirtualHost 192.168.1.20:443>
DocumentRoot "/var/www/myphpadmin.com"
ServerName
SSLCertificateFile /etc/httpd/ssl/httpd.crt
SSLCertificateKeyFile /etc/httpd/ssl/httpd.key
:wq

[lijun@Test02 conf.d]$ cd /var/www
[lijun@Test02 www]$ sudo mkdir mywordpress.com
[lijun@Test02 www]$ sudo mkdir myphpadmin.com
四 建立私有CA,自己給自己簽署證書用於https站點
#建立https站點使用證書和私鑰目錄
[lijun@Test02 www]$ sudo mkdir /etc/httpd/ssl/
[lijun@Test02 www]$ cd /etc/pki/CA
[lijun@Test02 CA]$ ls
certs  crl  newcerts  private
[lijun@Test02 CA]$ su -
密碼:

#生成CA私鑰
[root@Test02 ~]# cd /etc/pki/CA
[root@Test02 CA]# (umask 077;openssl genrsa -out private/cakey.pem 2048)
Generating RSA private key, 2048 bit long modulus.................................
..........+++.......................................................................
....................................................................................
........+++e is 65537 (0x10001)

#生成CA自簽證書
[root@Test02 CA]# openssl req -new -x509 -key private/cakey.pem -out cacert.pem -days 3660
You are about to be asked to enter information that will be incorporatedinto your
 certificate request.What you are about to enter is what is called a Distinguished
 Name or a DN.There are quite a few fields but you can leave some blankFor some
 fields there will be a default value,If you enter '.',
  the field will be left blank.-----
  Country Name (2 letter code) [XX]:CN
  State or Province Name (full name) []:HN
  Locality Name (eg, city) [Default City]:ZZ
  Organization Name (eg, company) [Default Company Ltd]:lijun
  Organizational Unit Name (eg, section) []:Ops
  Common Name (eg, your name or your server's hostname) []:ca.lijun.com
  Email Address []:[email protected]
  [root@Test02 CA]# ls
  cacert.pem  certs  crl  newcerts  private
  [root@Test02 CA]# touch index.txt
  [root@Test02 CA]# touch serial
  [root@Test02 CA]# echo 01 > serial
  [root@Test02 CA]# cat serial
  01

#爲https站點生成私鑰
[root@Test02 CA]# (umask 077;openssl genrsa -out /etc/httpd/ssl/httpd.key 1024)
Generating RSA private key, 1024 bit long modulus
.......................++++++
.......++++++e is 65537 (0x10001)

#爲https站點生成證書申請
[root@Test02 CA]# openssl req -new -key /etc/httpd/ssl/httpd.key -out /etc/httpd/ssl/httpd.csr
You are about to be asked to enter information that will be incorporated
into your certificate request.
What you are about to enter is what is called a Distinguished Name or a DN.
There are quite a few fields but you can leave some blankFor some fields there will be
a default value,If you enter '.', the field will be left blank.-----
Country Name (2 letter code) [XX]:CN
State or Province Name (full name) []:HN
Locality Name (eg, city) [Default City]:ZZ
Organization Name (eg, company) [Default Company Ltd]:lijun
Organizational Unit Name (eg, section) []:Ops
Common Name (eg, your name or your server's hostname) []:www,myphpadmin.com
Email Address []:[email protected] enter the following 'extra'
attributesto be sent with your certificate requestA
challenge password []:
An optional company name []:
[root@Test02 CA]# ls /etc/httpd/ssl/
httpd.csr  httpd.key
[root@Test02 CA]#

#爲https站點簽署證書
[root@Test02 CA]# openssl ca -in /etc/httpd/ssl/httpd.csr  -out /etc/httpd/ssl/httpd.crt -days 366
Using configuration from /etc/pki/tls/openssl.cnf
Check that the request matches the signature
Signature ok
Certificate Details:
        Serial Number: 1 (0x1)
        Validity
            Not Before: Apr 30 20:05:16 2015 GMT
            Not After : Apr 30 20:05:16 2016 GMT
        Subject:
            countryName               = CN
            stateOrProvinceName       = HN
            organizationName          = lijun
            organizationalUnitName    = Ops
            commonName                = www,myphpadmin.com
            emailAddress              = [email protected]
        X509v3 extensions:
            X509v3 Basic Constraints:
                CA:FALSE
            Netscape Comment:
                OpenSSL Generated Certificate
            X509v3 Subject Key Identifier:
                6D:45:30:0B:DC:12:11:83:9C:37:63:FF:3A:14:49:18:5D:71:D8:D6
            X509v3 Authority Key Identifier:
                keyid:BD:88:4A:1C:EC:CF:95:E4:03:41:B0:60:9E:A2:69:B3:66:8A:ED:5D

Certificate is to be certified until Apr 30 20:05:16 2016 GMT (366 days)
Sign the certificate? [y/n]:y


1 out of 1 certificate requests certified, commit? [y/n]y
Write out database with 1 new entries
Data Base Updated
[root@Test02 CA]# ls /etc/httpd/ssl
httpd.crt  httpd.csr  httpd.key
[root@Test02 CA]#
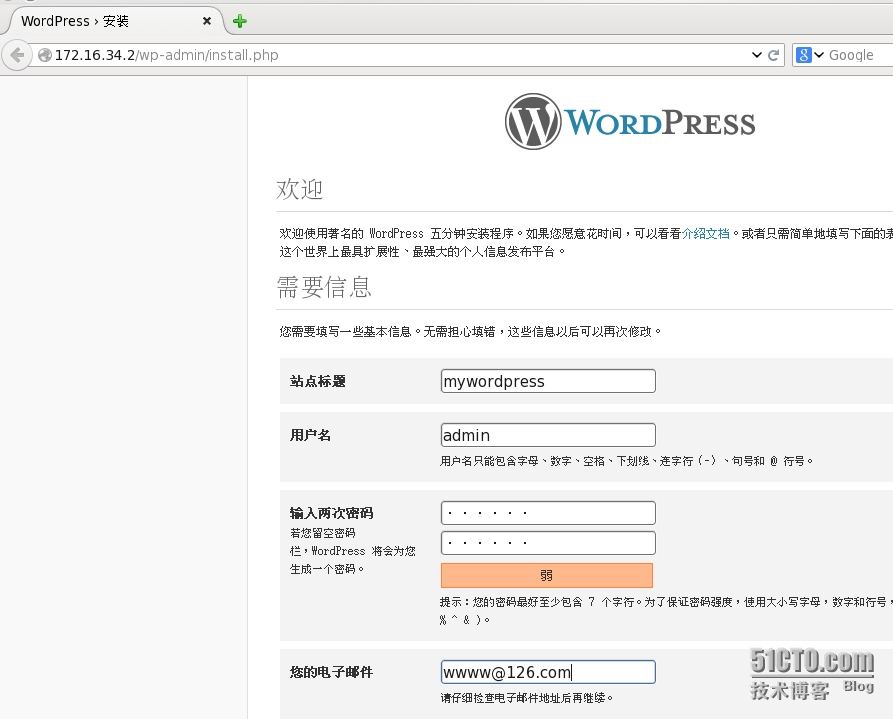
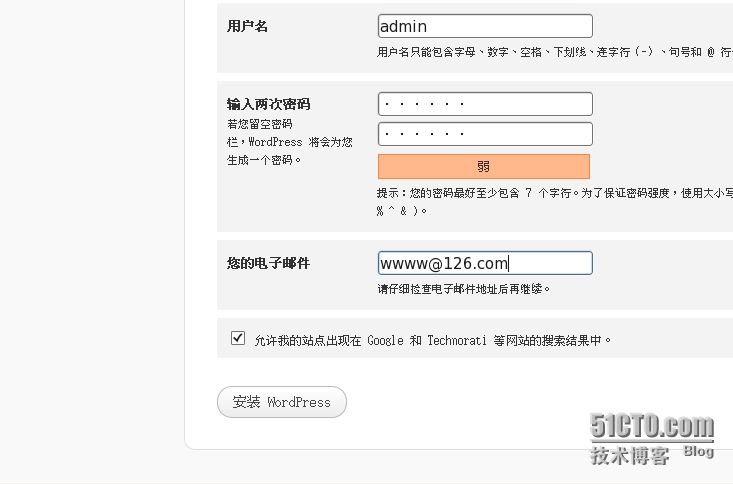
五 建立基於80端口的虛擬主機站點www.mywordpress.com的站點文檔
#建立wordpress程序需要使用的mysql庫和用戶
[lijun@Test02 ~]$ sudo mysql
mysql> create database wordpress;
Query OK, 1 row affected (0.00 sec)

mysql> create user 'lijun'@'localhost' identified by 'redhat'; -->若密碼,純測試
Query OK, 0 rows affected (0.00 sec)

mysql> grant all on  wordpress.*TO 'lijun'@'localhost';  -->權限過大,純測試
Query OK, 0 rows affected (0.02 sec)

mysql> flush privileges;
Query OK, 0 rows affected (0.00 sec)

mysql> quit
Bye
[lijun@Test02 ~]$
#建立www.mywordpress.com的站點文檔
[lijun@Test02 ~]$ cd /var/www/mywordpress.com/
[lijun@Test02 mywordpress.com]$sudo cp ~lijun/source/wordpress-3.2.1-zh_CN.zip .
[lijun@Test02 mywordpress.com]$sudo unzip wordpress-3.2.1-zh_CN.zip
[lijun@Test02 mywordpress.com]$ sudo cp -a wordpress/* .
[lijun@Test02 mywordpress.com]$ sudo cp wp-config-sample.php  wp-config.php
[lijun@Test02 mywordpress.com]$ sudo vim wp-config.php
define('DB_NAME', 'wordpress');

/** MySQL 數據庫用戶名 */
define('DB_USER', 'lijun');

/** MySQL 數據庫密碼 */
define('DB_PASSWORD', 'redhat');

/** MySQL 主機 */
define('DB_HOST', 'localhost');

/** 創建數據表時默認的文字編碼 */
define('DB_CHARSET', 'utf8');

/** 數據庫整理類型。如不確定請勿更改 */
define('DB_COLLATE', '');
:wq
六.建立https虛擬主機站點使用文檔
[lijun@Test02 httpd]$ cd /var/www/myphpadmin.com/
[lijun@Test02 myphpadmin.com]$ sudo cp ~lijun/source/phpMyAdmin-3.2.5-all-languages.tar.gz  .
[lijun@Test02 myphpadmin.com]$ sudo tar -xf phpMyAdmin-3.2.5-all-languages.tar.gz
[lijun@Test02 myphpadmin.com]$ ls
phpMyAdmin-3.2.5-all-languages  phpMyAdmin-3.2.5-all-languages.tar.gz
[lijun@Test02 myphpadmin.com]$ sudo cp -a phpMyAdmin-3.2.5-all-languages/* .
七設定防火牆和selinux
可以通過#server iptables stop 和 #setenforce 0 來關閉防火牆和設定selinux狀態,防止干擾測試
也可以按下面的設定:
[lijun@Test02 httpd]$ sudo iptables -IINPUT -p tcp -s 172.16.0.0/16 -d 172.16.34.2 -m multiport --dports 80,443 -j ACCEPT
[lijun@Test02 httpd]$ sudo iptables -IINPUT 2  -p tcp  -d 172.16.34.2 -m multiport --dports 80,443 -j DROP
[lijun@Test02 httpd]$ sudo iptables -L
Chain INPUT (policy ACCEPT)
target     prot opt source               destination
ACCEPT     tcp  --  172.16.0.0/16        172.16.34.2         multiport dports http,https
DROP       tcp  --  anywhere             172.16.34.2         multiport dports http,https
ACCEPT     all  --  anywhere             anywhere            state RELATED,ESTABLISHED
ACCEPT     icmp --  anywhere             anywhere
ACCEPT     all  --  anywhere             anywhere
ACCEPT     tcp  --  anywhere             anywhere            state NEW tcp dpt:ssh
REJECT     all  --  anywhere             anywhere            reject-with icmp-host-prohibited
Chain FORWARD (policy ACCEPT)
target     prot opt source               destination
REJECT     all  --  anywhere             anywhere            reject-with icmp-host-prohibited
Chain OUTPUT (policy ACCEPT)
target     prot opt source               destination
[lijun@Test02 httpd]$setselinux 0
八 測試機上進行測試:
#因沒有設定DNS,只能使用測試主機的host文件進行設定
[lijun@server ~]$ sudo vim /etc/hosts
172.16.34.2     www.mywordpress.com
172.16.34.2     www,myphpadmin.com
:wq
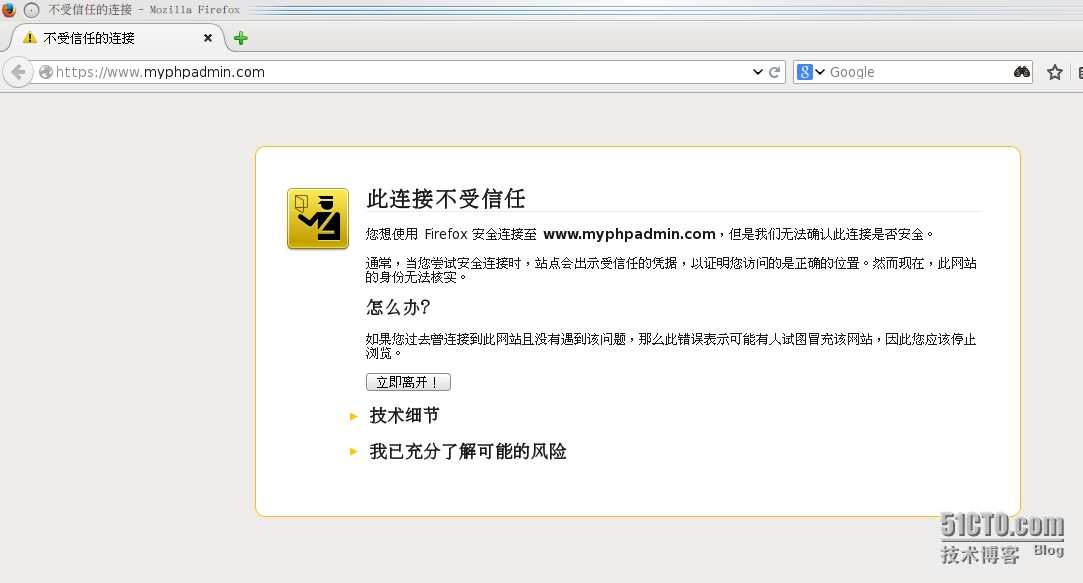
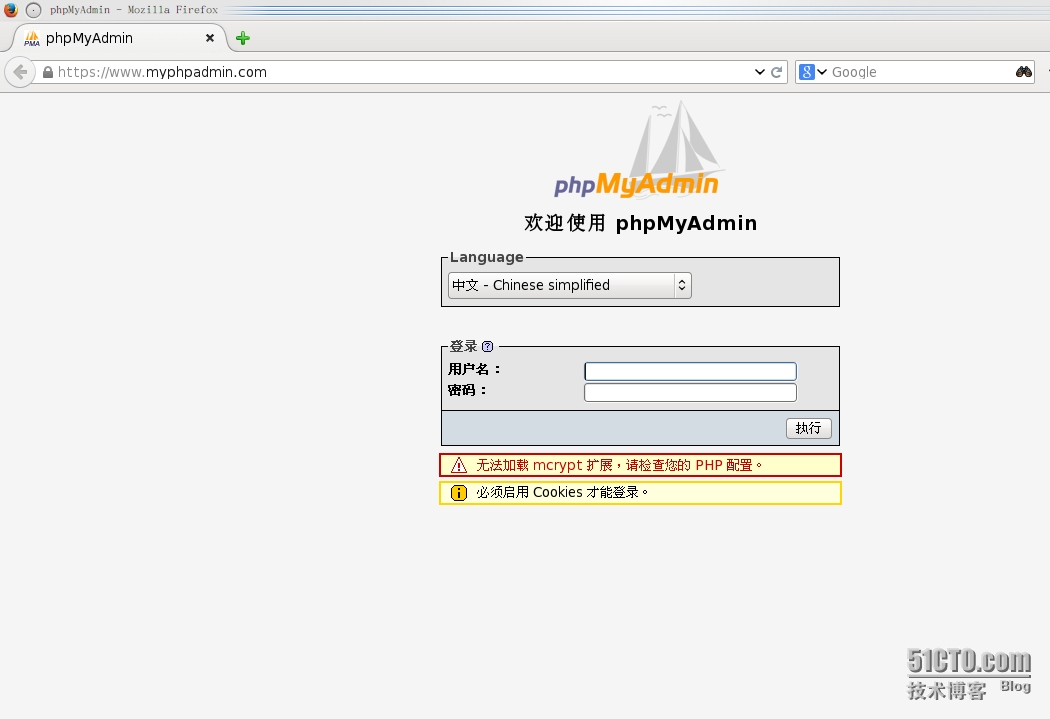
下面時https站點:
PS:KDE桌面着實讓我驚豔了一下,無論筆記本散熱量還是程序啓動速度與穩定性,都比win7表現要好,
現在除了聊QQ,觀看加密視頻不方便外,其他均可勝任平常使用需要。
路人甲: 什麼?你把Centos 6.6 X86_64 社區企業版裝在筆記本上用?你個瘋子!!!
海盜哥:再敢嘲諷拉仇恨,哥放狗狗---斯派克去咬你的丁丁。

