


一、安装前准备:
搭建环境介绍:
使用两台主机,一台centos6.5(ip:192.168.2.107)用来充当CA
在centos7(ip:192.168.2.120)上搭建lamp为三个网站提供服务:
1、提供数据库网页管理工具phpMyAdmin,同时提供https服务,网址为pma.pingan.com
2、提供博客wordpress,站点网址为wp.pingan.com
3、提供论坛discuz,网址为dz.pingan.com
phpmyadmin下载地址:https://files.phpmyadmin.net/phpMyAdmin/4.0.10.20/phpMyAdmin-4.0.10.20-all-languages.zip
wordpress下载地址:https://cn.wordpress.org/wordpress-4.9.4-zh_CN.zip
discuz下载地址:http://down10.zol.com.cn/luntan/Discuz!_6.0.0_SC_UTF8---.zip
二、安装lamp程序:
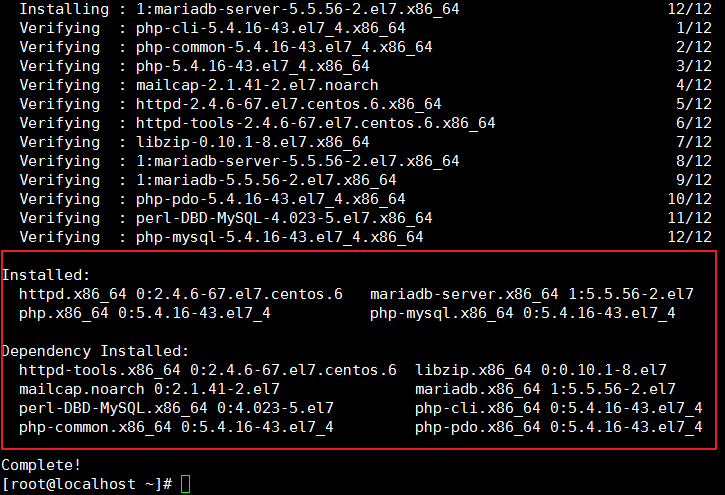
用到的程序包:httpd,php, php-mysql, mariadb-server
1、yum install httpd php php-mysql mariadb-server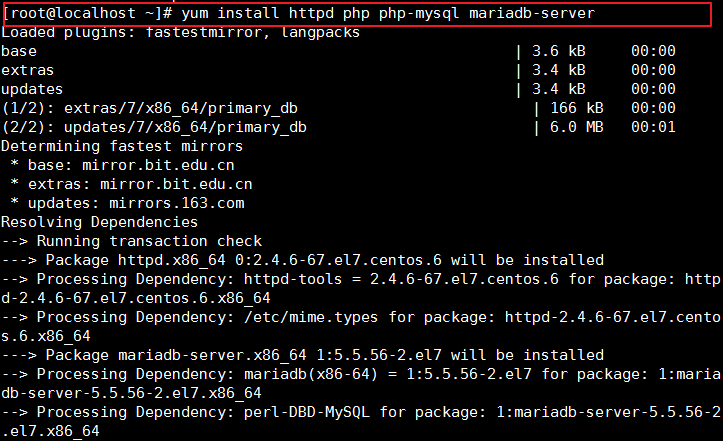
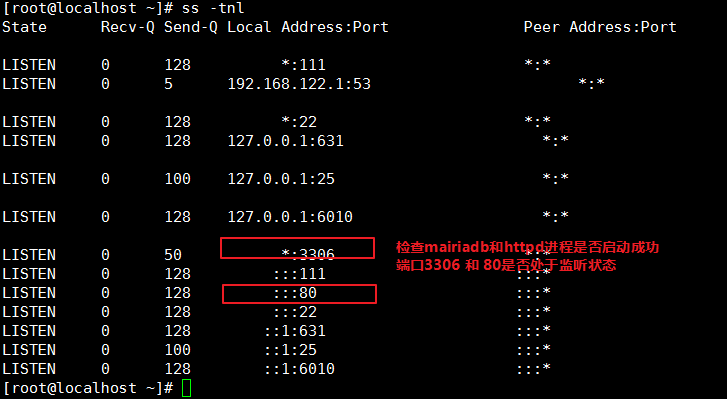
2、启动服务检查环境
启动httpd,mariadb服务
检查php模块是否加载

在windos7上访问192.168.2.120看是否能访问欢迎页面
成功表示httpd运行正常
检查mariadb是否安装成功,使用命令mysql看是否可以进入mysql命令界面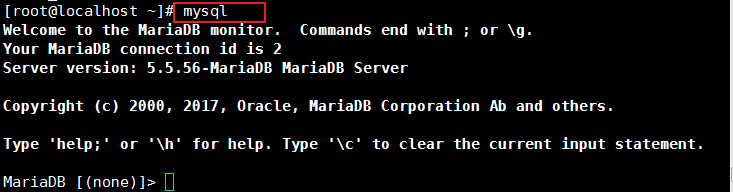
进入成功说明mariadb安装成功
3、测试php和mariadb是否连接成功
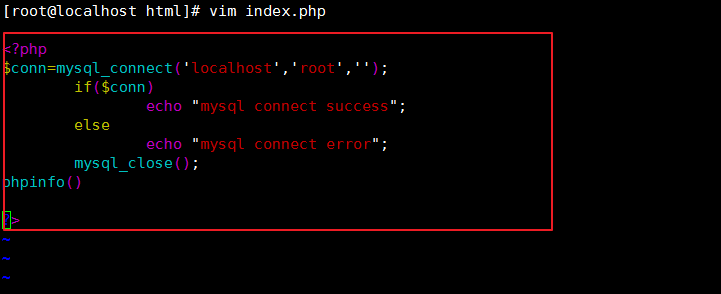
编辑/var/www/html/index.php
<?php
$conn=mysql_connect('localhost','root','');
if($conn)
echo "mysql connect success";
else
echo "mysql connect error";
mysql_close();
phpinfo()
?>
在客户端访问服务器 192.168.2.119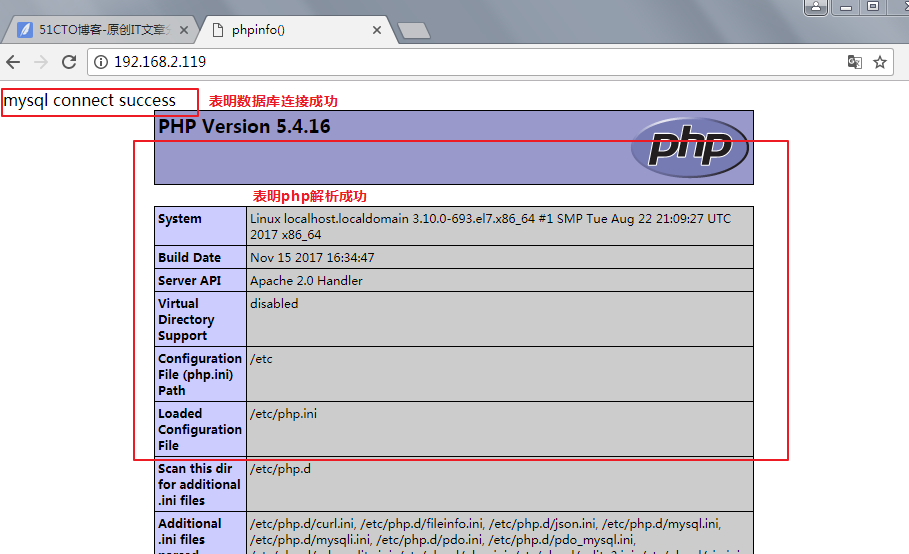
三、在centos6上搭建CA,并为centos7服务器签署证书
1、centos6 CA 自签证书
创建CA所需文件
2、生成私钥
(umask 066;openssl genrsa 2048 > private/cakey.pem)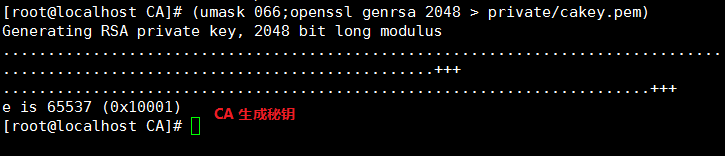
3、提取公钥自签证书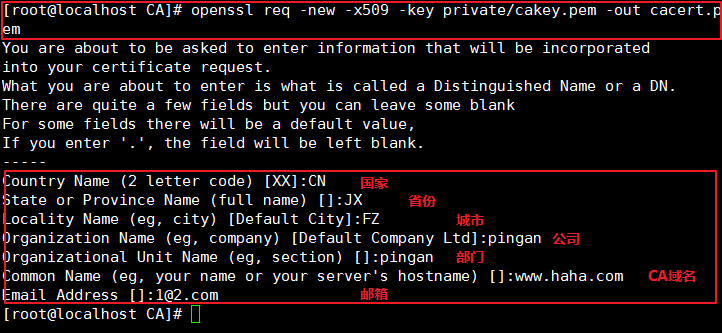
CA自签证书完成
4、下面centos7服务器生成证书签署请求发给ca签署,ca签署完成后发回给centos7
mkdir /etc/httpd/ssl
(umask 66;openssl genrsa 2048 > web.key)
openssl req -new -key web.key -out web.csr 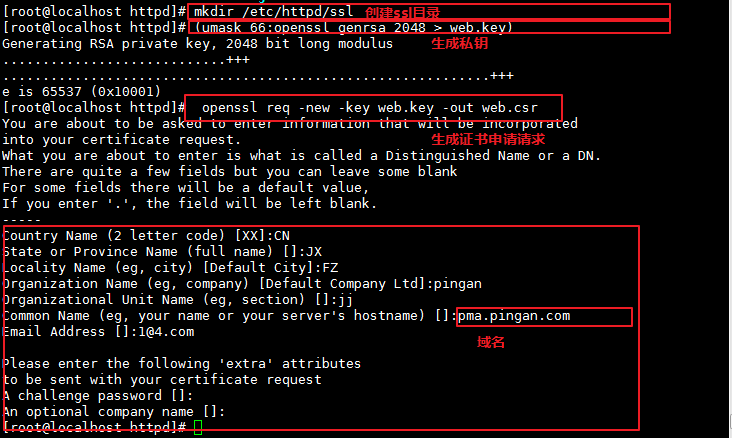

将证书签署请求发送给CA服务端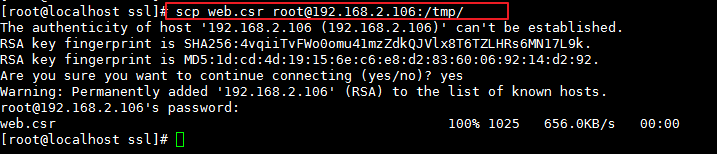
CA签署证书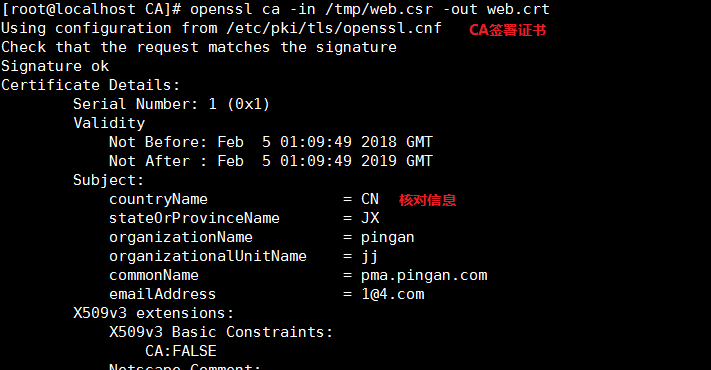
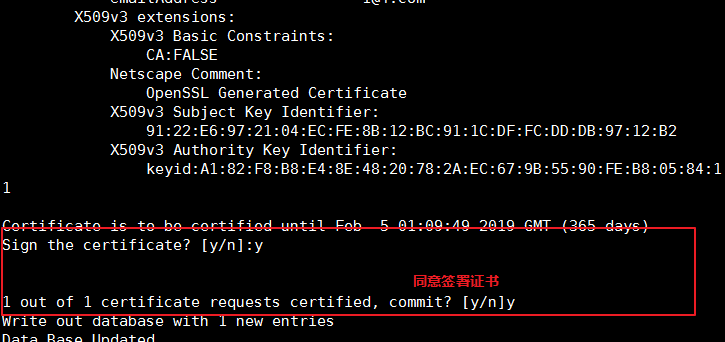
将签署好的证书发还给centos7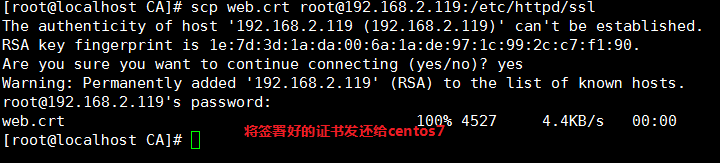
四、ssl功能需要 mod_ssl支持,所有我们要安装ssl
ssl的配置文件为etc/httpd/conf.d/ssl.conf
1、安装mod_ssl包
yum install mod_ssl 
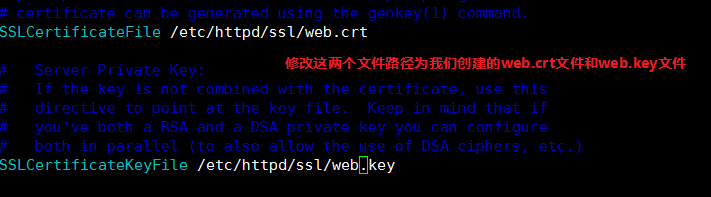
2、修改/etc/httpd/conf.d/ssl.conf 的配置文件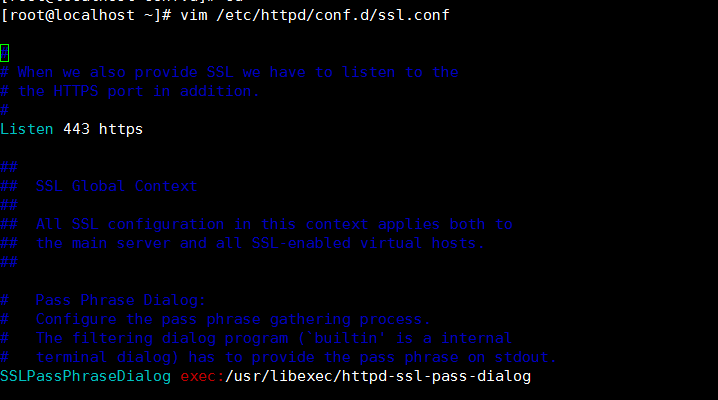

3、将我们需要的网站文件上传到服务器root家目录下
文件上面已提供下载地址,
phpmyadmin、wordpress、discuz、文件压缩包一块上传
4、创建目录/web/vhosts/{pma,wp,dz}
将三个文件分别解压缩到/web/vhosts/pma、/web/vhosts/wd、/web/vhosts/dz 目录下
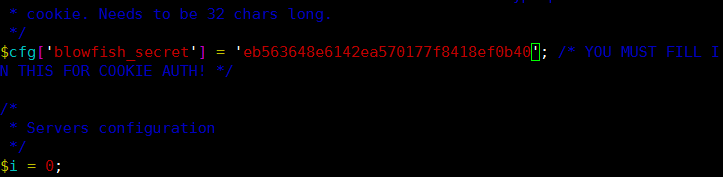
5、要是phpmyadmin可用需要修改其配置文件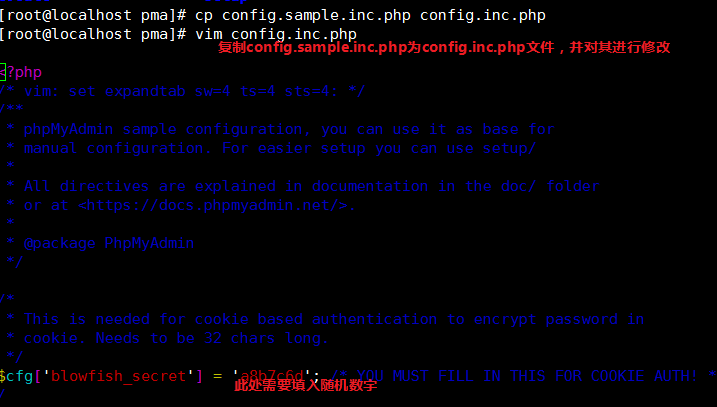
使用命令生成随机数填入:
tr -d ‘a-zA-Z0-9‘ < /dev/urandom | head -30 | md5sum
6、注释掉/etc/httpd/conf/httpd.conf 中的DocumentRoot这行
编辑/etc/httpd/conf.d/vhosts.conf
添加内容:
<Directory "/web/vhosts/pma">
AllowOverride None
Allow open access:
Require all granted
</Directory>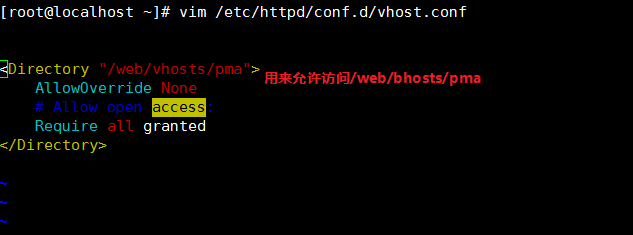
7、出现如下错误,就是缺少php_mbstring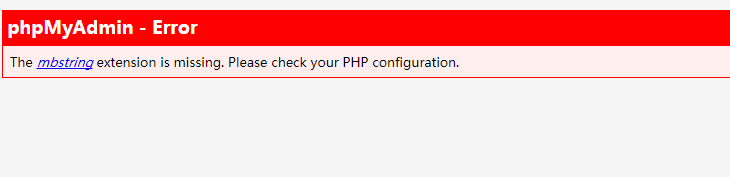
安装 yum install php_mbstring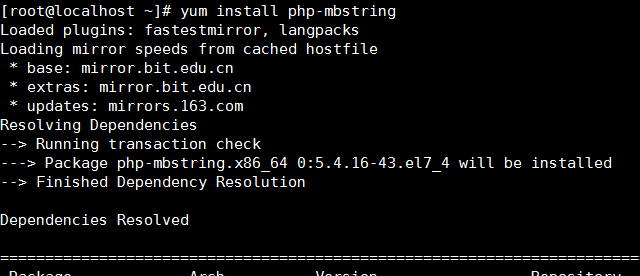
安装完成后重启服务:systemctl restart httpd.service
将证书web.crt复制到windows主机上进行安装,并更改windows主机hosts文件,添加
192.168.2.120 pma.pingan.com
192.168.2.120 wp.pingan.com
192.168.2.120 dz.pingan.com
复制证书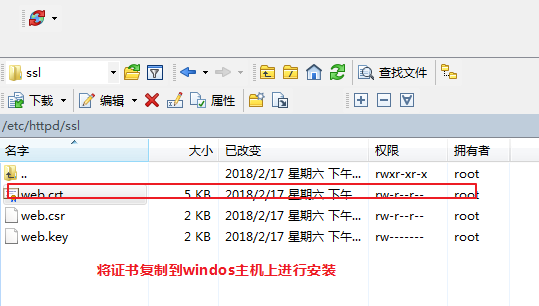
安装证书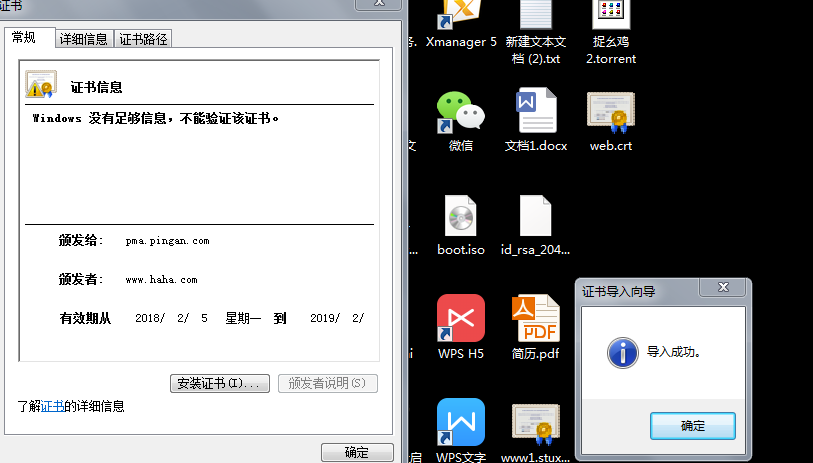
更改hosts文件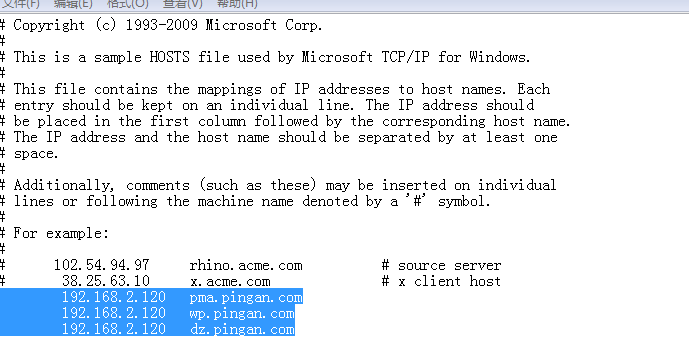
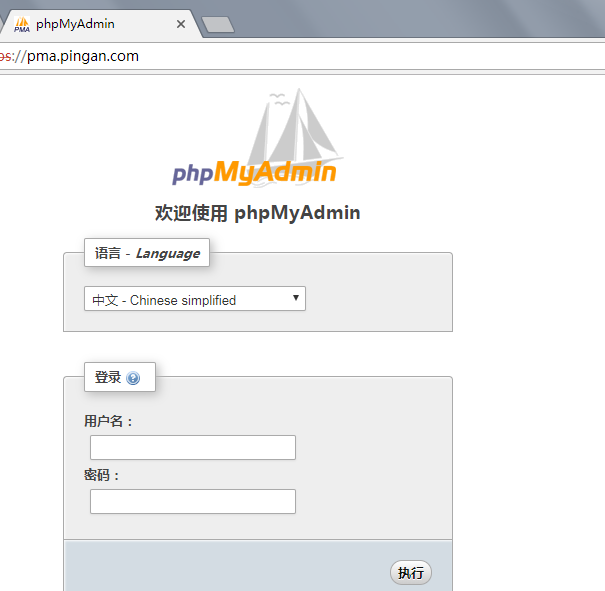
访问成功
8、但是现在的phpmyadmin并不能登入,因为没有密码。不允许空密码的用户登入,此时我们就要进入mysql命令行去为mysql的root用户设置密码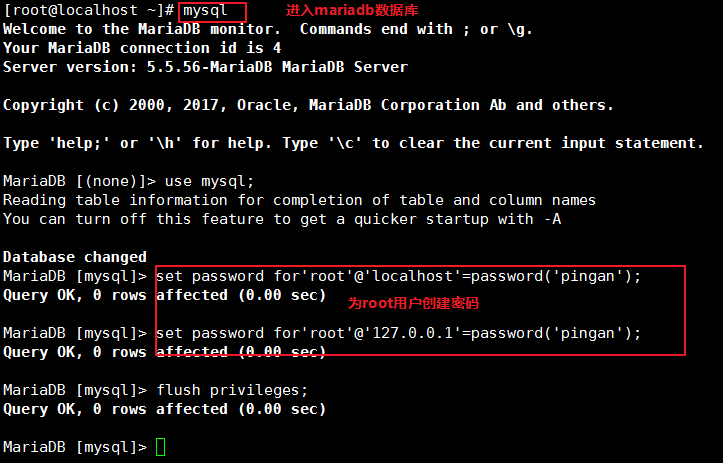
9、此时我们就可以用过https://pma.pingan.com登入
登入成功!!
四、下面我们开始搭建wordpress博客其文件已经解压至/web/vhosts/wp目录下,
discuz 论坛文件已解压至/web/vhosts/dz目录下
1、我们需为其写配置文件,指明访问路径和主机名
更改/etc/httpd/conf.d/vhost.conf配置文件,添加配置如下
<Directory "/web/vhosts/pma">
    AllowOverride None
    # Allow open access:
    Require all granted

<Directory "/web/vhosts/pma">
    AllowOverride None
    # Allow open access:
    Require all granted
</Directory>

<VirtualHost *:80>
        ServerName "wp.pingan.com"
        DocumentRoot "/web/vhosts/wp"
        errorlog logs/wp.err
        customlog logs/wp.access combined
        <Directory "/web/vhosts/wp">
        AllowOverride None
        Require all granted
        </Directory>
</VirtualHost>

<VirtualHost *:80>
        ServerName "dz.pingan.com"
        DocumentRoot "/web/vhosts/dz"
        errorlog logs/dz.err
        customlog logs/wp.access combined
        <Directory "/web/vhosts/dz/upload">
        AllowOverride None
        Require all granted
        </Directory>
</VirtualHost>
重启服务
systemctl restart httpd.service
2、我们进入到phpmyadmin中创建wordpress和discuz对应的用户名和密码以及数据库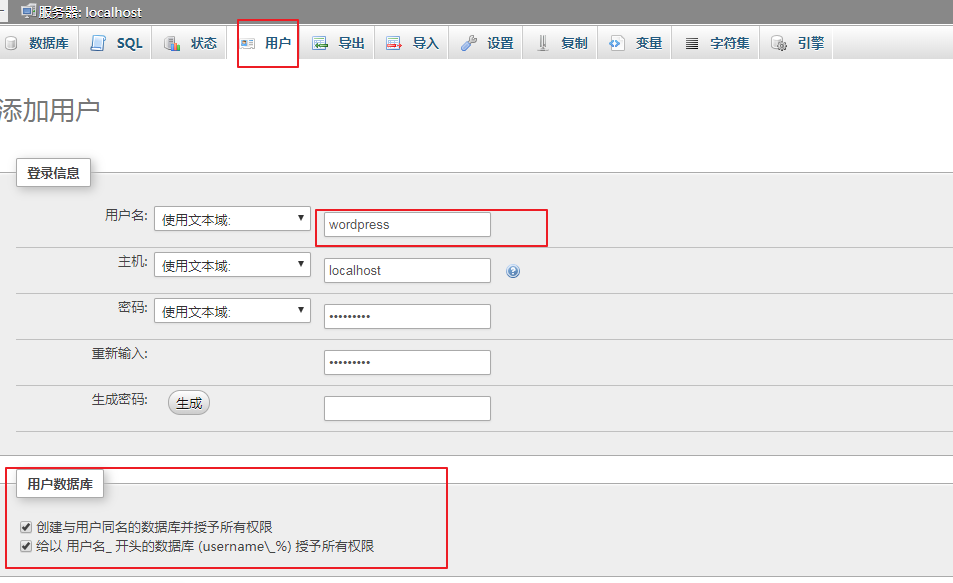

3、更改博客的 /web/hosts/wp目录下的配置文件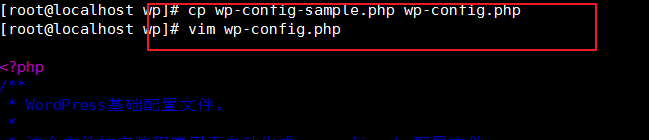
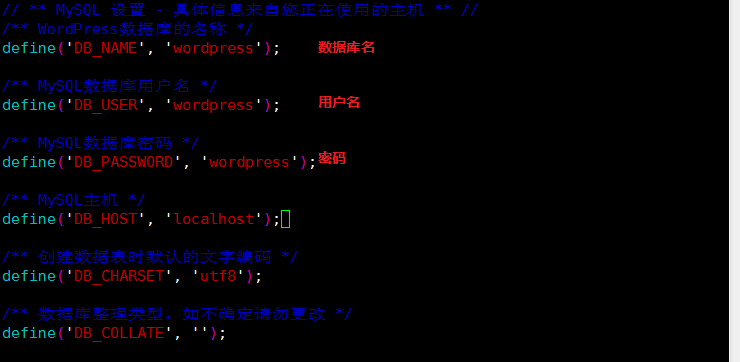
配置完成可以访问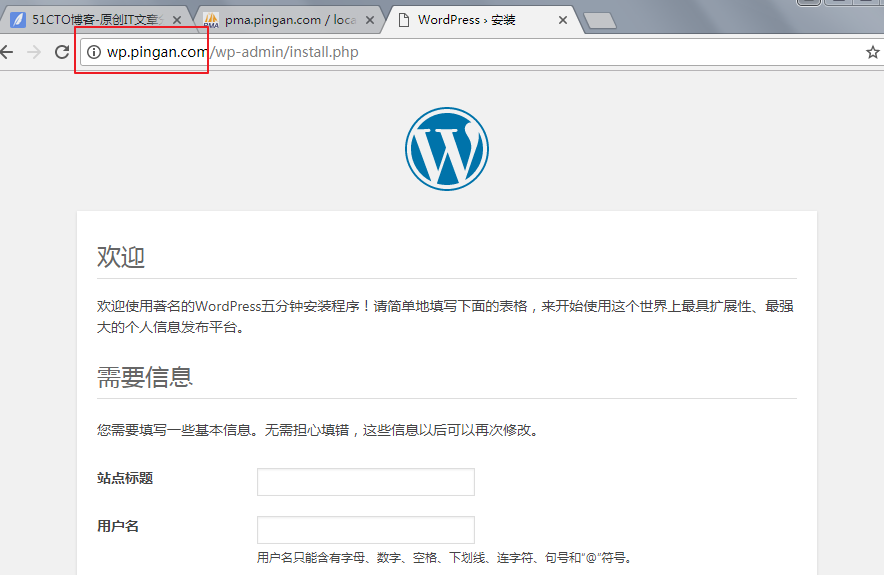
访问成功
4、配置论坛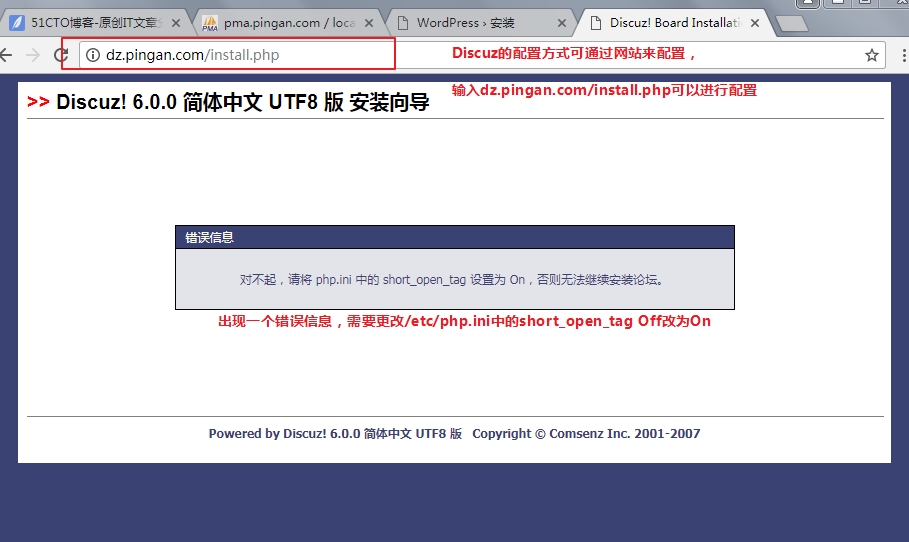
5、更改/etc/php.ini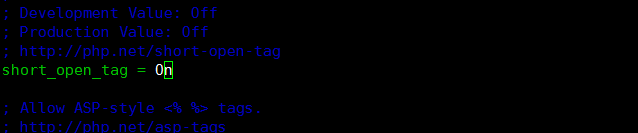
然后重启服务
出现权限问题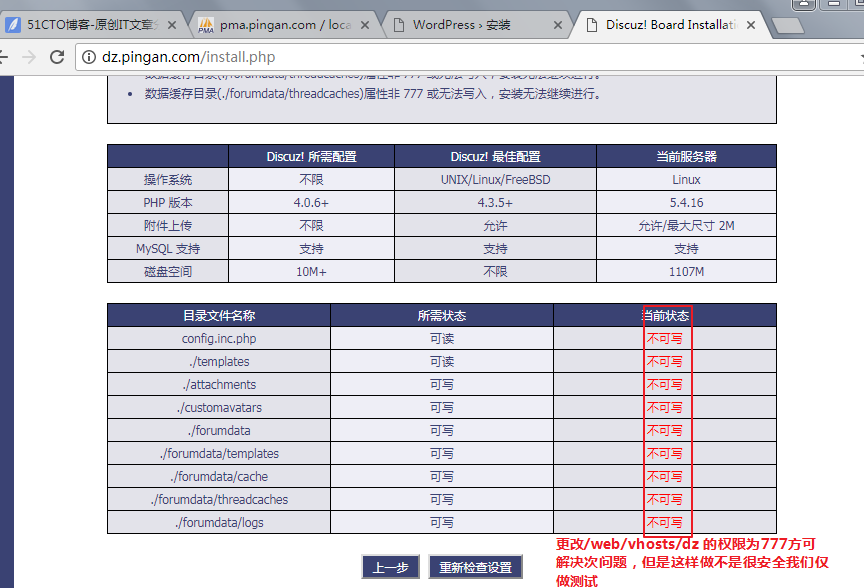
更改权限
更改后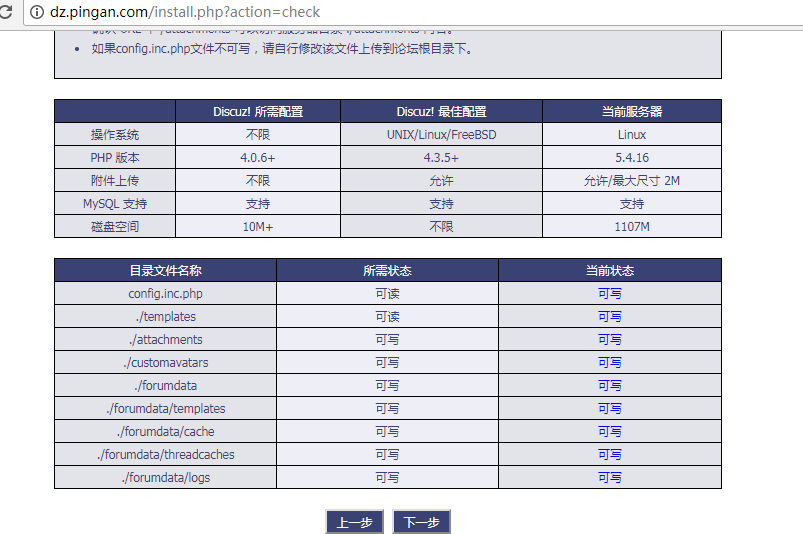

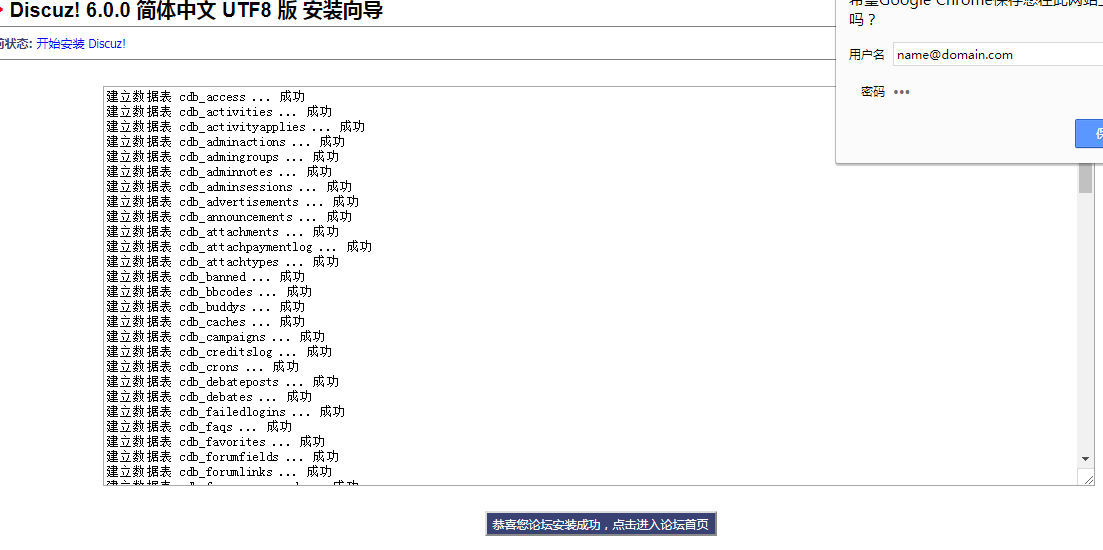
完成!!!