


zabbix(音同 zæbix)是一個基於WEB界面的提供分佈式系統監視以及網絡監視功能的企業級的開源解決方案。zabbix能監視各種網絡參數,保證服務器系統的安全運營;並提供靈活的通知機制以讓系統管理員快速定位/解決存在的各種問題。#### zabbix(音同 zæbix)是一個基於WEB界面的提供分佈式系統監視以及網絡監視功能的企業級的開源解決方案。zabbix能監視各種網絡參數,保證服務器系統的安全運營;並提供靈活的通知機制以讓系統管理員快速定位/解決存在的各種問題。
1、zabbix安裝的相關版本信息。
linux:centos 6.9 x64
zabbix:4.0
php:5.6
httpd:1.12.2
Mysql:5.7.21
2、安裝zabbix官方yum源;repo.zabbix.yum
(1)下載zabbix yum源安裝包
[root@test opt]# ll /etc/yum.repos.d/
total 24
-rw-r--r--. 1 root root 1991 Mar 28  2017 CentOS-Base.repo
-rw-r--r--. 1 root root  647 Mar 28  2017 CentOS-Debuginfo.repo
-rw-r--r--. 1 root root  289 Mar 28  2017 CentOS-fasttrack.repo
-rw-r--r--. 1 root root  630 Mar 28  2017 CentOS-Media.repo
-rw-r--r--. 1 root root 7989 Mar 28  2017 CentOS-Vault.repo
[root@test opt]# rpm -ivh  https://repo.zabbix.com/zabbix/4.0/rhel/6/x86_64/zabbix-release-4.0-1.el6.noarch.rpm
Retrieving https://repo.zabbix.com/zabbix/4.0/rhel/6/x86_64/zabbix-release-4.0-1.el6.noarch.rpm
warning: /var/tmp/rpm-tmp.lvjyfT: Header V4 RSA/SHA512 Signature, key ID a14fe591: NOKEY
Preparing...                ########################################### [100%]
     1:zabbix-release         ########################################### [100%]
[root@test opt]# ll /etc/yum.repos.d/
total 28
-rw-r--r--. 1 root root 1991 Mar 28  2017 CentOS-Base.repo
-rw-r--r--. 1 root root  647 Mar 28  2017 CentOS-Debuginfo.repo
-rw-r--r--. 1 root root  289 Mar 28  2017 CentOS-fasttrack.repo
-rw-r--r--. 1 root root  630 Mar 28  2017 CentOS-Media.repo
-rw-r--r--. 1 root root 7989 Mar 28  2017 CentOS-Vault.repo
-rw-r--r--. 1 root root  636 Oct  2 15:34 zabbix.repo

(2)查看yum源是否安裝完成。

    [root@test yum.repos.d]# cat zabbix.repo
    [zabbix]
    name=Zabbix Official Repository - $basearch
    baseurl=http://repo.zabbix.com/zabbix/4.0/rhel/6/$basearch/
    enabled=1
    gpgcheck=1
    gpgkey=file:///etc/pki/rpm-gpg/RPM-GPG-KEY-ZABBIX-A14FE591

    [zabbix-deprecated]
    name=Zabbix Official Repository deprecated - $basearch
    baseurl=http://repo.zabbix.com/zabbix/4.0/rhel/6/$basearch/deprecated
    enabled=0
    gpgcheck=1
    gpgkey=file:///etc/pki/rpm-gpg/RPM-GPG-KEY-ZABBIX-A14FE591

    [zabbix-non-supported]
    name=Zabbix Official Repository non-supported - $basearch
    baseurl=http://repo.zabbix.com/non-supported/rhel/6/$basearch/
    enabled=1
    gpgkey=file:///etc/pki/rpm-gpg/RPM-GPG-KEY-ZABBIX
    gpgcheck=1
3、Zabbix數據庫配置。
(1)安裝mysql 5.7;默認情況下centos6數據庫版本5.1。因此這裏先更新下yum源,安裝mysql-commiunt-server 5.7版本。

a、下載mysql-commnity yum源

[root@test yum.repos.d]# wget -P /opt/ https://dev.mysql.com/get/mysql80-community-release-el6-1.noarch.rpm
--2018-10-26 10:32:59--  https://dev.mysql.com/get/mysql80-community-release-el6-1.noarch.rpm
Resolving dev.mysql.com... 137.254.60.11
Connecting to dev.mysql.com|137.254.60.11|:443... connected.
HTTP request sent, awaiting response... 302 Found
Location: https://repo.mysql.com//mysql80-community-release-el6-1.noarch.rpm [following]
--2018-10-26 10:33:00--  https://repo.mysql.com//mysql80-community-release-el6-1.noarch.rpm
Resolving repo.mysql.com... 23.220.145.218
Connecting to repo.mysql.com|23.220.145.218|:443... connected.
HTTP request sent, awaiting response... 200 OK
Length: 25800 (25K) [application/x-redhat-package-manager]
Saving to: “/opt/mysql80-community-release-el6-1.noarch.rpm”

100%[===========================================================>] 25,800      --.-K/s   in 0.05s

2018-10-26 10:33:01 (524 KB/s) - “/opt/mysql80-community-release-el6-1.noarch.rpm” saved [25800/25800]
b、安裝mysql源
[root@test yum.repos.d]# rpm -ivh /opt/mysql80-community-release-el6-1.noarch.rpm
warning: /opt/mysql80-community-release-el6-1.noarch.rpm: Header V3 DSA/SHA1 Signature, key ID 5072e1f5: NOKEY
Preparing...                ########################################### [100%]
1:mysql80-community-relea########################################### [100%]
C、配置數據庫
修改mysql-community.repo源中mysql5.7的配置enbale=1後安裝mysql-community-server (5.7版本)yum --y install mysql-community-server後配置數據庫,設置密碼(此處省略)
mysql5.7重置密碼鏈接:https://www.jb51.net/article/100211.htm
(2)root用戶登錄數據庫。mysql -uroot -predhat
(3)創建zabbix數據庫
mysql> CREATE DATABASE zabbix CHARACTER SET utf8;
Query OK, 1 row affected (0.00 sec)
(4)創建zabbix用戶並授權:
mysql> GRANT ALL PRIVILEGES ON zabbix.* TO 'zbxuser'@'%' IDENTIFIED BY 'wl874133407@WL';
Query OK, 0 rows affected, 1 warning (0.01 sec)
mysql> flush privileges;
Query OK, 0 rows affected (0.01 sec)
(5)測試數據庫連接是否正常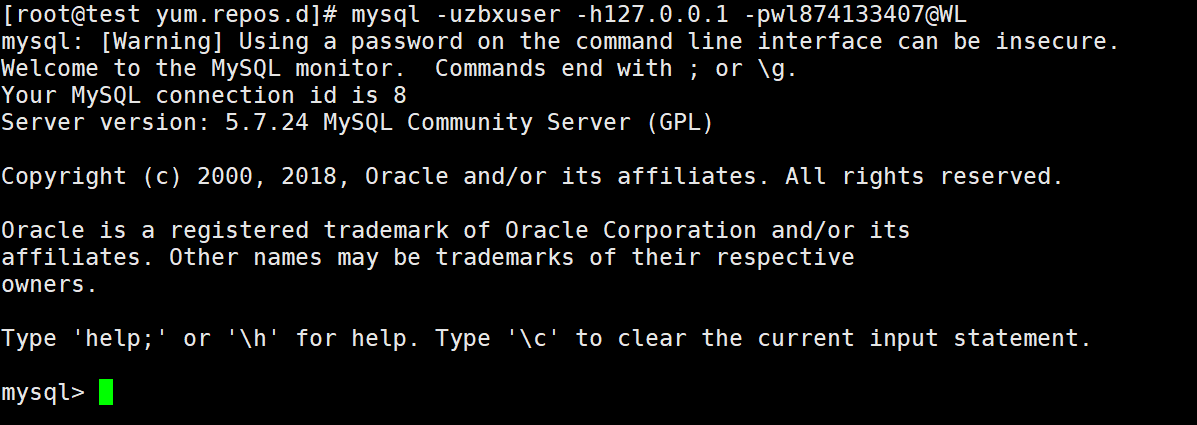
4、安裝配置zabbix_server段啓動
(1)安裝zabbix server端的數據庫連接:yum install zabbix-server-mysql

(2)配置zabbix的server端數據連接:

[root@localhost ~]# vim /etc/zabbix/zabbix_server.conf
ListenPort=10051
DBHost=127.0.0.1
DBName=zabbix
DBUser=zbxuser
DBPassword=wl874133407@WL
DBSocket=/tmp/mysql.sock
DBPort=3306
(3)導入zabbix自帶數據庫

[root@test ~]# zcat  /usr/share/doc/zabbix-server-mysql-4.0.0/create.sql.gz  | mysql -uzbxuser -pwl874133407@WL zabbix
mysql: [Warning] Using a password on the command line interface can be insecure.
[root@test ~]# mysql -uzbxuser -pwl874133407@WL
mysql: [Warning] Using a password on the command line interface can be insecure.
Welcome to the MySQL monitor.  Commands end with ; or \g.
Your MySQL connection id is 10
Server version: 5.7.24 MySQL Community Server (GPL)

Copyright (c) 2000, 2018, Oracle and/or its affiliates. All rights reserved.

Oracle is a registered trademark of Oracle Corporation and/or its
affiliates. Other names may be trademarks of their respective
owners.

Type 'help;' or '\h' for help. Type '\c' to clear the current input statement.

mysql> show databases;
+--------------------+
| Database           |
+--------------------+
| information_schema |
| zabbix             |
+--------------------+
2 rows in set (0.00 sec)

mysql> use zabbix
Reading table information for completion of table and column names
You can turn off this feature to get a quicker startup with -A

Database changed
mysql> show tables;
+----------------------------+
| Tables_in_zabbix           |
+----------------------------+
| acknowledges               |
| actions                    |
| alerts                     |
| application_discovery      |
| application_prototype
............
(4)啓動zabbix server端:
[root@test ~]# service zabbix-server start
5、安裝zabbix的agent端
(1)安裝zabbix agent端以及相關組件的安裝
[root@test ~]# yum install zabbix-agent zabbix-sender zabbix-get
(2)修改zabbix的配置文件:/etc/zabbix/zabbix_agentd.conf
Server=172.20.2.245  #填寫zabbix server的地址,本機可以爲127.0.0.1
ListenPort=10050
ListenIP=0.0.0.0
ServerActive=172.20.2.245
(3)啓動zabbix agent端
[root@localhost ~]# service zabbix-agent start
Starting Zabbix agent:                                     [  OK  ]
6.安裝Web環境與zabbix的web端:
(1)安裝php YUM源
rpm -ivh http://mirror.webtatic.com/yum/el6/latest.rpm(2)安裝zabbix需要的web環境
yum install httpd php56w php56w-bcmath php56w-cli php56w-common php56w-gd php56w-mbstring php56w-mysql php56w-pdo php56w-xml php56w-ldap(3)安裝zabbix的web端
yum install zabbix-web zabbix-web-mysql(4)修改PHP的配置文件
[root@localhost ~]# vim /etc/php.ini
date.timezone = Asia/Shanghai
post_max_size = 16M
max_execution_time = 300
max_input_time = 300
always_populate_raw_post_data = -1
(5)配置zabbix的web訪問並啓動:
[root@localhost ~]# cp -R /usr/share/zabbix /var/www/html/
[root@localhost ~]# chown apache:apache -R /var/www/html/zabbix
[root@localhost ~]# service httpd restart
(6)訪問zabbix頁面
http://172.20.2.245/zabbix 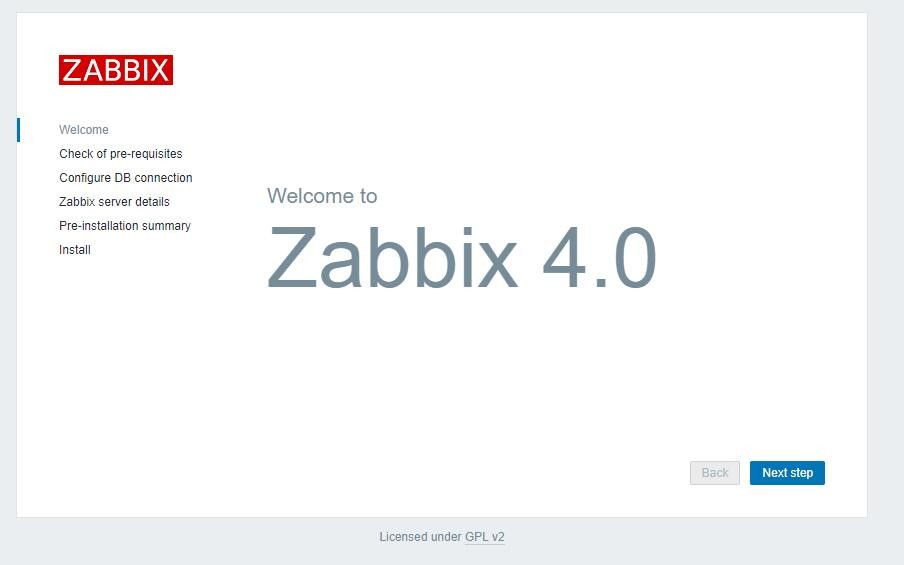
至此zabbix 4.0安裝完成。後續跟進界面提示,進行配置後儘可以進去zabbix管理界面。
默認用戶名密碼:admin/zabbix