一. 運行環境:
lnmp 或者lamp
phpmyadmin不同版本對php和mysql的版本有相對應的要求
具體可以去官網查看:https://www.phpmyadmin.net/files/
二. 安裝
- 下載 :
https://files.phpmyadmin.net/phpMyAdmin/4.8.3/phpMyAdmin-4.8.3-all-languages.zip - 解壓到web的根目錄,並且重命名爲phpmyadmin
unzip phpMyAdmin-4.8.3-all-languages.zip mv phpMyAdmin-4.8.3-all-languages phpmyadmin - 複製配置文件
cd /var/www/html/phpmyadmin cp config.sample.inc.php config.inc.php - http://192.168.4.55/phpmyadmin 訪問登錄測試
到此安裝結束,接下來設置登錄方式
三. 設置登錄方式和管理多個數據庫服務器
- 如何設置phpMyAdmin自動登錄?
打開config.inc.php 找到 $cfg['Servers'][$i]['auth_type'],將$cfg['Servers'][$i]['auth_type'] = 'cookie';
改成$cfg['Servers'][$i]['auth_type'] = 'config'
然後在下面追加如下代碼:$cfg['Servers'][$i]['user'] = 'root'; // 設置的mysql用戶名 $cfg['Servers'][$i]['password'] = '123456'; // 設置的mysql密碼 - 如何取消phpMyAdmin自動登錄
只需把$cfg['Servers'][$i]['auth_type'] = 'config';
改成$cfg['Servers'][$i]['auth_type'] = 'cookie';
溫馨提示:
$cfg['Servers'][$i]['auth_type'] 有三個待選項值,即 cookie、http、config。用的比較多的是 cookie與config。當在正式環境時,用 cookie,要求用戶必須輸入正確的用戶名與密碼,而在本地測試服務器時,一般用 config,省得session失效後又得輸入用戶名與密碼,以節省開發時間
- 登陸phpMyAdmin時輸入服務器ip地址端口、用戶名、密碼
只需要在phpmyadmin的配置文件 config.inc.php 中加上一個配置項$cfg['AllowArbitraryServer'] = true;
這樣登錄界面會多出服務器一項 不填的話默認使用配置文件中的服務器 指定端口只需在服務器地址後加一個空格再加上端口即可,是不是很簡單呢^^ - 只需輸入用戶名、密碼,服務器地址爲下拉列表可選
修改config.inc.php文件,找到 First server 註釋部分,將其修改爲以下內容$hosts = array( '1'=>array('host'=>'localhost','user'=>'root','password'=>'123456'), '2'=>array('host'=>'192.168.0.1','user'=>'ciray','password'=>'123456') ); //$hosts數組下標從1開始,host的值爲服務器ip地址,user是對應的MySql登陸用戶名,password的值爲MySql的登陸密碼,請修改成你自己的 //$hosts數組配置了兩臺服務器,如果你有多臺服務器,請按數組下標遞增的順序添加配置信息 /* * First server */ for($i=1;$i<=count($hosts);$i++){ /* Authentication type */ $cfg['Servers'][$i]['auth_type'] = 'cookie'; /* Server parameters */ $cfg['Servers'][$i]['host'] = $hosts[$i]['host']; //修改host $cfg['Servers'][$i]['connect_type'] = 'tcp'; $cfg['Servers'][$i]['compress'] = false; /* Select mysqli if your server has it */ $cfg['Servers'][$i]['extension'] = 'mysql'; $cfg['Servers'][$i]['AllowNoPassword'] = true; $cfg['Servers'][$i]['user'] = $hosts[$i]['user']; //修改用戶名 $cfg['Servers'][$i]['password'] = $hosts[$i]['password']; //密碼 /* rajk – for blobstreaming */ $cfg['Servers'][$i]['bs_garbage_threshold'] = 50; $cfg['Servers'][$i]['bs_repository_threshold'] = '32M'; $cfg['Servers'][$i]['bs_temp_blob_timeout'] = 600; $cfg['Servers'][$i]['bs_temp_log_threshold'] = '32M'; }
修改完成後保存文件,重新登陸,如果可以看到phpMyAdmin登陸界面中出現服務器候選列表,說明修改正確.

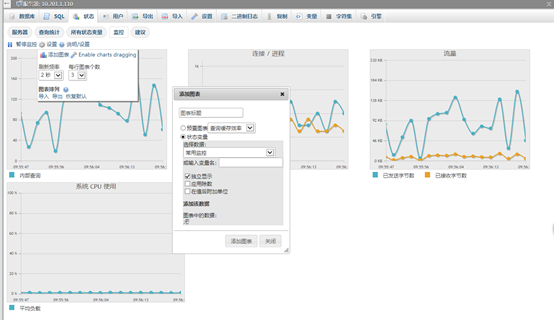
如需開啓高級功能,參考:https://blog.csdn.net/joshua_317/article/details/51363471
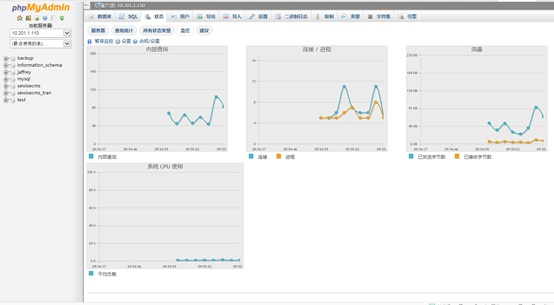
大功告成,還可以監控mysql