


1.編譯安裝http
1.準備好文件apr-1.6.5.tar.bz2 httpd-2.4.38.tar.bz2 apr-util-1.6.1.tar.bz2並安裝如下包
[root@centos7 install]#yum groupinstall "development tools"
[root@centos7 install]#yum install openssl-devel pcre-devel expat-devel
2.解壓文件到當前文件夾
 [root@centos7 install]tar xvf apr-1.6.5.tar.bz2
 [root@centos7 install] tar xvf   apr-util-1.6.1.tar.bz2
  [root@centos7 install]tar xvf  httpd-2.4.38.tar.bz2
3.移動文件夾,把apr 和apr-util 拷貝進去httpd文件夾中一起編譯
    [root@centos7 install]#cp -r apr-1.6.5 httpd-2.4.38/srclib/apr
[root@centos7 install]#cp -r apr-util-1.6.1 httpd-2.4.38/srclib/apr-util
4.編譯安裝httpd
 [root@centos7 httpd-2.4.38]#  ./configure --prefix=/data/httpd24 --enable-so --enable-ssl --enable-cgi --enable-rewrite --with-zlib --with-pcre --with-included-apr --enable-modules=most --enable-mpms-shared=all --with-mpm=prefork
 [root@centos7 httpd-2.4.38]#make -j 4 && make install
5.設置httpd環境變量
[root@centos7 httpd-2.4.38]#echo PATH=/data/httpd24/bin:${PATH} > /etc/profile.d/lamp.sh
[root@centos7 httpd-2.4.38]#. /etc/profile.d/lamp.sh
[root@centos7 httpd-2.4.38]#echo $PATH
/data/httpd24/bin:/app/bin:/usr/local/sbin:/usr/local/bin:/usr/sbin:/usr/bin:/root/bin
6.添加apache用戶
[root@centos7 httpd-2.4.38]#useradd -r  –m –d /data/httpd24/ -s /sbin/nologin
[root@centos7 httpd-2.4.38]#chown  -R apache:apache /data/httpd24/
7.修改/data/httpd24/conf/httpd.conf 配置文件讓apache賬號運行
User apache
 Group apache
8.設置apache開機啓動
[root@centos7 httpd-2.4.38]#ln -s /data/httpd24/bin/apachectl /etc/init.d/httpd
[root@centos7 httpd-2.4.38]#vim /data/httpd24/bin/apachectl
9.在apachectl腳本加入
#chkconfig: 2345 10 90
#description: Activates/Deactivates Apache Web Server
[root@centos7 httpd-2.4.38]#chkconfig --add httpd
[root@centos7 httpd-2.4.38]#chkconfig --list
Note: This output shows SysV services only and does not include native
systemd services. SysV configuration data might be overridden by native
systemd configuration.
If you want to list systemd services use 'systemctl list-unit-files'.
To see services enabled on particular target use
'systemctl list-dependencies [target]'.
httpd 0:off 1:off 2:on 3:on 4:on 5:on 6:off
netconsole 0:off 1:off 2:off 3:off 4:off 5:off 6:off
network 0:off 1:off 2:on 3:on 4:on 5:on 6:off10.啓動服務測試
[root@centos7 httpd-2.4.38]#apachectl start
[root@localhost ~]# curl 192.168.0.109
<html><body><h1>It works!</h1></body></html>
[root@localhost ~]# curl -I 192.168.0.109
HTTP/1.1 200 OK
Date: Thu, 07 Feb 2019 10:59:57 GMT
Server: Apache/2.4.38 (Unix)
Last-Modified: Mon, 11 Jun 2007 18:53:14 GMT
ETag: "2d-432a5e4a73a80"
Accept-Ranges: bytes
Content-Length: 45
Content-Type: text/html
2.編譯安裝php-fpm
php-7.1.26.tar.xz
1.安裝額外包
[root@centos7 httpd-2.4.38]#yum install libxml2-devel bzip2-devel libmcrypt-devel2.解壓文件
[root@centos7 install]#tar xvf php-7.1.26.tar.xz 3.編譯安裝php
[root@centos7 php-7.1.26]#./configure --prefix=/data/php --enable-mysqlnd --with-mysqli=mysqlnd --with-openssl --with-pdo-mysql=mysqlnd --enable-mbstring  --with-freetype-dir --with-jpeg-dir --with-png-dir --with-zlib --with-libxml-dir=/usr --enable-xml  --enable-sockets --enable-fpm  --with-mcrypt --with-config-file-path=/etc  --with-config-file-scan-dir=/etc/php.d  --enable-maintainer-zts  --disable-fileinfo
[root@centos7 php-7.1.26]#make -j 4 && make install
4.拷貝php配置文件
[root@centos7 php-7.1.26]#cp -a php.ini-production /etc/php.ini5.拷貝php啓動腳本
[root@centos7 php-7.1.26]#cp sapi/fpm/init.d.php-fpm /etc/init.d/php-fpm6.設置php開機啓動
[root@centos7 php-7.1.26]#chkconfig --add php-fpm
[root@centos7 php-7.1.26]#chkconfig --list php-fpm

Note: This output shows SysV services only and does not include native
      systemd services. SysV configuration data might be overridden by native
      systemd configuration.

      If you want to list systemd services use 'systemctl list-unit-files'.
      To see services enabled on particular target use
      'systemctl list-dependencies [target]'.

php-fpm         0:off   1:off   2:on    3:on    4:on    5:on    6:off
7.拷貝php-fpm配置文件
[root@centos7 php-7.1.26]#cd /data/php/etc/
[root@centos7 etc]#ls
pear.conf  php-fpm.conf.default  php-fpm.d
[root@centos7 etc]#cp php-fpm.conf.default php-fpm.conf
[root@centos7 etc]#cp php-fpm.d/www.conf.default php-fpm.d/www.conf
8.配置httpd支持php
取消下面兩行的註釋
LoadModule proxy_module modules/mod_proxy.so   #支持代理
LoadModule proxy_fcgi_module modules/mod_proxy_fcgi.so  #支持fcgi
修改下面行 加主頁
<IfModule dir_module>
DirectoryIndex index.php index.html
</IfModule>
加下面四行
AddType application/x-httpd-php .php
AddType application/x-httpd-php-source .phps
ProxyRequests Off
ProxyPassMatch  ^/(.*\.php)$ fcgi://127.0.0.1:9000/data/httpd24/htdocs/$1  #所有php處理給本機9000端口(也就是php-fpm)處理
9.啓動服務
[root@centos7 etc]#chmod +x /etc/init.d/php-fpm
[root@centos7 etc]#service php-fpm start
Starting php-fpm  done
10.重啓http的服務
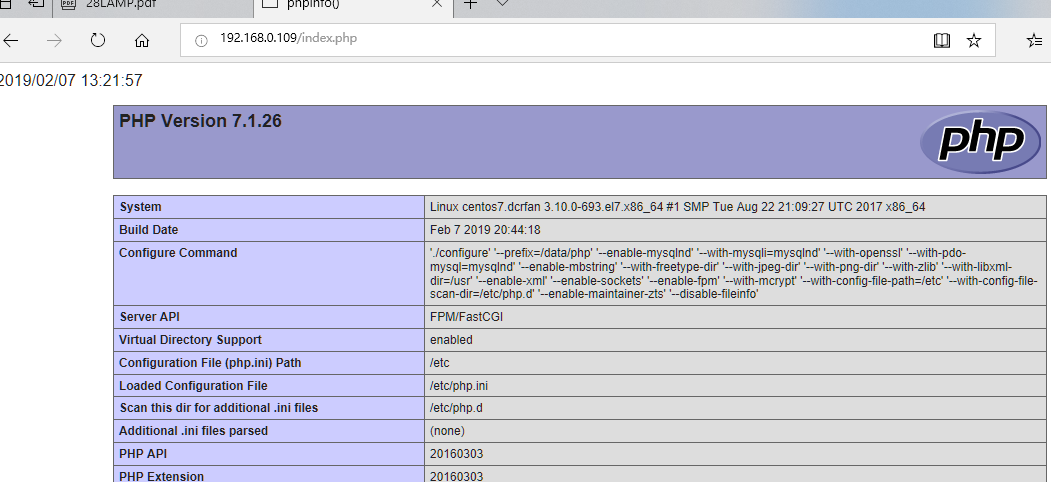
[root@centos7 etc]#apachectl restart11.設置測試文件
[root@centos7 etc]#vim /data/httpd24/htdocs/index.php
   <?php
   echo date("Y/m/d  H:i:s");
   phpinfo();
   ?>
3.在192.168.0.112安裝mariadb
準備好二進制文件mariadb-10.1.38-linux-systemd-x86_64.tar.gz
1.準備好MySQL用戶
[root@localhost ~]# groupadd -r -g 306 mysql
[root@localhost ~]# useradd -r -g 306 -u 306 -m -d /data/mysql -s /sbin/nologin
mysql
2.把文件解壓到/usr/local中
[root@localhost ~]# tar xf mariadb-10.1.38-linux-systemd-x86_64.tar.gz -C /usr/local3.創建文件夾軟鏈接
[root@localhost ~]# cd /usr/local/
[root@localhost local]# ln -s mariadb-10.1.38-linux-systemd-x86_64/ mysql
4.修改文件夾權限
[root@localhost local]#chown -R root:mysql /usr/local/mysql/ 5.把二進制執行文件加入PATH變量中
[root@localhost local]# echo PATH=/usr/local/mysql/bin:$PATH > /etc/profile.d/mysql.sh
[root@localhost local]# . /etc/profile.d/mysql.sh
[root@localhost local]# echo $PATH
/usr/local/mysql/bin:/usr/local/sbin:/usr/local/bin:/usr/sbin:/usr/bin:/root/bin
6.創建數據庫文件
[root@localhost local]# cd /usr/local/mysql
[root@localhost mysql]# ./scripts/mysql_install_db --datadir=/data/mysql -user=mysql
[root@localhost mysql]# ls /data/mysql
aria_log.00000001  aria_log_control  ibdata1  ib_logfile0  ib_logfile1  mysql  performance_schema  test
[root@localhost mysql]# chown -R mysql.mysql /data/mysql
7.準備配置文件
[root@localhost mysql]# cp support-files/my-large.cnf /etc/my.cnf8.修改配置文件
datadir = /data/mysql
skip_name_resolve = on    禁止主機名解析,建議使用
9.設置啓動文件
[root@localhost mysql]# cp support-files/mysql.server /etc/init.d/mysqld
[root@localhost mysql]# chkconfig --list

Note: This output shows SysV services only and does not include native
      systemd services. SysV configuration data might be overridden by native
      systemd configuration.

      If you want to list systemd services use 'systemctl list-unit-files'.
      To see services enabled on particular target use
      'systemctl list-dependencies [target]'.

mysqld          0:off   1:off   2:on    3:on    4:on    5:on    6:off
netconsole      0:off   1:off   2:off   3:off   4:off   5:off   6:off
network         0:off   1:off   2:on    3:on    4:on    5:on    6:off
10.啓動服務
[root@localhost mysql]# service mysqld start
Starting mysqld (via systemctl):                           [  OK  ]
11.安全初始化
[root@localhost mysql]# mysql_secure_installation12.創建測試用戶
MariaDB [(none)]> grant all on *.* to test@'192.168.0.%' identified by '123456';
Query OK, 0 rows affected (0.00 sec)
MariaDB [(none)]> flush privileges;
13.在192.168.0.109安裝php-mysql
[root@centos7 etc]#yum install php-mysql14.設置測試頁面
 root@centos7 ~]#vim /data/httpd24/htdocs/test.php
<?php
$mysqli=new mysqli("192.168.0.112","test","123456");
if(mysqli_connect_errno()){
echo "Failure";
$mysqli=null;
exit;
}
echo "OK";
$mysqli->close();
?>
15.測試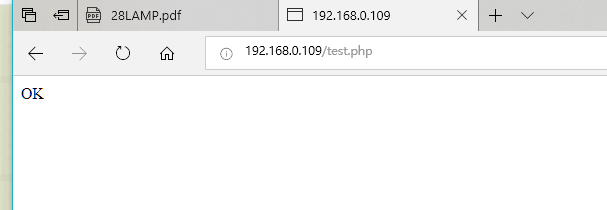
4.安裝phpmyadmin
phpMyAdmin-4.8.5-all-languages.tar.xz
1.解壓phpmyadmin,並放在httpd網頁文件夾上
[root@centos7 install]#tar -xvf phpMyAdmin-4.8.5-all-languages.tar.xz
[root@centos7 install]#cp -a phpMyAdmin-4.8.5-all-languages/ /data/httpd24/htdocs/phpmyadmin/
2.改名默認配置文件,並修改配置
[root@centos7 phpmyadmin]#cp config.sample.inc.php config.inc.php
$cfg['blowfish_secret'] = 'sda1254z'; /* YOU MUST FILL IN THIS FOR COOKIE AUTH! */   #修改該隨機數
$cfg['Servers'][$i]['host'] = '192.168.0.112'; #定義遠程訪問數據庫地址
3.安裝模塊並重啓服務
[root@centos7 phpmyadmin]#yum -y install php-mbstring
[root@centos7 phpmyadmin]#apachectl restart
4.測試登錄http://192.168.0.109/phpmyadmin/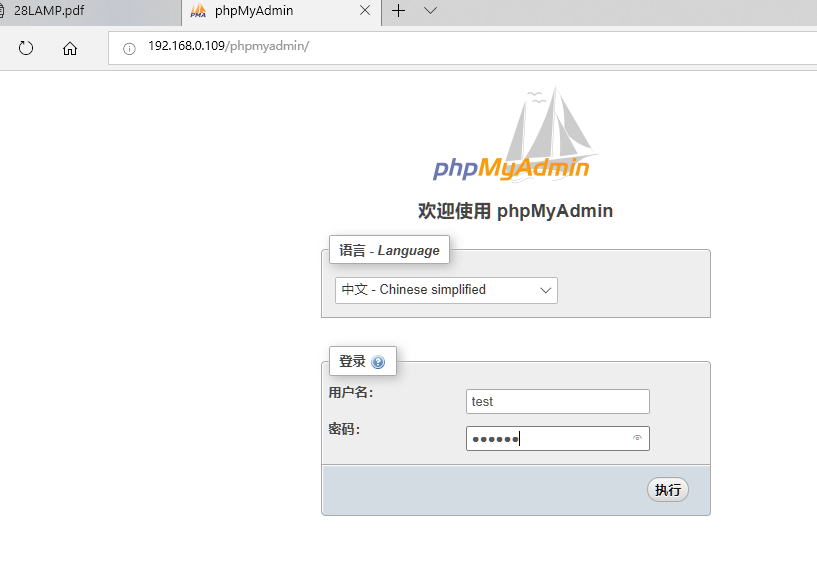
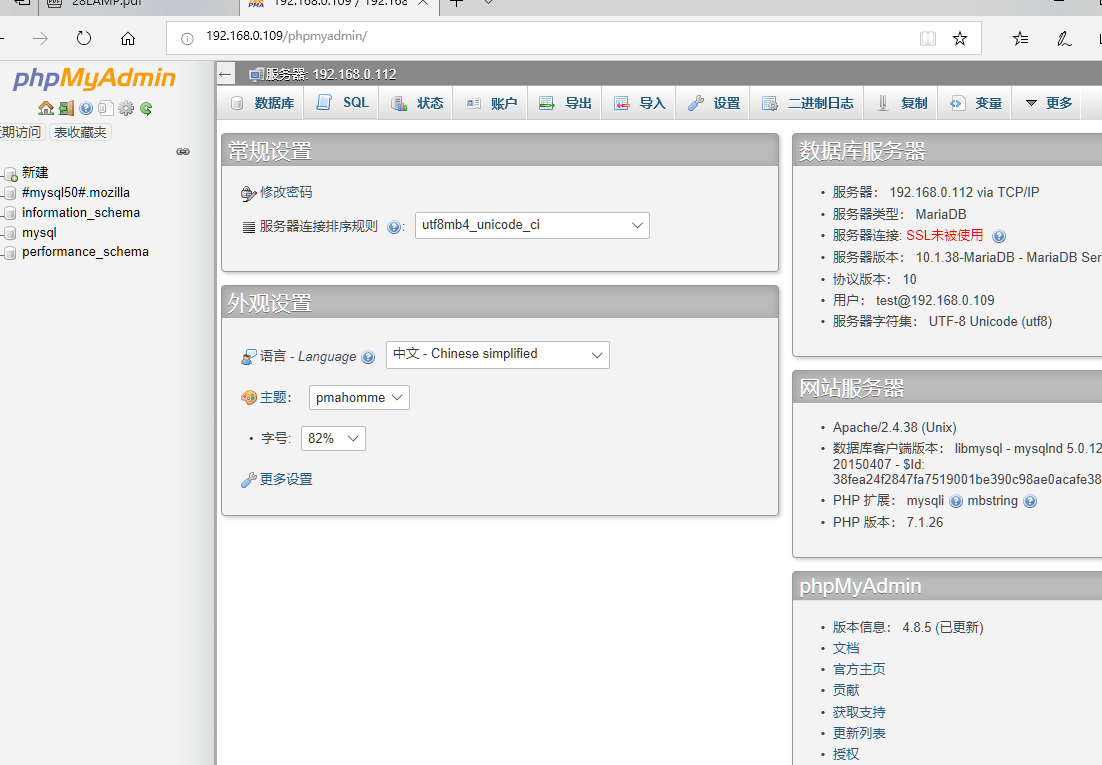
5.利用phpmyadmin創建wordpress數據庫和賬號
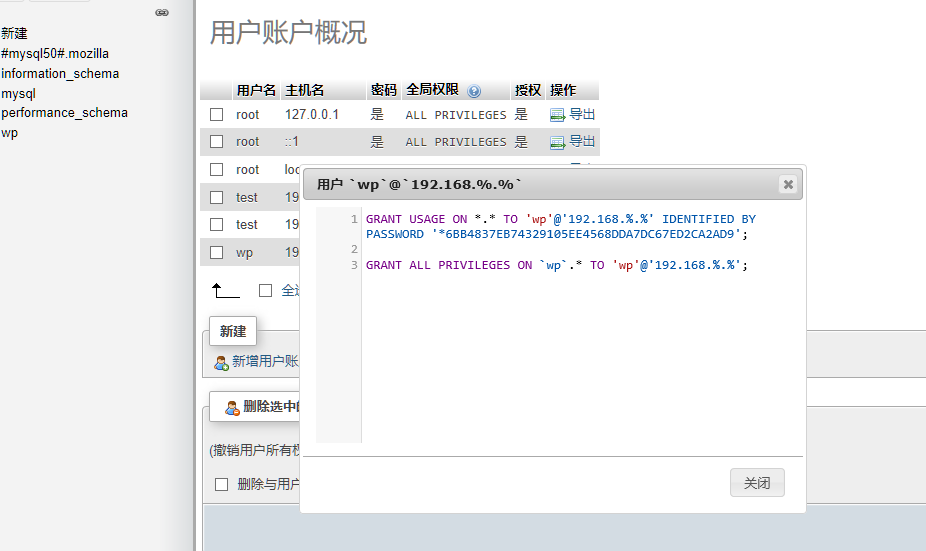
5.安裝WordPress
準備好wordpress-4.9.4-zh_CN.tar.gz
1.解壓文件,拷貝到httpd網頁文件夾下,並且給定apache權限
[root@centos7 install]#tar xvf wordpress-4.9.4-zh_CN.tar.gz
[root@centos7 install]#cp -a wordpress/ /data/httpd24/htdocs/
[root@centos7 htdocs]#setfacl -R -m u:apache:rwx wordpress/ #安裝完可以回收權限
2.訪問網頁,安裝WordPress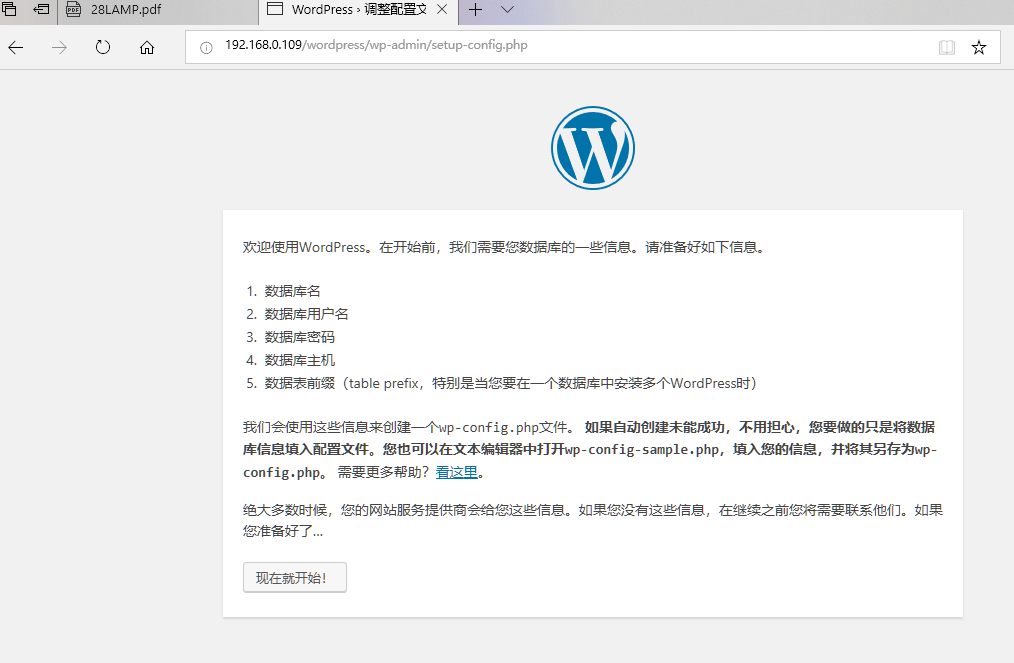
3.設置數據庫信息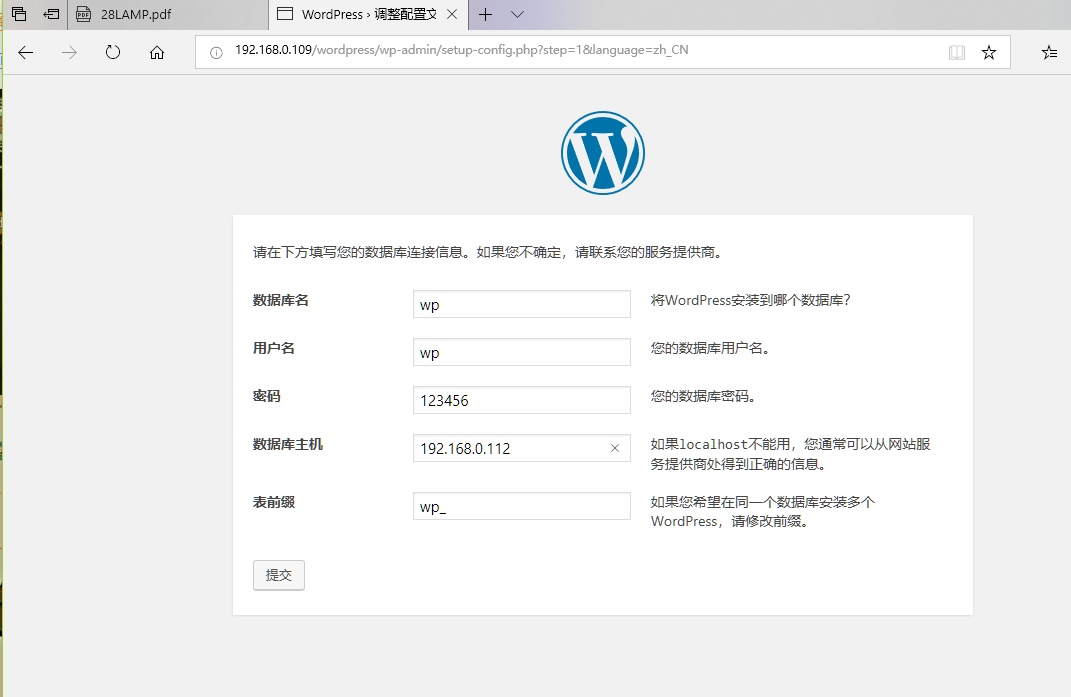
4.設置管理信息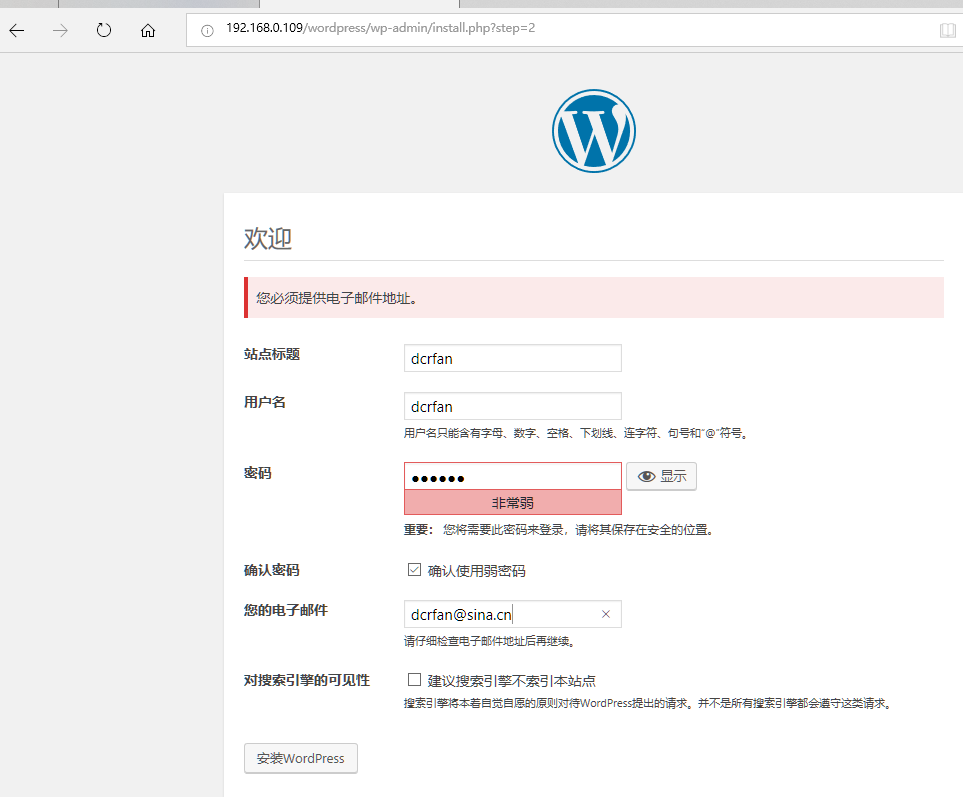
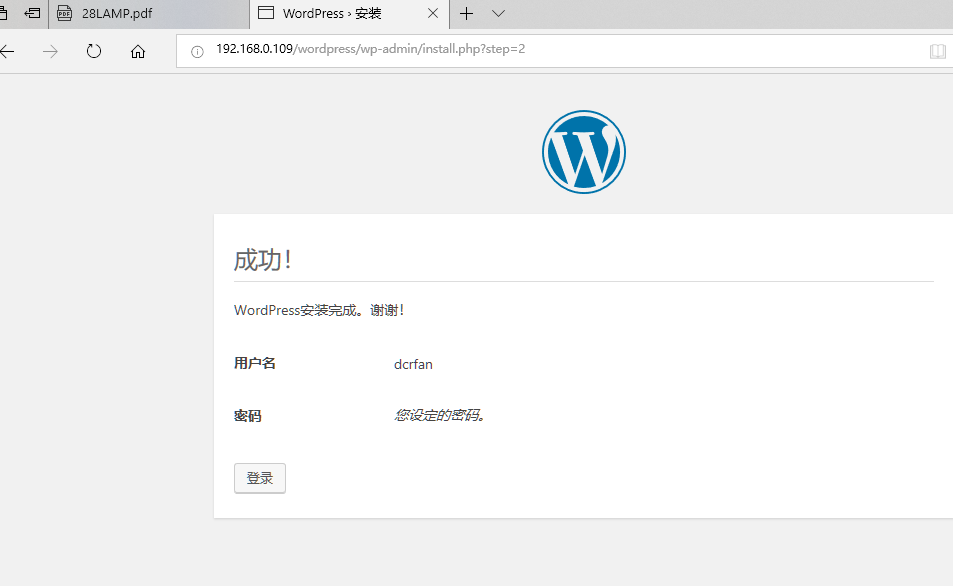
5.查看頁面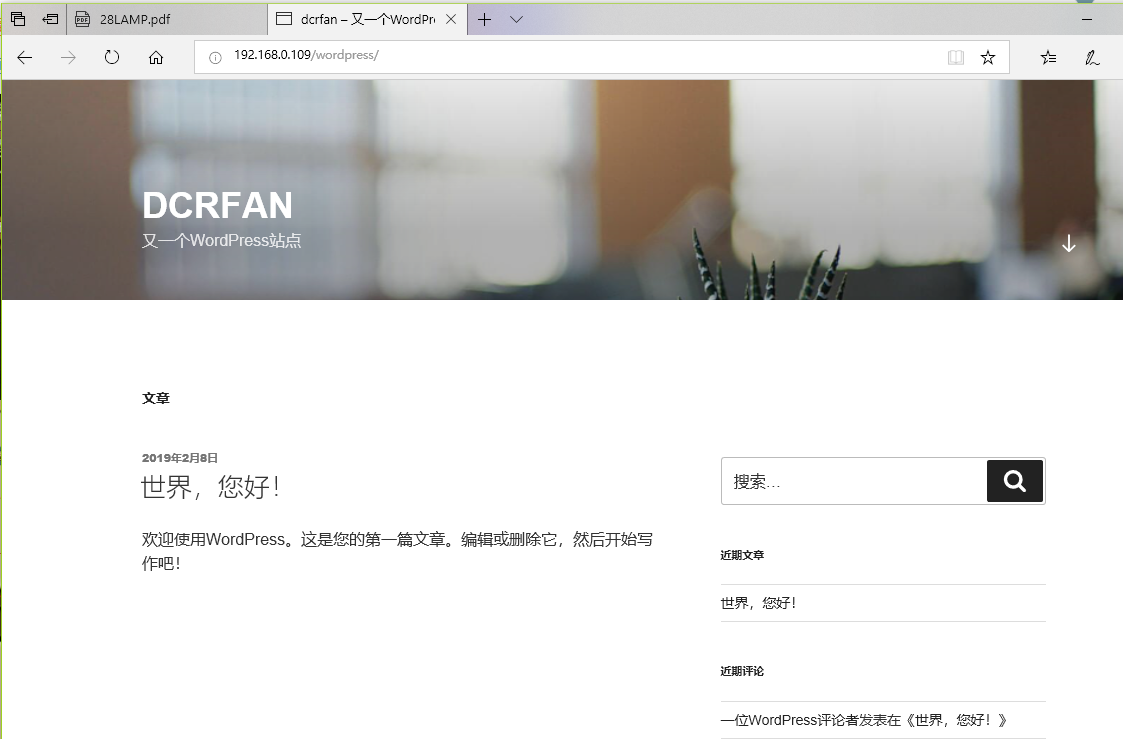
6.查看數據庫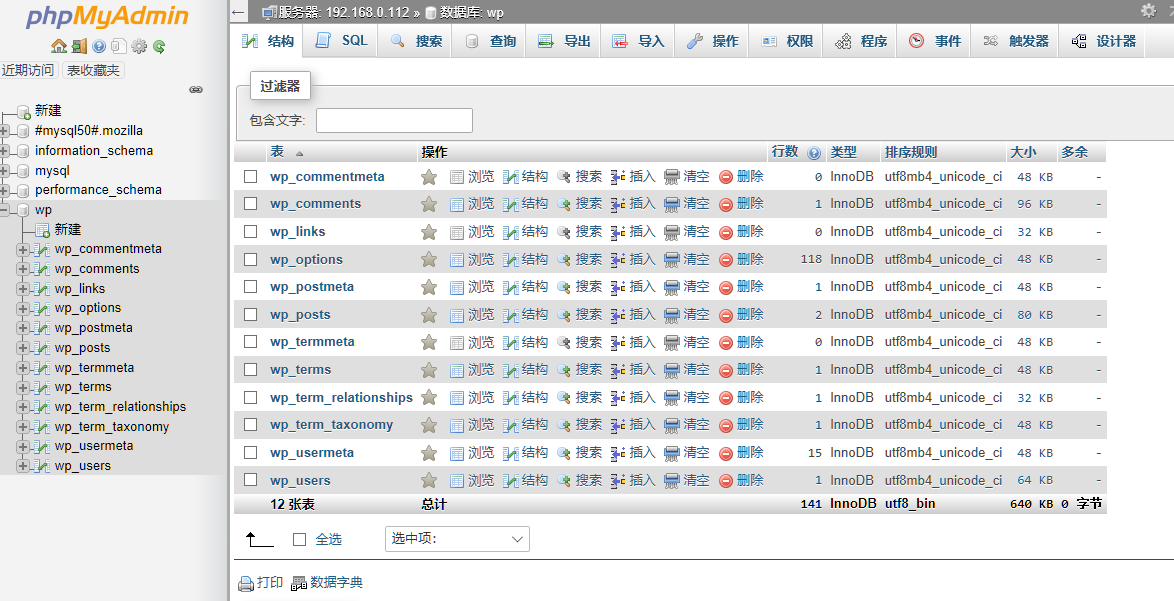
6.利用xcache加速php
1.先用ab測試測試一下
[root@localhost ~]# ab -c 10 -n 100 http://192.168.0.109/wordpress/
This is ApacheBench, Version 2.3 <$Revision: 1430300 $>
Copyright 1996 Adam Twiss, Zeus Technology Ltd, http://www.zeustech.net/
Licensed to The Apache Software Foundation, http://www.apache.org/

Benchmarking 192.168.0.109 (be patient).....done

Server Software:        Apache/2.4.38
Server Hostname:        192.168.0.109
Server Port:            80

Document Path:          /wordpress/
Document Length:        53063 bytes

Concurrency Level:      10
Time taken for tests:   6.964 seconds
Complete requests:      100
Failed requests:        0
Write errors:           0
Total transferred:      5332300 bytes
HTML transferred:       5306300 bytes
Requests per second:    14.36 [#/sec] (mean)
Time per request:       696.430 [ms] (mean)
Time per request:       69.643 [ms] (mean, across all concurrent requests)
Transfer rate:          747.72 [Kbytes/sec] received

Connection Times (ms)
              min  mean[+/-sd] median   max
Connect:        0    1   0.6      1       3
Processing:   280  648 109.5    633     855
Waiting:      265  631 109.2    615     840
Total:        283  648 109.3    634     856

Percentage of the requests served within a certain time (ms)
  50%    634
  66%    668
  75%    684
  80%    711
  90%    815
  95%    827
  98%    852
  99%    856
 100%    856 (longest request)
結果Requests per second: 14.36
準備好xcache-3.2.0.tar.bz2
2.解壓並安裝模塊
 [root@centos7 install]#tar xvf xcache-3.2.0.tar.bz2
    [root@centos7 xcache-3.2.0]#yum install php-devel
3.在xcache目錄下執行命令生成configure文件
[root@centos7 xcache-3.2.0]#phpize
Configuring for:
PHP Api Version:         20100412
Zend Module Api No:      20100525
Zend Extension Api No:   220100525
4.編譯安裝xcache
[root@centos7 xcache-3.2.0]#./configure --enable-xcache --with-php-config=/usr/bin/php-config
[root@centos7 xcache-3.2.0]#make -j 4 && make install
生成模塊路徑Installing shared extensions: /usr/lib64/php/modules/
5.拷貝xcache配置文件到php配置的文件夾下,並重啓php-fpm和httpd服務
[root@centos7 xcache-3.2.0]#cp xcache.ini /etc/php.d/
[root@centos7 php]#apachectl restart
[root@centos7 php]#service php-fpm restart
6.重新測試
[root@localhost ~]# ab -c 10 -n 100 http://192.168.0.109/wordpress/
This is ApacheBench, Version 2.3 <$Revision: 1430300 $>
Copyright 1996 Adam Twiss, Zeus Technology Ltd, http://www.zeustech.net/
Licensed to The Apache Software Foundation, http://www.apache.org/

Benchmarking 192.168.0.109 (be patient).....done

Server Software:        Apache/2.4.38
Server Hostname:        192.168.0.109
Server Port:            80

Document Path:          /wordpress/
Document Length:        53063 bytes

Concurrency Level:      10
Time taken for tests:   5.320 seconds
Complete requests:      100
Failed requests:        0
Write errors:           0
Total transferred:      5332300 bytes
HTML transferred:       5306300 bytes
Requests per second:    18.80 [#/sec] (mean)
Time per request:       531.999 [ms] (mean)
Time per request:       53.200 [ms] (mean, across all concurrent requests)
Transfer rate:          978.82 [Kbytes/sec] received

Connection Times (ms)
              min  mean[+/-sd] median   max
Connect:        0    1   1.1      1      10
Processing:   179  497  75.3    506     643
Waiting:      169  484  74.0    495     633
Total:        180  498  75.4    507     644

Percentage of the requests served within a certain time (ms)
  50%    507
  66%    529
  75%    540
  80%    550
  90%    556
  95%    590
  98%    607
  99%    644
 100%    644 (longest request)
結果Requests per second: 18.80
訪問效率提高了