


Nginx官網 http://nginx.org/
官網可查看下載不通版本Nginx 版本號 單數爲測試版 雙數爲穩定版
在此下載的1.14版本 更新的詳細信息http://nginx.org/en/CHANGES-1.14
http://nginx.org/en/docs/ 這裏可常看配置文件的詳細介紹
編譯安裝nginx之前建議安裝“開發工具包組”
Nginx是模塊化的,配置文件十分簡潔,現在nginx也支持動態安裝模塊
下面先來一分完整版的nginx.conf
user nginx;
worker_processes 3;
#error_log logs/error.log;
#error_log logs/error.log notice;
error_log logs/error.log error;
pid logs/nginx.pid;
events {
worker_connections 2048;
}
http {
include mime.types;
default_type application/octet-stream;
log_format  main  '$remote_addr - $remote_user [$time_local] "$request" '
#                  '$status $body_bytes_sent "$http_referer" '
#                  '"$http_user_agent" "$http_x_forwarded_for"';

access_log  logs/access.log  main;

sendfile        on;
#tcp_nopush     on;

#keepalive_timeout  0;
keepalive_timeout  65;

#gzip  on;
gzip  on;
gzip_comp_level 9;
以上片段是nginx的主要配置了,可以定義nginx的各種性能,下面還有半部分,下半部分配置的主要是主機方面了(虛擬主機等,可定義多個主機(網站))。
下半部分:
server {
listen 80;
server_name localhost;
    #charset koi8-r;

    #access_log  logs/host.access.log  main;

    location / {
        root   html;
        index  index.html index.htm;
    }

    #error_page  404              /404.html;

    # redirect server error pages to the static page /50x.html
    #
    error_page   500 502 503 504  /50x.html;
    location = /50x.html {
        root   html;
    }

    # proxy the PHP scripts to Apache listening on 127.0.0.1:80
    #
    #location ~ \.php$ {
    #    proxy_pass   http://127.0.0.1;
    #}

    # pass the PHP scripts to FastCGI server listening on 127.0.0.1:9000
    #
    #location ~ \.php$ {
    #    root           html;
    #    fastcgi_pass   127.0.0.1:9000;
    #    fastcgi_index  index.php;
    #    fastcgi_param  SCRIPT_FILENAME  /scripts$fastcgi_script_name;
    #    include        fastcgi_params;
    #}

    # deny access to .htaccess files, if Apache's document root
    # concurs with nginx's one
    #
    #location ~ /\.ht {
    #    deny  all;
    #}
}

# another virtual host using mix of IP-, name-, and port-based configuration
#
#server {
#    listen       8000;
#    listen       somename:8080;
#    server_name  somename  alias  another.alias;

#    location / {
#        root   html;
#        index  index.html index.htm;
#    }
#}

# HTTPS server
#
#server {
#    listen       443 ssl;
#    server_name  localhost;

#    ssl_certificate      cert.pem;
#    ssl_certificate_key  cert.key;

#    ssl_session_cache    shared:SSL:1m;
#    ssl_session_timeout  5m;

#    ssl_ciphers  HIGH:!aNULL:!MD5;
#    ssl_prefer_server_ciphers  on;

#    location / {
#        root   html;
#        index  index.html index.htm;
#    }
#}
}
下半部分就是定義了兩個主機頭實例
詳細介紹配置文件,配置文件的所有項都是;結尾的。
user nginx; 在編譯安裝之前新建的nginx用戶,備註:所有的軟件用戶都不能讓其登錄,useradd nginx -s /sbin/nologin。
worker_processes 3; 工作時候使用的CPU數量,一般是當前主機的CPU個數,或-1
#error_log logs/error.log;
#error_log logs/error.log notice;
error_log logs/error.log error; 錯誤日誌查看的級別,纖細的log日誌級別可以百度,有調試、警告、錯誤、崩潰等。
pid logs/nginx.pid;
events {
worker_connections 2048; 這行就是時間了,一顆cpu可以同時打開多少個進程,默認1024,當然不是越大越好的,也要結合自己的服務器性能,性能好的20480也行
}
接下來就是http的服務段了
http {
include mime.types;
default_type application/octet-stream;
log_format  main  '$remote_addr - $remote_user [$time_local] "$request" '
#                  '$status $body_bytes_sent "$http_referer" '
#                  '"$http_user_agent" "$http_x_forwarded_for"';

access_log  logs/access.log  main;

sendfile        on;
#tcp_nopush     on;

#keepalive_timeout  0;
keepalive_timeout  65; 長鏈短鏈的定義,長連接的話,客戶端長時間不活動,消耗線程數,如果斷鏈的話,頻繁的重建銷燬連接,也會增加服務器負載,最大可定義爲120

#gzip  on;
gzip  on;  默認是註釋的,需要打開來減少用戶請求所需帶寬,要是是 壓縮客戶其請求資源,可在流量器中查看
gzip_comp_level 9;  壓縮級別有1-9 根據實際情況自定義

========

如果只有了以上的內容而沒有sever段的話可以使用include來包含進來一個配置文件.............
如下圖所示: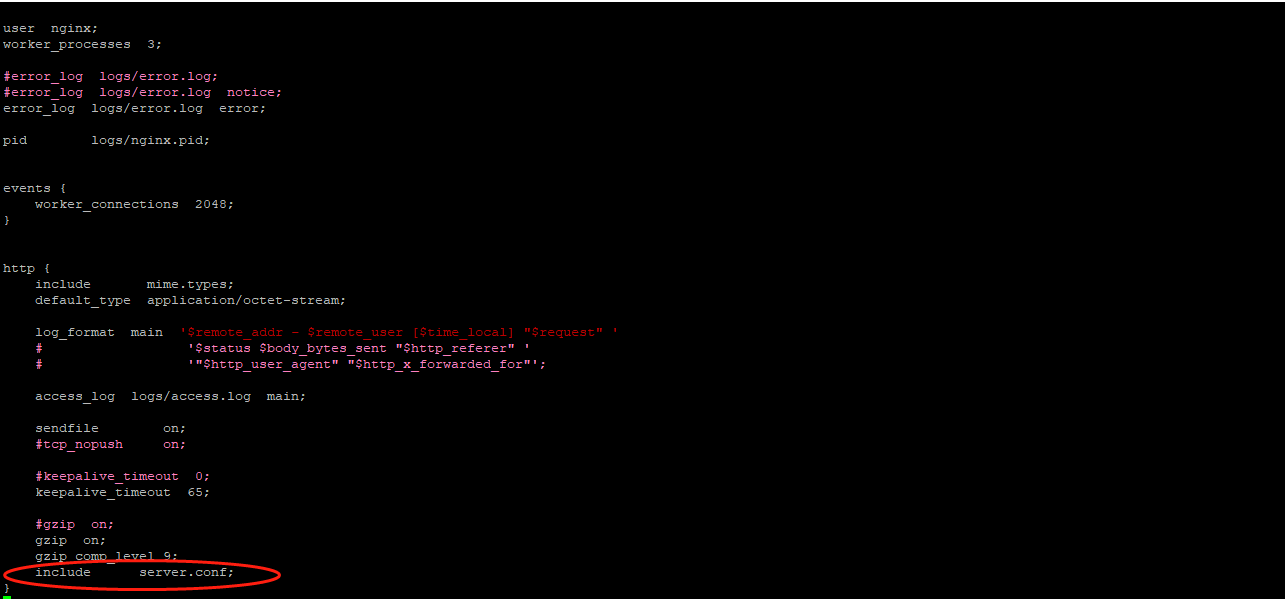
可以看到此配置文件這種只有了主配置、events、和http三個段.....但是http段中新添加了個配置一項 include server.conf; 吧server.conf配置文件包含進來
重點在於server.conf中的配置

以上爲一個配置段
主配置文件在man段落
修改啓動用戶cpu個數,綁定cpu,inculde,打開最大的文件數,打開最大的進程數等。可以打開日誌,自定義日誌級別,日誌還可以在定義任何段落
往下就是http級別的,所否壓縮等,就是協議級別的。
servier段落中的root和location中的root是相互對應的關係
keepalived timeout至關重要,是保持一個回話時間的,如果想要連接複用,則需要在內核級別調試了