


(一)、簡介
21日,Elastic官方發佈消息: Elastic Stack 新版本6.8.0 和7.1.0的核心安全功能現免費提供。
這意味着用戶現在能夠對網絡流量進行加密、創建和管理用戶、定義能夠保護索引和集羣級別訪問權限的角色,並且使用 Spaces 爲 Kibana
提供全面保護。 免費提供的核心安全功能如下:
TLS 功能。 可對通信進行加密;
文件和原生 Realm。 可用於創建和管理用戶;
基於角色的訪問控制。 可用於控制用戶對集羣 API 和索引的訪問權限;
通過針對 Kibana Spaces 的安全功能,還可允許在Kibana 中實現多租戶。
原先的ES安全認證是通過x-pack來實現的,下邊是x-pack的發展歷史:
5.X版本之前:沒有x-pack,是獨立的:security安全,watch查看,alert警告等獨立單元。
5.X版本:對原本的安全,警告,監視,圖形和報告做了一個封裝,形成了x-pack。
6.3 版本之前:需要額外安裝。
6.3版本及之後:已經集成在一起發佈,無需額外安裝,基礎安全屬於付費黃金版內容。
7.7 .1版本:基礎安全免費。
相關功能網址:https://www.elastic.co/cn/subscriptions#request-info
(二)、安裝配置Elasticsearch
1、ES安裝(略)
2、配置TLS和身份驗證
步驟1:在Elasticsearch主節點上配置TLS.
1、
2、生產證書文件
[root@ES1-4 elasticsearch]# /usr/share/elasticsearch/bin/elasticsearch-certutil ca
[root@ES1-4 elasticsearch]# /usr/share/elasticsearch/bin/elasticsearch-certutil cert --ca elastic-stack-ca.p12
[root@ES1-4 elasticsearch]# ll
total 540
drwxr-xr-x  2 root root   4096 Jun 28 10:42 bin
-rw-------  1 root root   3443 Jun 28 16:46 elastic-certificates.p12
-rw-------  1 root root   2527 Jun 28 16:43 elastic-stack-ca.p12
drwxr-xr-x  8 root root     96 Jun 28 10:42 jdk
drwxr-xr-x  3 root root   4096 Jun 28 10:42 lib
-rw-r--r--  1 root root  13675 Jun 20 23:50 LICENSE.txt
drwxr-xr-x 30 root root   4096 Jun 28 10:42 modules
-rw-rw-r--  1 root root 502598 Jun 20 23:56 NOTICE.txt
drwxr-xr-x  2 root root      6 Jun 21 00:04 plugins
-rw-r--r--  1 root root   8478 Jun 20 23:50 README.textile
#####給生產的文件添加elasticsearch組權限
[root@ES1-4 elasticsearch]# chgrp elasticsearch /usr/share/elasticsearch/elastic-certificates.p12 /usr/share/elasticsearch/elastic-stack-ca.p12
#####給這兩個文件賦640權限
[root@ES1-4 elasticsearch]# chmod 640 /usr/share/elasticsearch/elastic-certificates.p12 /usr/share/elasticsearch/elastic-stack-ca.p12
######把這兩個文件移動端配置文件夾中
[root@ES1-4 elasticsearch]# mv /usr/share/elasticsearch/elastic-* /etc/elasticsearch/
3、修改配置,添加驗證配置文件
[root@ES1-4 elasticsearch]# vim /etc/elasticsearch/elasticsearch.yml

cluster.name: kjdow
node.name: es-node1
node.data: true
node.master: true
node.attr.tag: hot
path.data: /data/elasticsearch/data
path.logs: /data/elasticsearch/log
path.repo: [ "/data/daily","/data/weekly", ]
transport.tcp.compress: true
network.host: 192.168.4.215
http.port: 9200

http.cors.enabled: true
http.cors.allow-origin: "*"
cluster.initial_master_nodes: ["192.168.4.215","192.168.4.216"]
#discovery.seed_hosts: ["192.168.4.215","192.168.4.216"]
discovery.seed_hosts: ["192.168.4.215","192.168.4.216","192.168.4.217","192.168.4.218"]
#######優化配置
#bootstrap.memory_lock: true
#indices.breaker.request.limit: 10%
#index.merge.scheduler.max_thread_count: 1
#indices.queries.cache.size: 20%
#indices.requests.cache.size: 2%
#indices.fielddata.cache.size: 30%
node.attr.box_type: hot
######add to the end fro x-pack
xpack.security.enabled: true
xpack.security.transport.ssl.enabled: true
xpack.security.transport.ssl.verification_mode: certificate
xpack.security.transport.ssl.keystore.path: /etc/elasticsearch/elastic-certificates.p12
xpack.security.transport.ssl.truststore.path: /etc/elasticsearch/elastic-certificates.p12
4、最後把證書文件複製到其他master節點並賦予相關的權限,並同步配置參數。
5、設置密碼
[root@ES1-4 elasticsearch]# /usr/share/elasticsearch/bin/elasticsearch-setup-passwords interactive
Initiating the setup of passwords for reserved users elastic,apm_system,kibana,logstash_system,beats_system,remote_monitoring_user.
You will be prompted to enter passwords as the process progresses.
Please confirm that you would like to continue [y/N]y

Enter password for [elastic]:
Reenter password for [elastic]:
Passwords do not match.
Try again.
Enter password for [elastic]:
Reenter password for [elastic]:
Enter password for [apm_system]:
Reenter password for [apm_system]:
Enter password for [kibana]:
Reenter password for [kibana]:
Enter password for [logstash_system]:
Reenter password for [logstash_system]:
Enter password for [beats_system]:
Reenter password for [beats_system]:
Enter password for [remote_monitoring_user]:
Reenter password for [remote_monitoring_user]:
Changed password for user [apm_system]
Changed password for user [kibana]
Changed password for user [logstash_system]
Changed password for user [beats_system]
Changed password for user [remote_monitoring_user]
Changed password for user [elastic]
####分別設置 elastic、apm_system、kibana、logstash_system、beats_system、remote_monitoring_user賬號的密碼。下邊是輸入剛纔輸入的用戶名和密碼進行查看
[root@ES1-4 elasticsearch]# curl 192.168.4.215:9200/_cat/indices?v -u elastic
Enter host password for user 'elastic':
health status index       uuid                   pri rep docs.count docs.deleted store.size pri.store.size
green  open   .security-7 7phIYLTcTbugIbSimRI03g   1   0          6            0     19.3kb         19.3kb
(三)、配置kibana
1、kibana安裝略
2、配置kibana.yml文件如下
[root@otrs004097 elasticsearch]# grep '^[a-Z]' /etc/kibana/kibana.yml
server.port: 5601
server.host: "192.168.4.97"
server.name: "192.168.4.97"
elasticsearch.hosts: ["http://192.168.4.97:9200"]
elasticsearch.username: "elastic"
elasticsearch.password: "xxxx"
3、配置如下: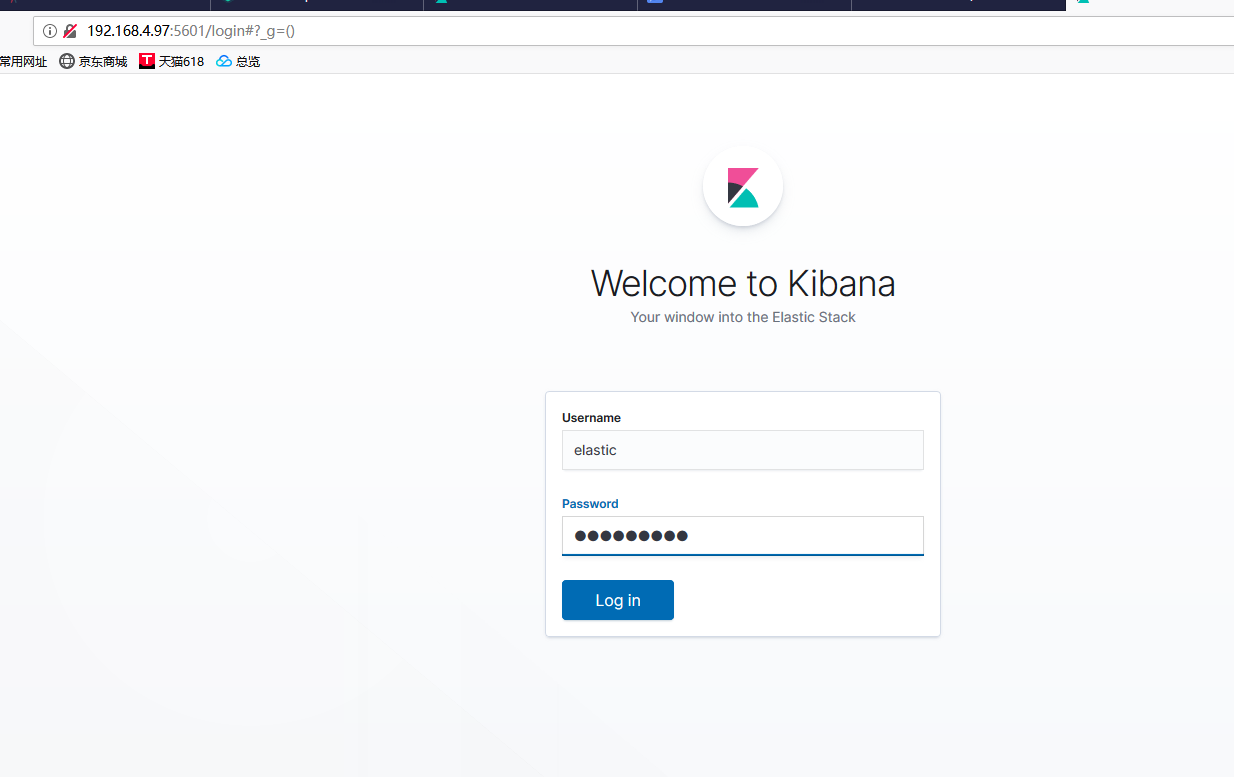
圖二
圖三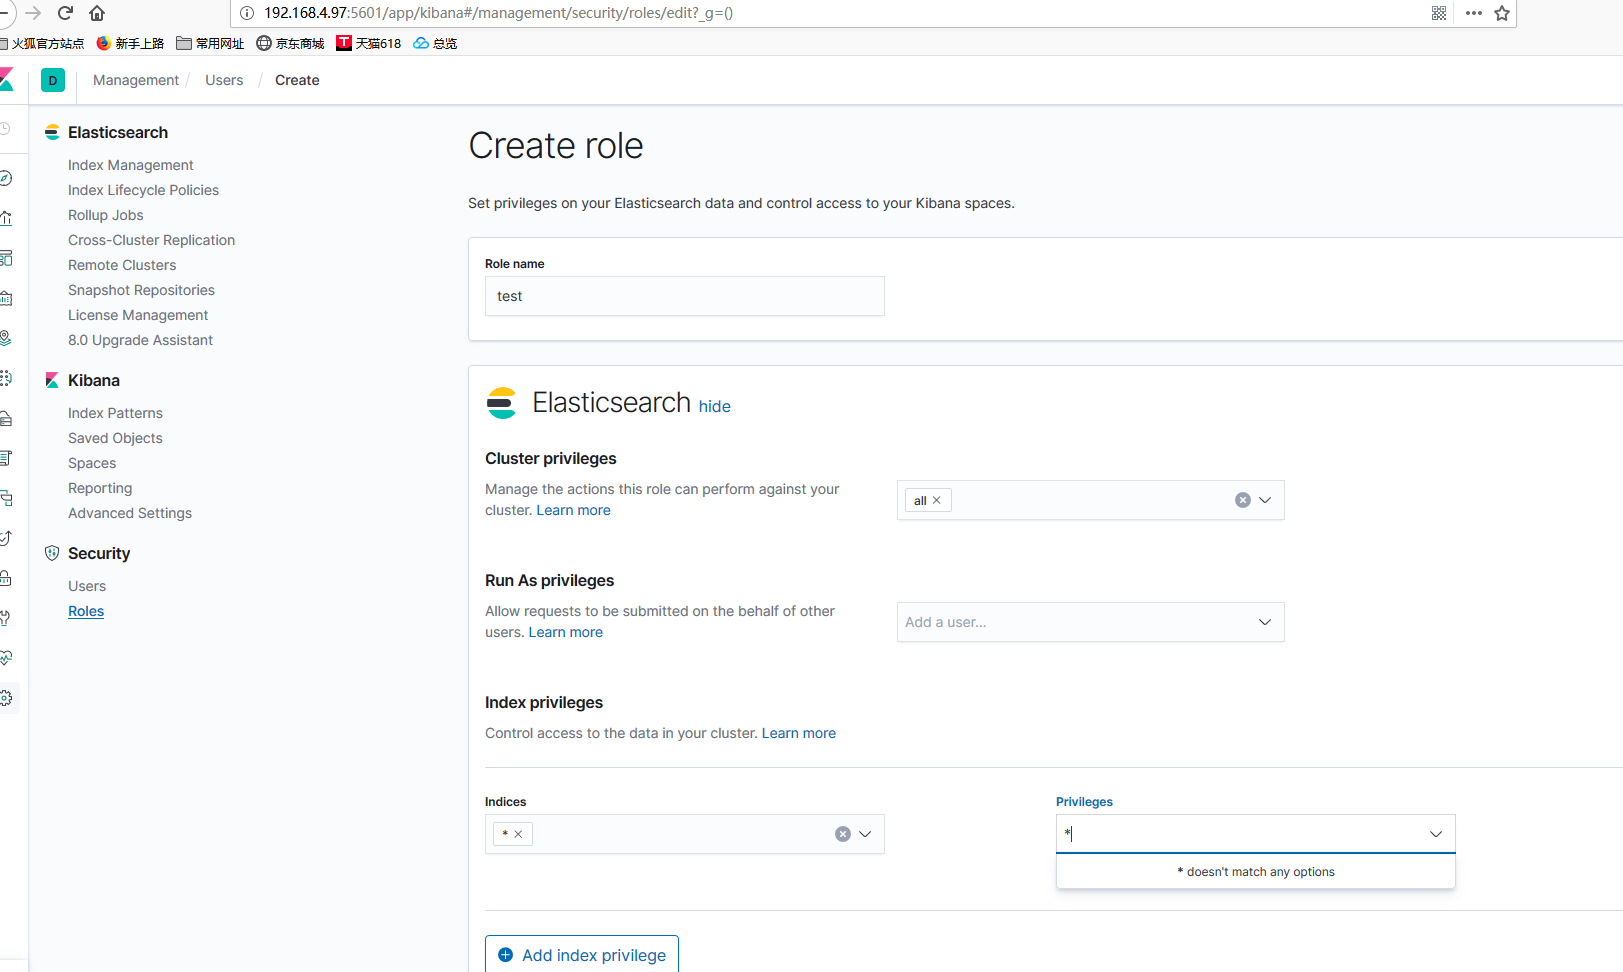
具體可以參考如下逛網連接:
https://www.elastic.co/cn/blog/getting-started-with-elasticsearch-security