背景:業務方需求需要ubuntu 18.4版本的系統
下載ubuntu 18.4wget http://archive.ubuntu.com/ubuntu/dists/bionic/main/installer-amd64/current/images/netboot/mini.iso
通過鏡像創建kvm虛擬機(kvm的環境安裝不作介紹了,幾個yum的事情,前提要在biso開啓cpu虛擬化)virt-install --name ubuntu-18.4 --ram 2048 --vcpus=2 --disk path=/vm/vm/ubuntu-18.4/os.img,size=4 --network bridge=br1 --cdrom /vm/iso/ubuntu-mini.iso --vnclisten=192.168.12.84 --vncport=6907 --vnc
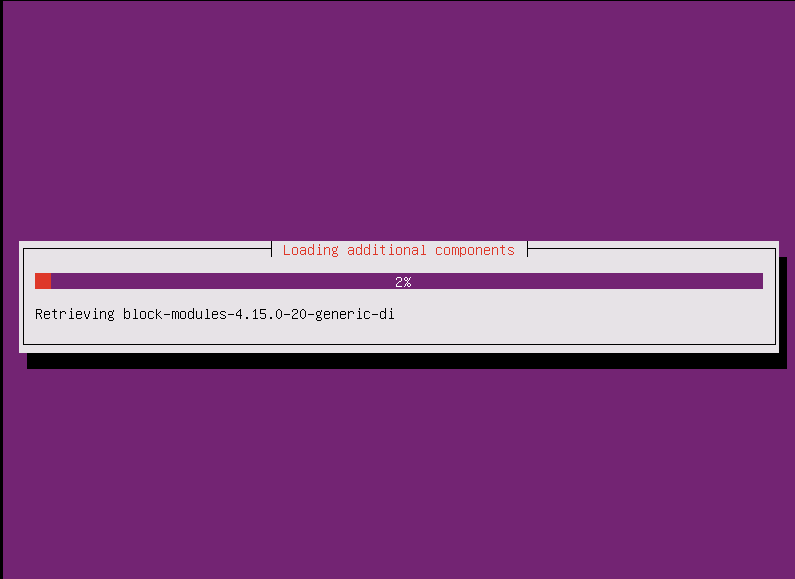
通過控制檯配置安裝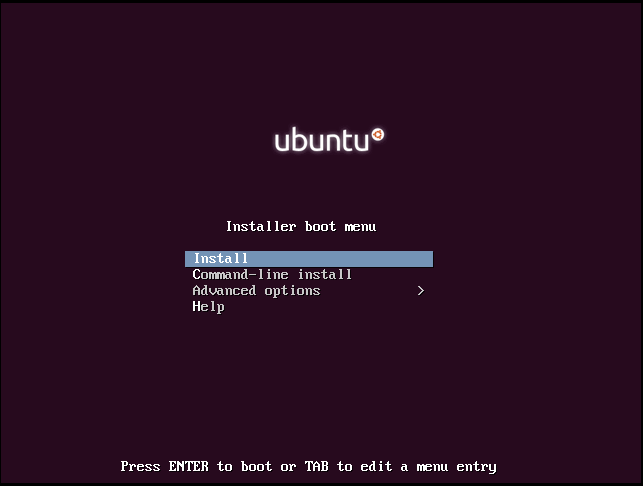
設置ip
配置主機名
添加用戶ubuntu
選在openssh server即可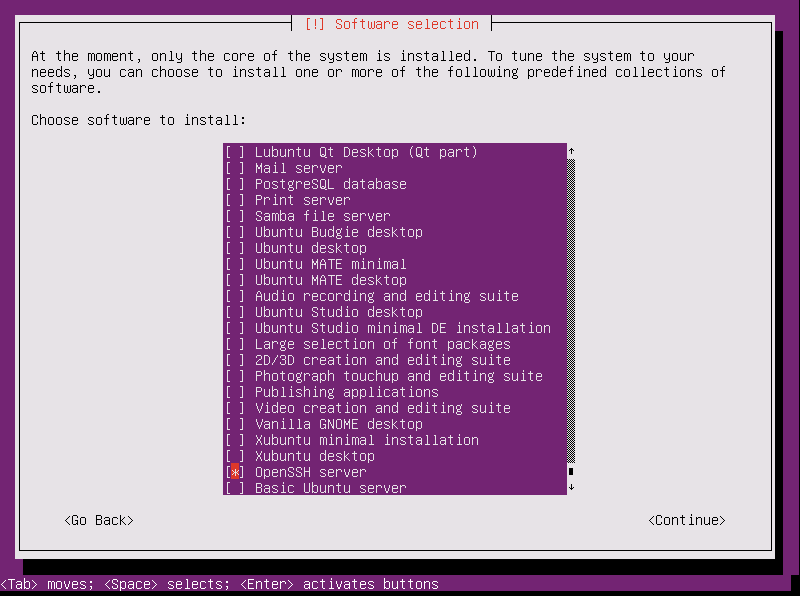
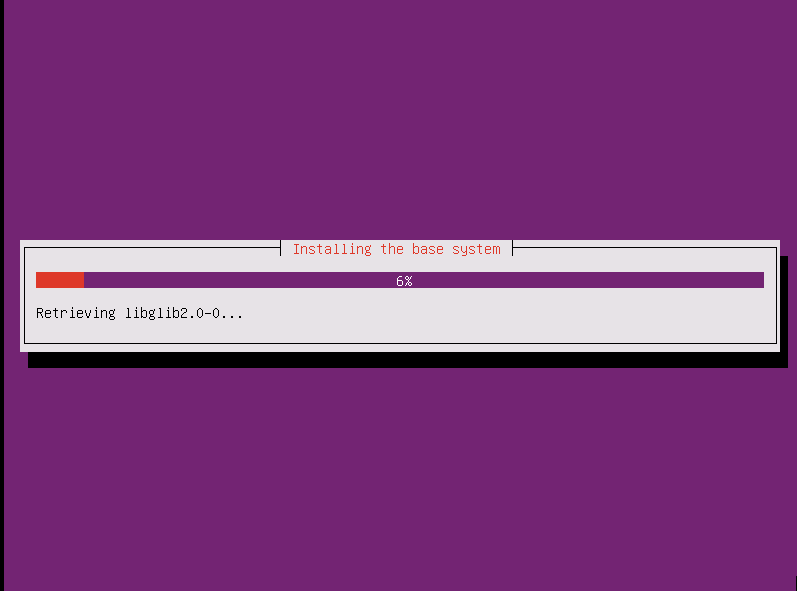
系統安裝完成
添加管理key
root@ubuntu:/home/ubuntu/.ssh# find / -name authorized_keys
/root/.ssh/authorized_keys
/home/ubuntu/.ssh/authorized_keys
關閉用戶登錄,開啓key登錄
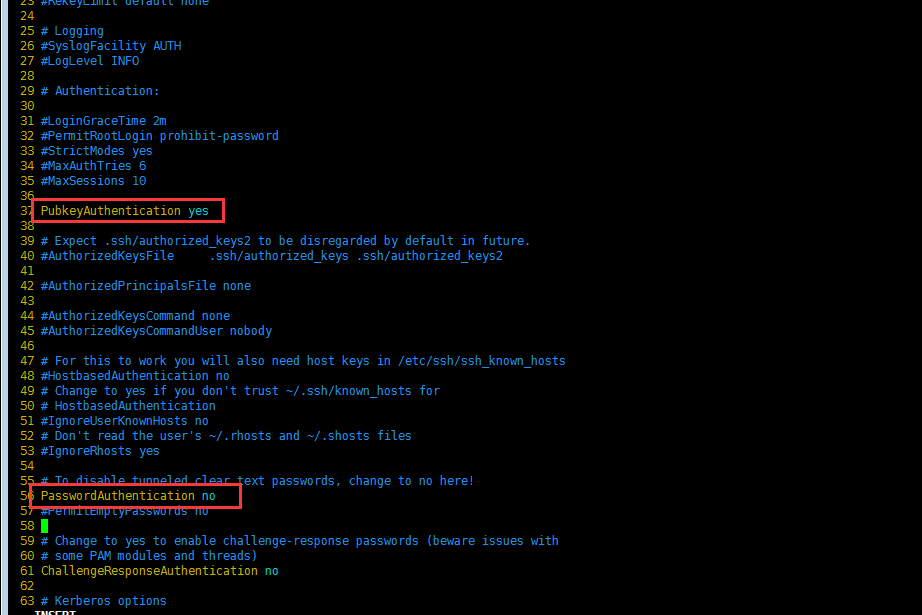
vim /etc/sshd/sshd_config
找到PubkeyAuthentication 改爲yes //開啓密鑰登陸
找到PasswordAuthentication 改爲no //關閉密碼登陸
關閉防火牆和selinux
root@ubuntu:~# ufw disable
Firewall stopped and disabled on system startup
root@ubuntu:~#
root@ubuntu:~# getenforce
Disabled安裝cloud-init包apt install cloud-init -y
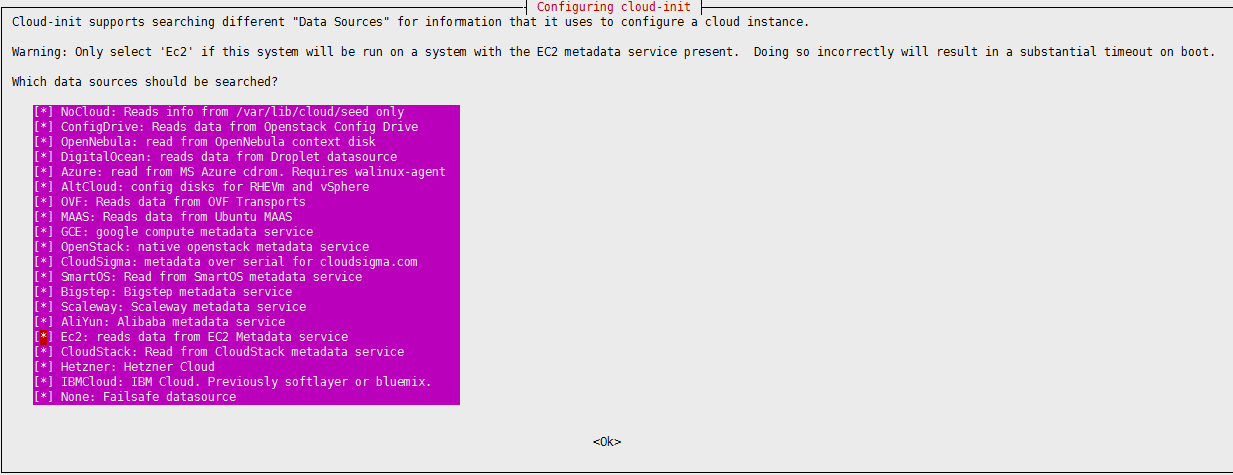
設置鏡像使用的元數據源,運行 dpkg-reconfigure命令cloud-init。出現提示時,選擇EC2數據源:dpkg-reconfigure cloud-init
網絡設置dhcp獲取
root@ubuntu:/etc/network# cat /etc/network/interfaces
# ifupdown has been replaced by netplan(5) on this system.  See
# /etc/netplan for current configuration.
# To re-enable ifupdown on this system, you can run:
#    sudo apt install ifupdown
auto eht0
iface eth0 inet dhcp
root@ubuntu:/etc/network#
關機,清理mac等信息
virt-sysprep -d bionic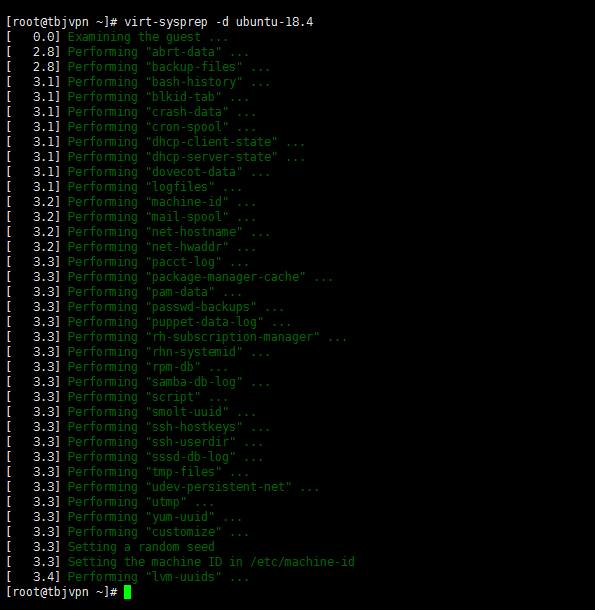
查看磁盤格式。我們不用qcow2的格式,使用raw格式,2種的區別可以去google下。
轉換磁盤格式
[root@tbj*** ubuntu-18.4]# qemu-img info os.img
image: os.img
file format: qcow2
virtual size: 4.0G (4294967296 bytes)
disk size: 2.2G
cluster_size: 65536
Format specific information:
    compat: 1.1
    lazy refcounts: true
    refcount bits: 16
    corrupt: false
[root@tbj*** ubuntu-18.4]# qemu-img convert -f qcow2 -O raw os.img ubuntu-18.4.raw
[root@tbj*** ubuntu-18.4]# qemu-img info ubuntu-18.4.raw
image: ubuntu-18.4.raw
file format: raw
virtual size: 4.0G (4294967296 bytes)
disk size: 2.1G
[root@tbj*** ubuntu-18.4]# 將做好的raw文件上傳到openstack控制節點生成鏡像。openstack image create "ubuntu-18.04" --file /root/ubuntu-18.4.raw --disk-format raw
web界面已經可以看到這個鏡像了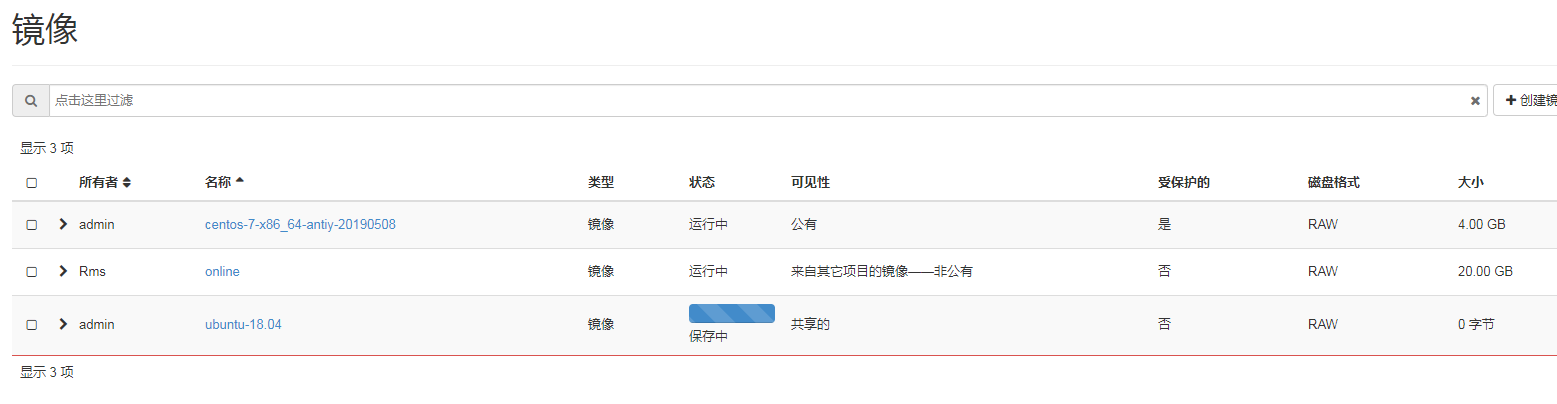
添加完成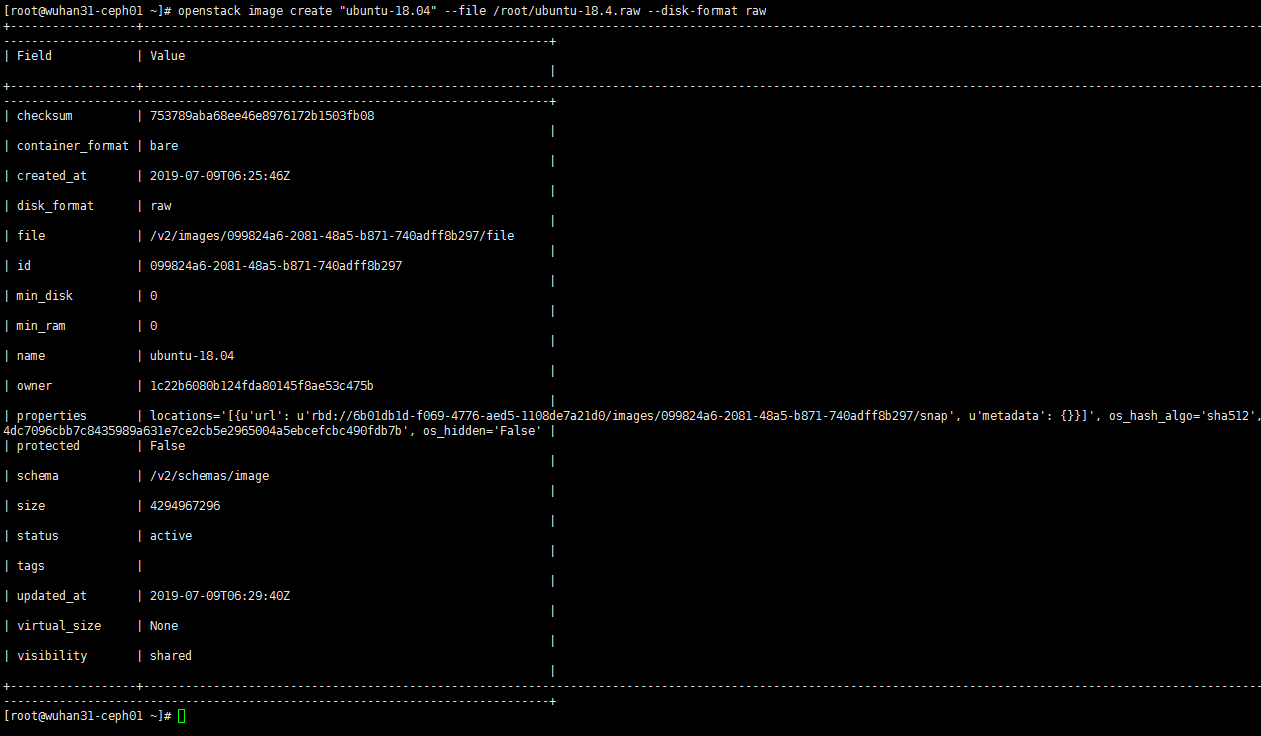
[root@wuhan31-ceph01 ~]# openstack image list
+--------------------------------------+--------------------------------+--------+
| ID | Name | Status |
+--------------------------------------+--------------------------------+--------+
| 0e548332-80a5-4d57-85a5-d4dee50b52fa | centos-7-x86_64-antiy-20190508 | active |
| 2dd5b64b-0b9d-433a-8b64-e1553d704c2c | online | active |
| 099824a6-2081-48a5-b871-740adff8b297 | ubuntu-18.04 | active |
+--------------------------------------+--------------------------------+--------+
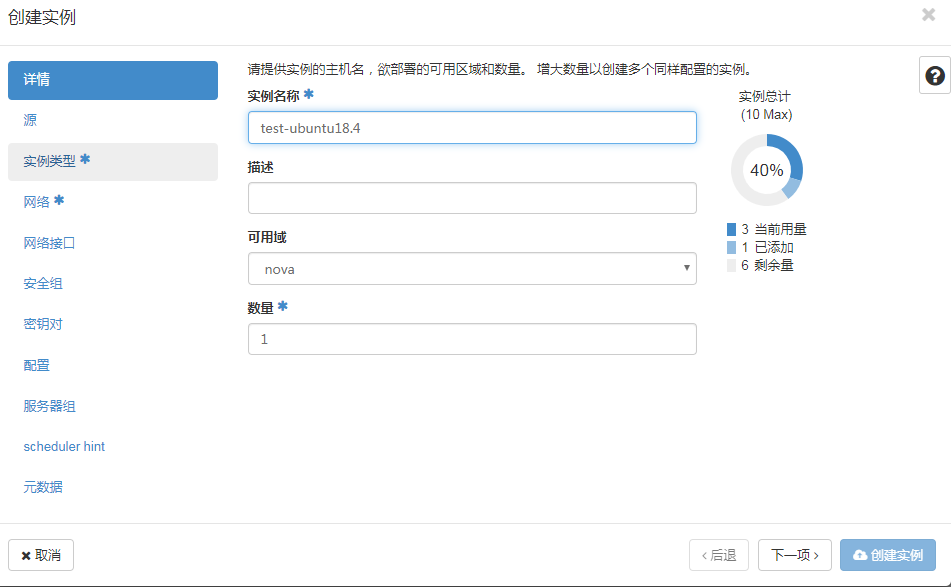
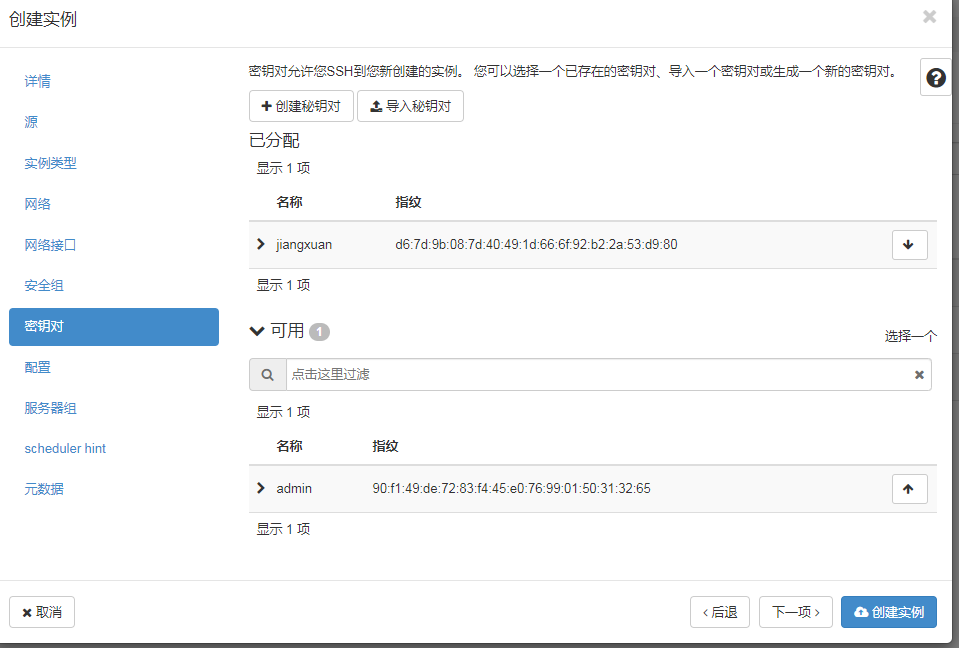
[root@wuhan31-ceph01 ~]#測試:
使用這個鏡像創建虛擬機