system: Centos 7.6(可以訪問yum源)
Buzilla: 5.0.4
Mariadb-server: 5.5.60
-
關閉selinux Firewall
關閉selinux (permissive可以改成disable)
sed -i 's/^SELINUX=enforcing$/SELINUX=permissive/g' /etc/selinux/config
關閉Firewall
systemcstop firewalld.service
systemc disable firewalld.service -
啓用EPEL倉庫
yum install deltarpm epel-release
yum update
若內核更新,請重啓此機器 -
安裝環境使用依賴包
yum install mod_ssl mod_ssl mod_perl mod_perl-deve -
安裝apache服務,並啓動服務
查看是否安裝apache服務
[root@bugzillatest bugzilla]# rpm -qa |grep httpd
httpd-2.4.6-88.el7.centos.x86_64
httpd-devel-2.4.6-88.el7.centos.x86_64
httpd-tools-2.4.6-88.el7.centos.x86_64
apache已經存在,則不需要安裝,直接啓動apache,如果沒有安裝則需要使用yum install httpd安裝
systemctl start httpd.service
systemctl status httpd.service #查看狀態
systemctl enable httpd.service #設置開機啓功 -
安裝mariadb
centos7引入MariaDB替代MYSQL數據庫,Maria作爲開源的數據庫系統,使用效果與MYSQL不相上下
yum install mariadb-server mariadb mariadb-devel php-mysql
systemctl start mariadb.service #開啓服務
systemctl status mariadb.service #查看狀態
systemctl enable mariadb.service #設置開機啓動 -
設置數據庫管理員密碼
mysql -u root
MariaDB [ (none) ]> SET PASSWORD FOR 'root'@'localhost' = PASSWORD('myrootpassword'); #替換myrootpassword爲你的密碼
Query OK, 0 rows affected (0.00 sec)
MariaDB [ (none) ]> \q #退出數據庫
Bye
用root用戶登錄進行測試
mysql -u root -p
Enter password: myrootpassword
Welcome to the MariaDB monitor. Commands end with ; or \g.
Your MariaDB connection id is 5
Server version: 5.5.41-MariaDB MariaDB Server
Copyright (c) 2000, 2014, Oracle, MariaDB Corporation Ab and others.
Type 'help;' or '\h' for help. Type '\c' to clear the current input statement.
MariaDB [ (none) ]> \q
Bye -
MariaDB設置max_allowed_packet(最大允許傳輸包的大小)
爲防止服務器端和客戶端在一次傳送數據包的過程當中,數據包最大值溢出,Bugzilla 要求MariaDB配置最小尺度的max_allowed_packet
vim /etc/my.cnf
在[mysqld]部分添加 下面部分:Bugzilla
maximum allowed size of an attachment upload
#change this if you need more!
max_allowed_packet=4M #設置最大傳輸大小4M
重啓MariaDB服務
systemctl restart mariadb.service -
安裝Bugzilla依賴包 (1300個左右)
yum install gcc gcc-c++ graphviz graphviz-devel patchutils gd gd-devel wget perl* -x perl-homedir -
安裝Bugzilla
(1)配置數據庫:
mysql -u root -p
Enter password: myrootpassword
MariaDB [ (none) ]> create database bugs;
Query OK, 1 row affected (0.00 sec)
MariaDB [ (none) ]> grant all on bugs.* to bugs@localhost identified by 'youpassword'; #替換youpassword爲你的密碼
Query OK, 0 row affected (0.00 sec)
MariaDB [ (none) ]> \q
Bye -
下載Bugzilla最新包並安裝
cd /mnt
wget https://ftp.mozilla.org/pub/mozilla.org/webtools/bugzilla-5.0.4.tar.gz
tar -zxvf bugzilla-5.0.4.tar.gz
mkdir /var/www/html/bugzilla
cp -R ./bugzilla-5.0.4/* /var/www/html/bugzilla/ # 移動bugzilla-5.0到/var/www/html/bugzilla/ 下,/var/www/html/爲bugzilla默認的路徑,不移動到此路徑,瀏覽器輸入網址啓動不了bugzilla -
檢查bugzilla缺少組件,並進行自動安裝
cd /var/www/html/bugzilla
./checksetup.pl #此命令執行後,可看到缺少的組件,並按提示安裝
/usr/bin/perl install-module.pl --all #自動安裝缺少的組件
./checksetup.pl #再次檢查一下,查看是否還有缺少組件,原則上,除了DBD-Oracle沒有安裝後,其他都應該安裝完畢
此時出現如下一段文字,表示我們配置文件與前面設置有些不一致 -
編譯./localconfig ,配置成我們自己的環境(主要是數據庫名、密碼與前面一致)
vim ./localconfig
下面是我的配置文件: (Ps: 需要確認bugzilla數據庫名跟密碼是否跟你創建是一致)
$create_htaccess = 1;
$webservergroup = 'apache';
$use_suexec = 0;
$db_driver = 'mysql';
$db_host = 'localhost';
$db_name = 'bugs';
$db_user = 'bugs';
$db_pass = 'youpassword'; #對應第九步你所填的密碼
$db_port = 0;
$db_sock = '';
$db_check = 1;
$db_mysql_ssl_ca_file = '';
$db_mysql_ssl_ca_path = '';
$db_mysql_ssl_client_cert = '';
$db_mysql_ssl_client_key = '';
$index_html = 0;
$interdiffbin = '/usr/bin/interdiff';
$diffpath = '/usr/bin';
$site_wide_secret = '2qCKjZhkZZRFuy1ueKK6sho8OO1tuXdHp2fihYSG1F127wu0qpjXjjHnVsMBaeTN';
現在讓我們再次運行安裝腳本。 現在應該檢測正確的數據庫配置,並開始訪問MariaDB服務器進行最終設置。 -
完成Bugzilla註冊信息
./checksetup.pl -
創建Bugzilla安裝腳本
sed -i 's/^Options -Indexes$/#Options -Indexes/g' ./Bugzilla/.htaccess -
配置Bugzilla安裝Apache服務
Apache默認識別不了Bugzilla,通過創建文件/etc/httpd/conf.d/bugzilla.conf ,把我們的Bugzilla網頁系統引入到Apache服務
vim /etc/httpd/conf.d/bugzilla.conf
添加下面信息:
#/etc/httpd/conf.d/bugzilla.conf
<VirtualHost *:80>
DocumentRoot /var/www/html/bugzilla
ServerName www.szmisbugzilla.com
ErrorLog logs/bugzilla-error_log
CustomLog logs/bugzilla-access_log common
<Directory /var/www/html/bugzilla>
AddHandler cgi-script .cgi
Options ExecCGI Indexes FollowSymLinks
DirectoryIndex index.cgi index.html
AllowOverride None
</Directory>
</VirtualHost> - 重啓Apache服務:
systemctl restart httpd.service
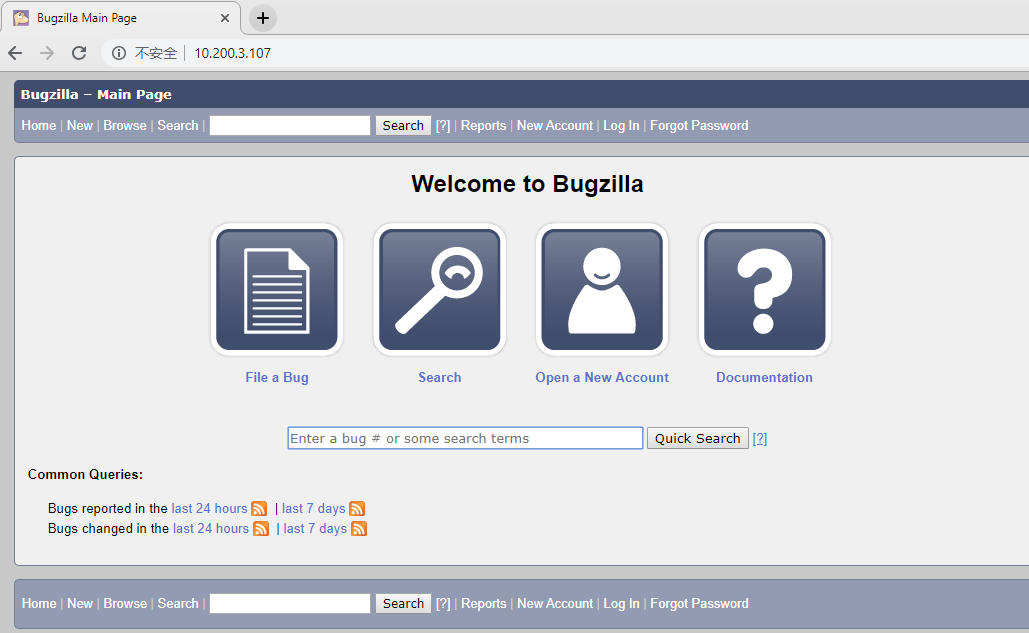
至此,我們就已經成功部署了Bugzilla系統,打開網頁,輸入http://ip-of-you-server,(ip-of-you-server爲你的centos7主機ip)我們可以看到如下界面![Centos 7 搭建Bugzilla5.0.4]()