


GitLab
什麼是GitLab?
GitLab是一個開源分佈式版本控制系統,開發語言爲Ruby,功能爲管理項目源代碼、版本控制、代碼複用與查找
GitLab與GitHub的不同
github分佈式在線代碼託管倉庫,個人版本可直接在線免費使用,企業版本收費且需要服務器安裝
gitlab分佈式在線代碼倉庫託管軟件,分社區免費版本與企業收費版本,都需要服務器安裝
GitLab的優勢和應用場景
• 開源免費,適合中小型公司將代碼放置在該系統中
• 差異化版本管理,離線同步y以及強大分支管理功能
• 便捷的GUI操作界面以及強大賬戶權限管理功能
• 集成度很高,能夠集成絕大多數的開發工具
• 支持內置HA,保證在高併發下仍舊實現高可用性
GitLab主要服務構成
1. Nginx靜態Web服務器
2. Gitlab-workhorse輕量級的反向代理服務器
3. Gitlab-shell用於處理git命令和修改authorized keys列表
4. Logrotate 日誌文件管理工具
5. Postgresql 數據庫
6. Redis 緩存服務器
GitLab的工作流程
1. 創建並克隆項目
2. 創建項目某feature分支
3. 編寫代碼並提交至該分支
4. 推送該項目分支至遠程gitlab服務器
5. 進行代碼檢查並提交master主分支合併申請
6. 項目領導審查代碼並確認合併申請
GitLab安裝配置管理
1. 安裝前配置
    a. 關閉防火牆
    b. 關閉SELINUX並重啓系統
2. 安裝Omnibus Gitlab-ce package
    a. 安裝gitlab依賴包
    yum -y install curl policycoreutils openssh-server openssh-clients postfix
    b. 配置yum倉庫
    wget http://packages.gitlab.com/install/repositories/gitlab/gitlab-ce/script.rpm.sh
    chmod +x script.rpm.sh
    ./script.rpm.sh
    c. 啓動postfix郵件服務
    systemctl start postfix
    d. 安裝gitlab-ce社區版本
    yum -y install gitlab-ce
3. 創建本地證書
生成私鑰(key文件):key是服務器上的私鑰文件,用於對發送給客戶端數據的加密,以及對從客戶端接收到數據的解密
openssl genrsa -out "/etc/gitlab/ssl/gitlab.example.com.key" 2048
生成csr文件:csr是證書籤名請求文件,用於提交給證書頒發機構(CA)對證書籤名
openssl req -new -key "/etc/gitlab/ssl/gitlab.example.com.key" -out  "/etc/gitlab/ssl/gitlab.example.com.csr"
生成crt文件:crt是由證書頒發機構(CA)簽名後的證書,或者是開發者自簽名的證書,包含證書持有人的信息,持有人的公鑰,以及簽署者的簽名等信息
openssl x509 -req -days 365 -in "/etc/gitlab/ssl/gitlab.example.com.csr" -signkey "/etc/gitlab/ssl/gitlab.example.com.key" -out "/etc/gitlab/ssl/gitlab.example.com.crt"

生成dh密鑰:openssl dhparam用於生成和管理dh的文件。dh(Diffie-Hellman)是著名的密鑰交換協議,或稱爲密鑰協商協議,它可以保證通信雙方安全地交換密鑰。但注意,它不是加密算法,所以不提供加密功能,僅僅只是保護密鑰交換的過程。
openssl dhparam -out /etc/gitlab/ssl/dhparams.pem 2048

修改以上文件權限爲600
chmod 600 /etc/gitlab/ssl/*
4. 配置加載證書
備份
cp gitlab.rb gitlab.rb.backup
修改
vim /etc/gitlab/gitlab.rb
external_url 'https://gitlab.example.com'
nginx['redirect_http_to_https'] = true
# nginx['ssl_certificate'] = "/etc/gitlab/ssl/gitlab.example.com.crt"
# nginx['ssl_certificate_key'] = "/etc/gitlab/ssl/gitlab.example.com.key"
# nginx['ssl_dhparam'] = /etc/gitlab/ssl/dhparams.pem
5. gitlab初始化
gitlab-ctl reconfigure6. 配置nginx
備份
cp /var/opt/gitlab/nginx/conf/gitlab-http.conf{,.backup}
server區段添加
vim /var/opt/gitlab/nginx/conf/gitlab-http.conf
rewrite ^(.*)$ https://$host$1 permanent;
7. 重新加載並啓動gitlab
gitlab-ctl restart8. 客戶端添加一條dns記錄
在/etc/hosts中添加 192.168.143.130 gitlab.example.com9. 客戶端通過瀏覽器訪問gitlab.example.com
默認管理員root,爲root設置密碼並登陸

GitLab基本使用
1、新建倉庫


2、在客戶端克隆倉庫到本地 -c http.sslVerify:跳過本地ssl檢查
git -c http.sslVerify=false clone https://gitlab.example.com/root/test.git3、輸入賬號密碼
[root@node1 devops]# git -c http.sslVerify=false  clone https://gitlab.example.com/root/test.git
Cloning into 'test'...
Username for 'https://gitlab.example.com': root
Password for 'https://[email protected]':
warning: You appear to have cloned an empty repository.
4、切換到test目錄,並創建測試文件
[root@node1 devops]# cd test/
[root@node1 test]# vim test.py
5、添加測試文件到本地倉庫
[root@node1 test]# git add .6、配置全局郵件與用戶
[root@node1 test]# git config --global user.email "[email protected]"
[root@node1 test]# git config --global user.name "jym"
7、提交測試文件到本地mast分支
[root@node1 test]# git commit -m "First commit"
[master (root-commit) b6581b9] First commit
 1 file changed, 3 insertions(+)
 create mode 100644 test.py
8、push本地master到倉庫
[root@node1 test]# git -c http.sslVerify=false push origin master9、查看

Ansible
模塊化,調用特定的模塊,完成特定的任務;基於python語言研發,由Paramiko、PyYAML和Jinja2三個關鍵模塊;部署簡單,主從模式,支持自定義模塊;支持playbook;冪等性
架構圖

Ansible安裝
1. 安裝前配置
關閉防火牆
關閉selinux
各節點時間同步
各節點主機名不一致
各節點間ssh免密
2. Ansible2.5+python3.6安裝步驟(centos7)
2.1、預先安裝python3.6
wget http://www.python.org/ftp/python/3.6.5/Python-3.6.5.tar.xz
tar xf Python-3.6.5.tar.xz && cd Python-3.6.5/
./configure --prefix=/usr/local --with-ensurepip=install --enable-shared
 LDFLAGS="-wl , -rpath /usr/local/lib"
make && make altinstall
2.2、安裝virtualenv
pip3.6 install virtualenv2.3、創建ansible用戶並安裝python3.6版本virtualenv實例
useradd deploy && su - deploy
virtualenv -p python3.6 .py3-a2.10-env
2.4、Git源代碼安裝ansible2.10
cd /home/deploy/.py3-a2.10-env
git clone https://github.com/ansible/ansible.git
cd ansible && git checkout stable-2.10
2.5、加載python3.6 virtualenv環境
source /home/deploy/.py3-a2.10-env/bin/activate2.6、安裝ansible依賴包
pip3.6 install paramiko PyYAML jinja22.7、在python3.6虛擬環境下加載ansible2.10
source /home/deploy/.py3-a2.10-env/ansible/hacking/env-setup -q2.8、驗證ansible2.5安裝
ansible --versionJenkins
Jenkins簡介
Jenkins是一款開源 CI&CD 軟件,用於自動化各種任務,包括構建、測試和部署軟件。
Jenkins 支持各種運行方式,可通過系統包、Docker 或者通過一個獨立的 Java 程序方式部署。
Jenkins 是一個主流的運維開發平臺,兼容所有主流開發環境;通過插件可與海量業內主流開發工具實現集成;通過job配置單位與日誌管理,使開發與運維人員能協同工作;通過權限管理劃分不同job不同角色;強大的負載均衡功能,保證項目的可靠性。
Jenkins安裝
1、安裝java8.0或8.0以上版本
yum install java2、安裝docker
yum install docker-ce3、安裝jenkins
下載地址:https://pkg.jenkins.io/redhat-stable/
yum install jenkins-2.199-1.1.noarch.rpm
4、啓動jenkins
systemctl start jenkins查看啓動情況
systemctl status jenkins.service -l5、初次訪問解鎖jenkins
瀏覽器訪問jenkins地址 http:<ip或域名>:8080
第一次訪問新的jenkins實例時,系統要求使用自動生成的密碼進行解鎖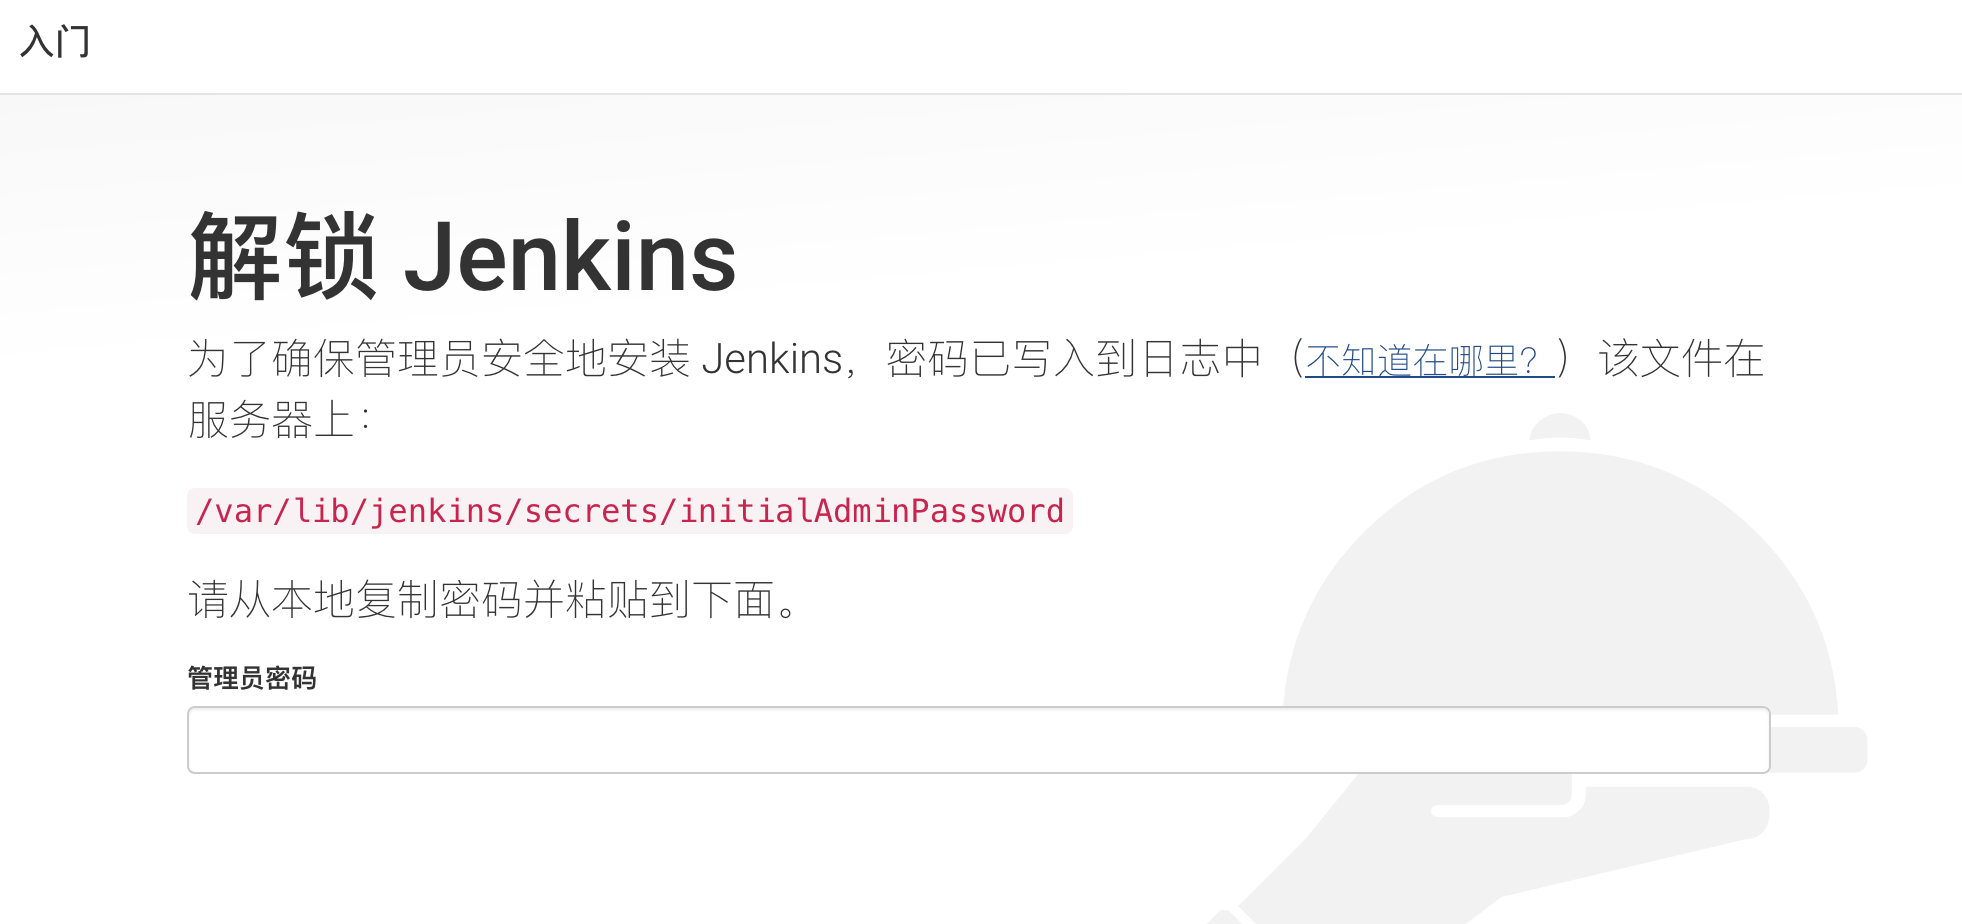
查看初始密碼
[root@node1 jenkins]# cat /var/lib/jenkins/secrets/initialAdminPassword
acd7e8eef641433b87e3358d8d6d1e34
6、安裝插件

兩個選項可以設置:
• 安裝建議的插件 - 安裝推薦的一組插件,這些插件基於最常見的用例.
• 選擇要安裝的插件 - 選擇安裝的插件集。當你第一次訪問插件選擇頁面時,默認選擇建議的插件。
Note:可以通過Jenkins中的Manage Jenkins > Manage Plugins 頁面在稍後的時間點安裝(或刪除)其他Jenkins插件
7、創建管理員用戶


參考文章:
https://jenkins.io/zh/
https://www.bilibili.com/video/av71123251/?p=1