


我們已經從前面的博文中瞭解了很多關於DNS方面的知識,下面我們就根據一個綜合的實驗來把前面所說的內容複習一遍。這個實驗就是DNS私有根:
所謂DNS私有根顧名思義就是企業或者個人自己創建的DNS根服務器,這個根服務器爲創建者私自擁有和使用。DNS私有根主要用在客戶端通過一個DNS服務器解析多個DNS區域的數據。
下面我們就用四臺服務器來完成這個DNS私有根,server01充當根服務器的角色,把wyz.com的解析權委派給server02,把abc.com的解析權委派給server03,客戶端DNS分別指向三臺服務器,然後測試!具體實驗拓撲如下(拓撲中醫表明各服務器的名稱和IP地址):
1、DNS根服務器:
我們在server01的DNS管理器中新建根域:
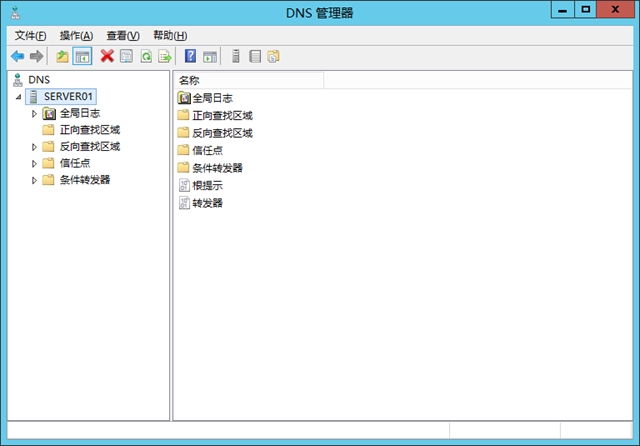
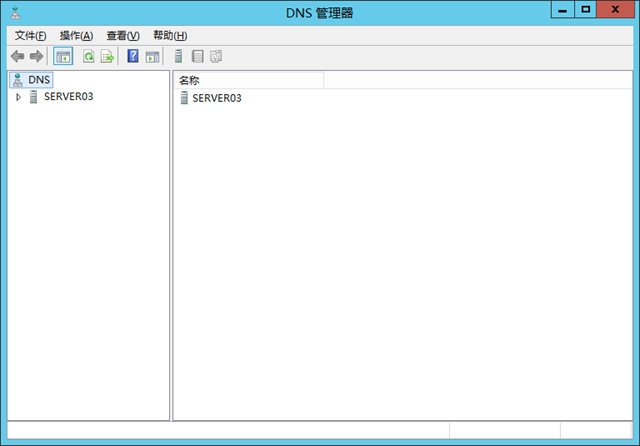
點擊打開server01的DNS管理器:
鼠標右鍵正向查找區域,點擊新建區域:
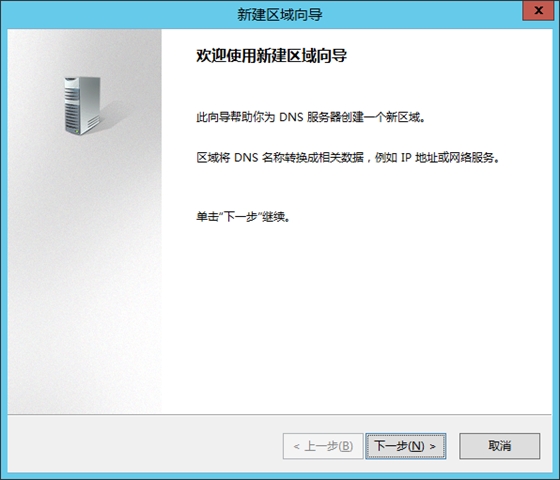
和往常一樣,系統給我們彈出了新建區域嚮導,我們直接點擊下一步:
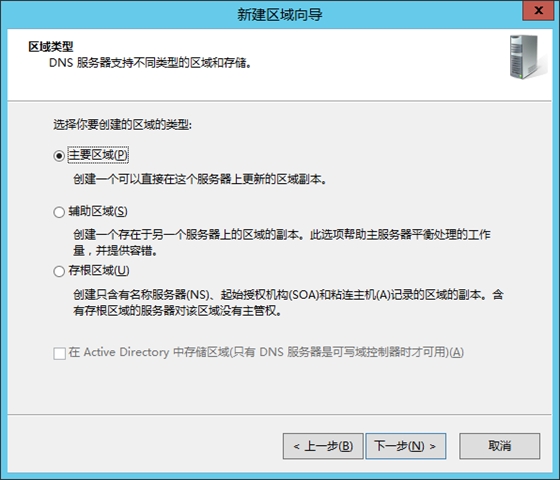
在這裏我們要新建一個主要區域,點擊下一步:
在這裏系統讓我們輸入“.”,因爲在互聯網中“.”代表的是根的意思,點擊 下一步:
在這裏系統自動給我們創建了一個文件名,我們直接點擊下一步:
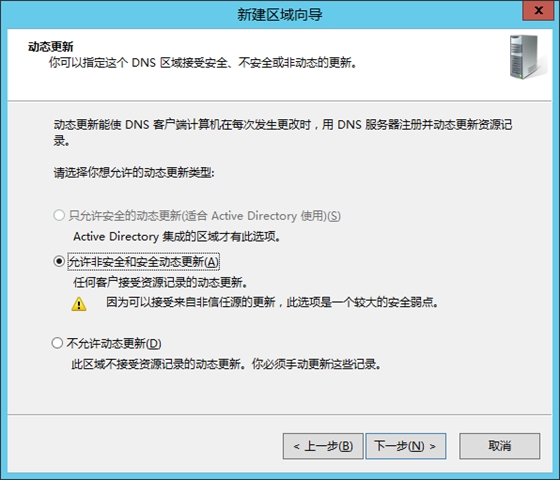
在這裏系統提示我們是否允許動態更新,我們選擇允許動態更新,然後點擊下一步:
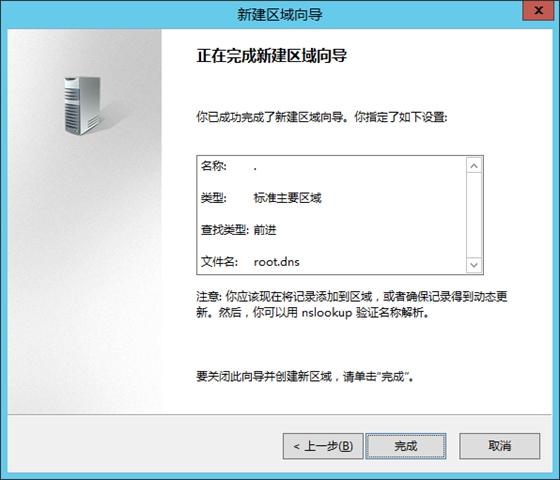
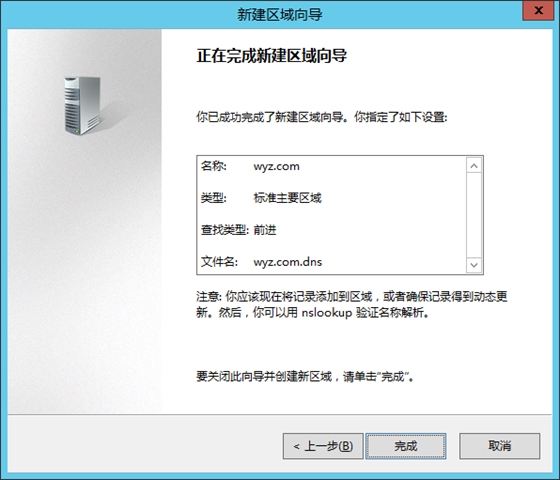
點擊完成:
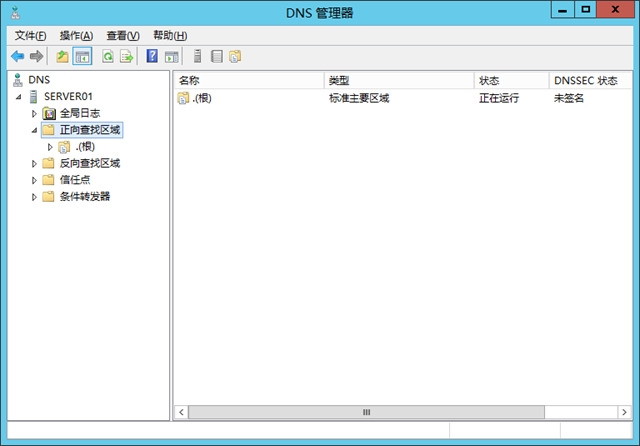
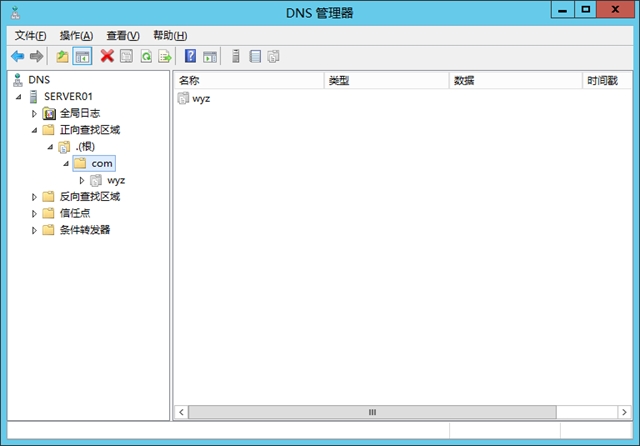
看到這個圖片就說明我們的根域已經創建完成。下面我們在根域對server02和server03進行委派:
(1)將wyz.com的解析權委派給server02:
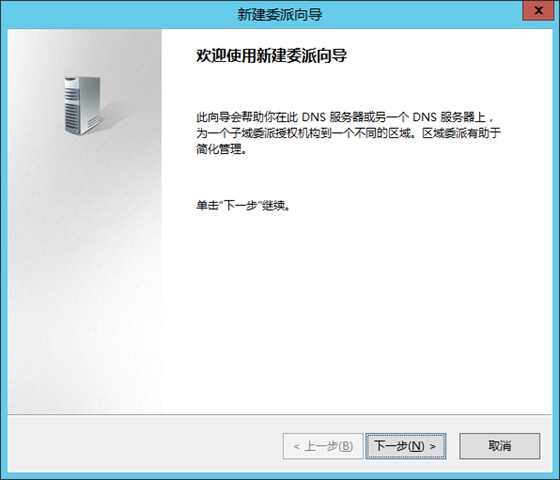
在根上鼠標右鍵,點擊新建委派:
系統給我們彈出了一個新建委派嚮導,直接點擊下一步:
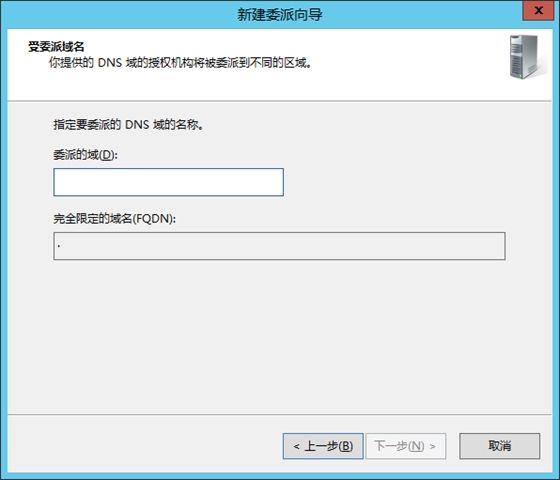
在這裏系統讓我們指定要委派的域,我們輸入要委派的wyz.com:
點擊下一步:
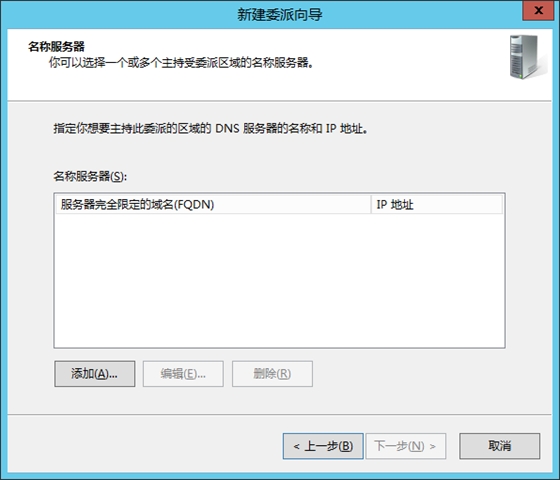
這裏系統提示輸入服務器名稱和IP地址,點擊添加:
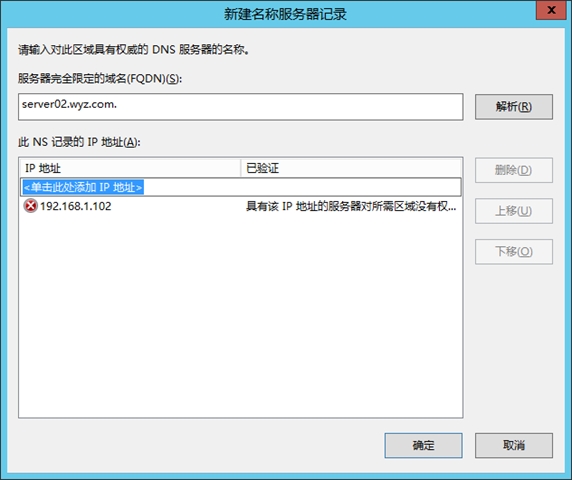
在這裏我們輸入一個完全合格域名:server02.wyz.com. ,ip:192.168.1.102,點擊確定:
點擊下一步:
點擊完成:
到這裏已經成功的將wyz.com的解析權委派給server02.
(2)將abc.com的解析權委派給server03:
在根上鼠標右鍵,點擊新建委派:
系統彈出了一個新建委派的嚮導,直接點擊下一步:
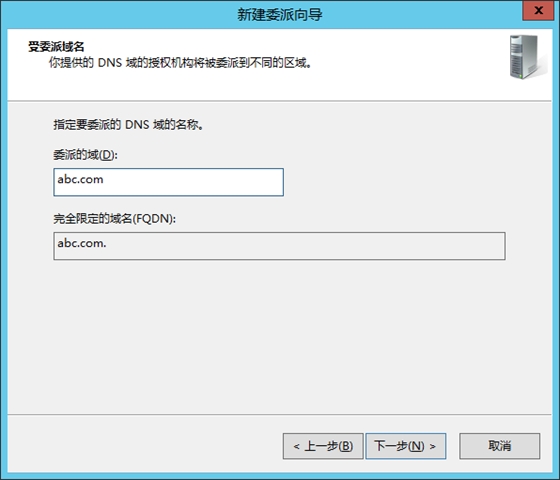
在這裏系統讓我們指定要委派的域,我們輸入要委派的abc.com:
點擊下一步:
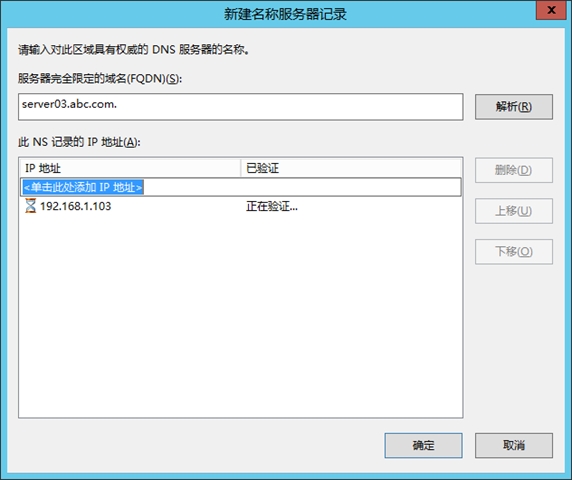
這裏系統提示輸入服務器名稱和IP地址,點擊添加:
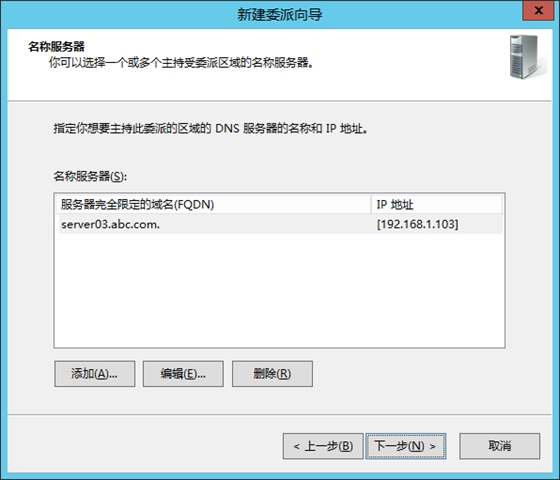
在這裏我們輸入一個完全合格域名:server03.abc.com. ,ip:192.168.1.103,點擊確定:
點擊下一步:
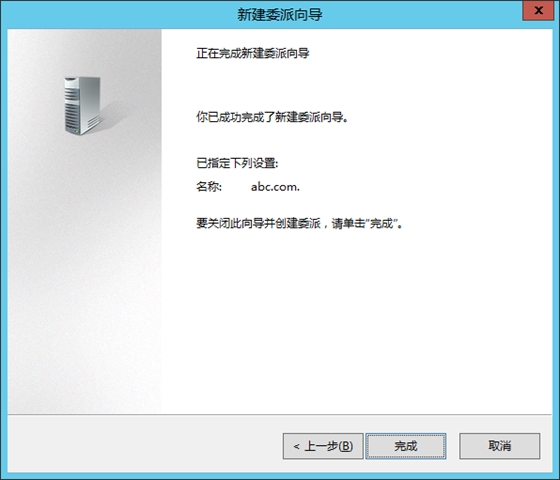
點擊完成:
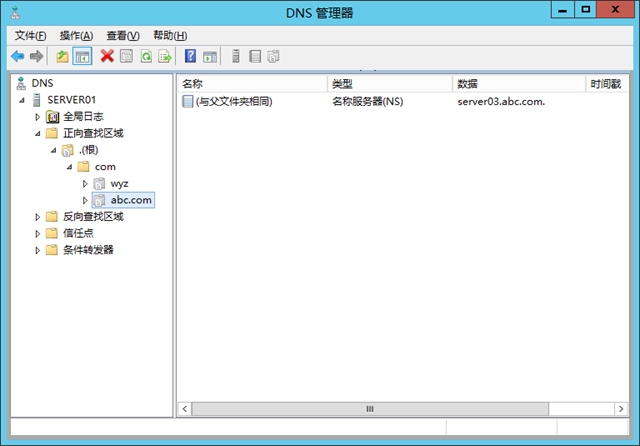
到這裏已經成功的將abc.com的解析權委派給server03.
到這裏我們在根服務器端的配置就已經結束了,下面開始配置被委派服務器。
2、被委派區域:
(1)配置server02
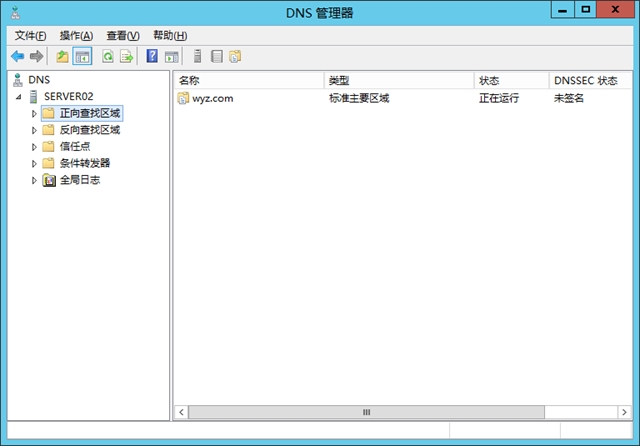
打開server02的DNS管理器:
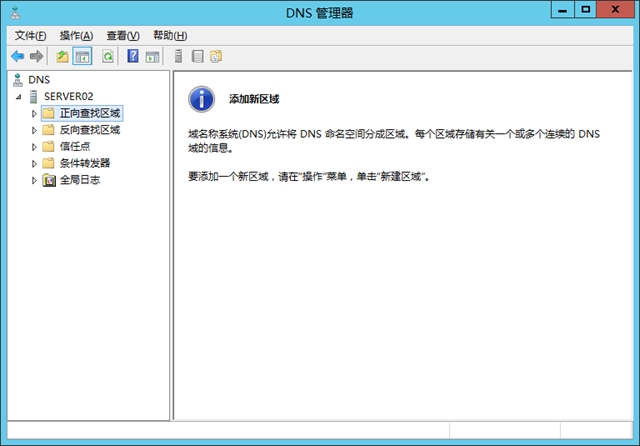
鼠標右鍵正向查找區域,點擊新建區域:
系統爲我們彈出新建區域嚮導,點擊下一步:
在這裏要創建一個主要區域,點擊下一步:
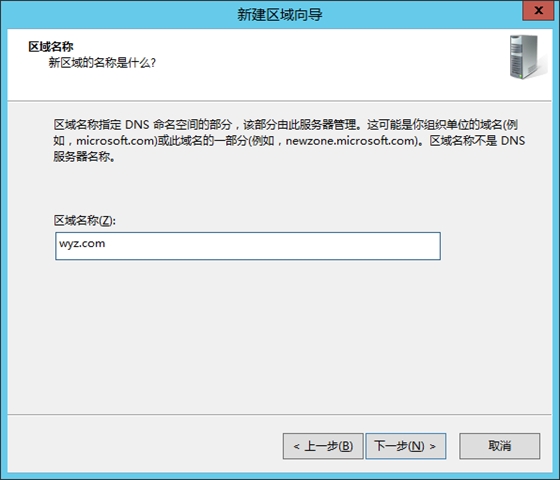
輸入區域名稱,輸入wyz.com點擊下一步:
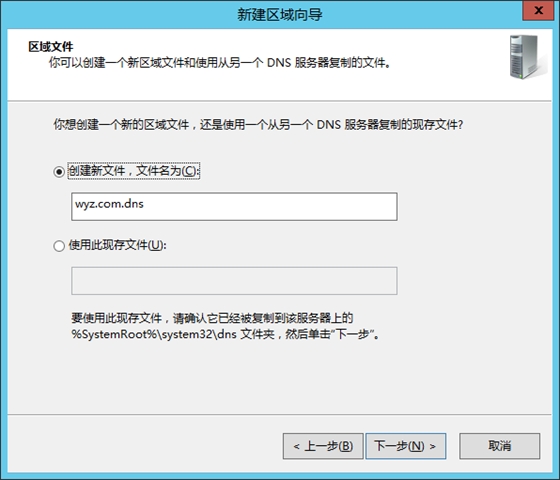
在這裏系統自動創建了一個文件名,直接點擊下一步即可:
選擇允許動態更新,然後點擊下一步:
雙擊打開wyz.com:
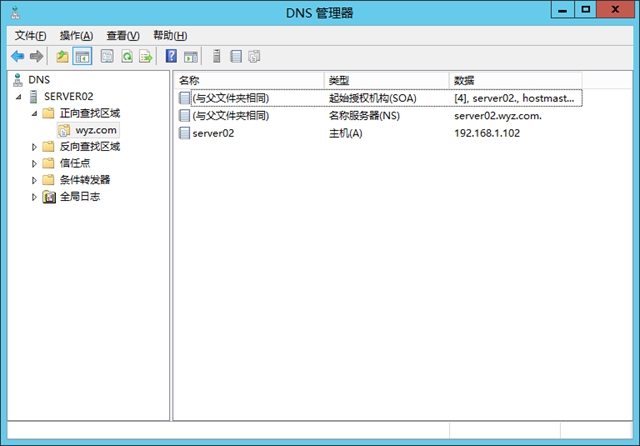
主機名輸入:www ,ip地址輸入:192.168.1.102,點擊添加主機,然後點擊完成:
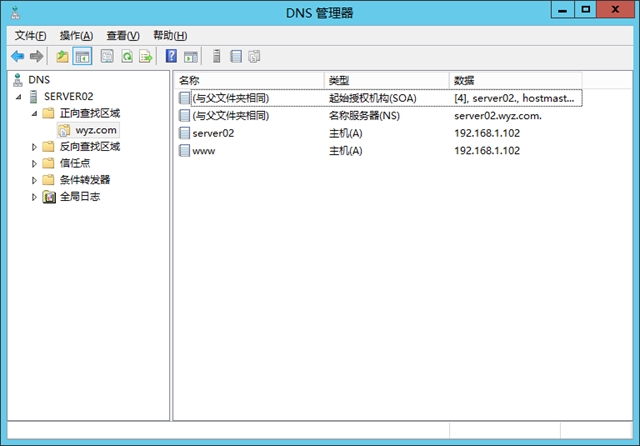
最後將私有根添加到根列表:
鼠標右鍵DNS下面的server02然後點擊屬性:
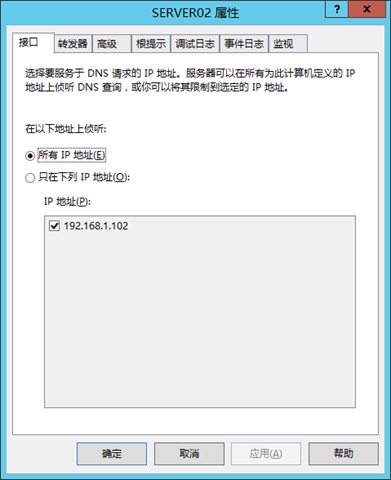
點擊跟提示:
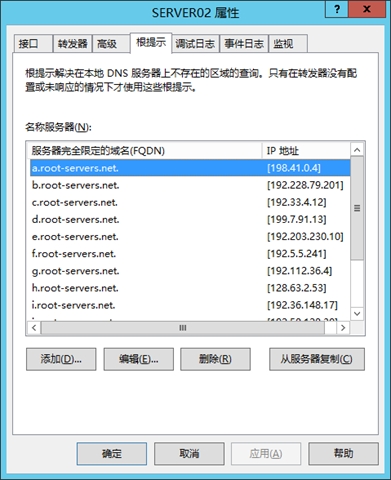
點擊添加:
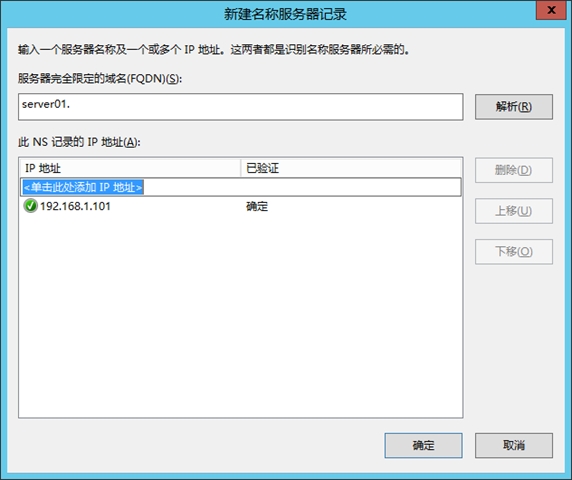
在服務器完全限定的域名輸入:server01. ,在ip地址輸入:192.168.1.101,點擊確定:
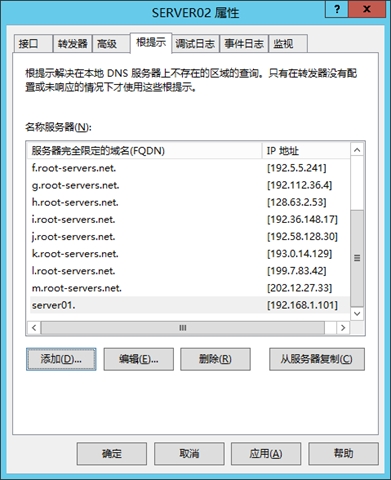
我們可以看到server01上的私有根已經成功被添加到根列表,點擊確定:
到這裏我們在server02上的配置就完成了。
(2) 配置server03
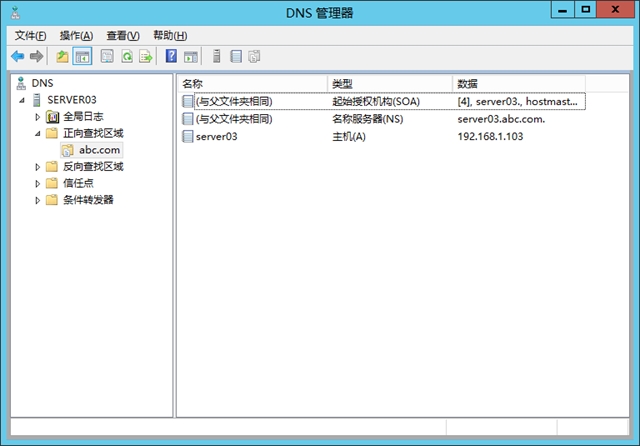
打開server03的DNS管理器:
鼠標右鍵正向查找區域,點擊新建區域:
系統給我們彈出了新建區域嚮導,直接點擊下一步:
選擇主要區域,點擊下一步:
在這裏區域名稱輸入abc.com ,點擊下一步:
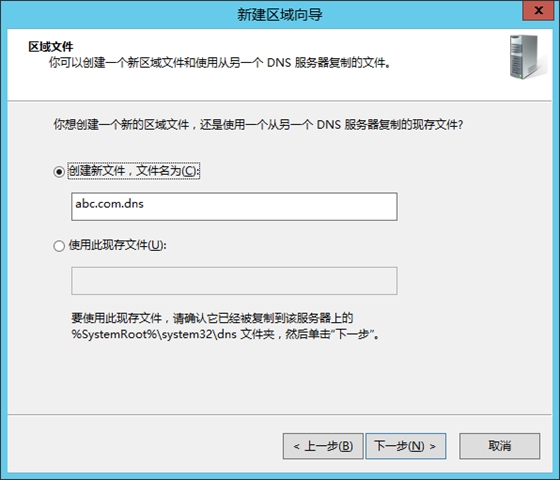
在這裏系統自動創建了區域文件,直接點擊下一步即可:
允許動態更新,點擊下一步:
點擊完成:
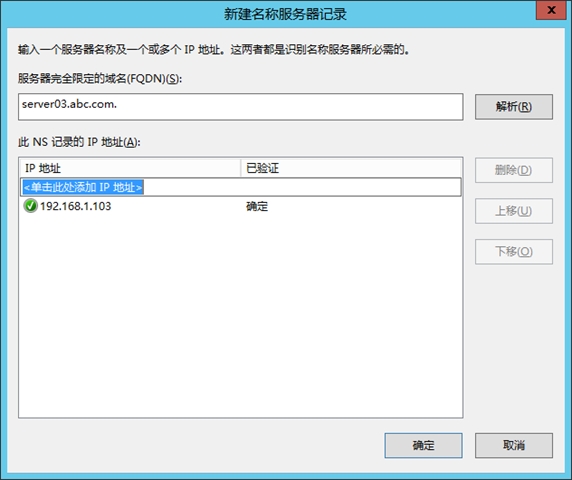
輸入完全合格域名:server03.abc.com. ,ip地址:192.168.1.103,點擊確定:
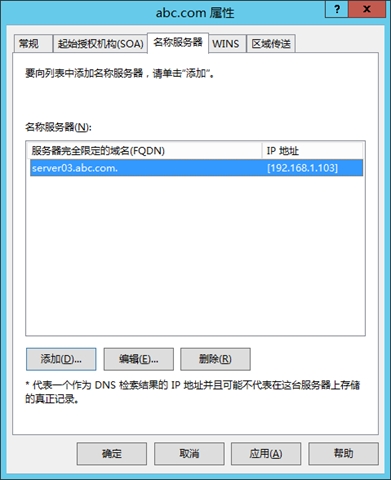
點擊應用,然後點擊確定:
鼠標右鍵空白區域,點擊新建主機記錄:
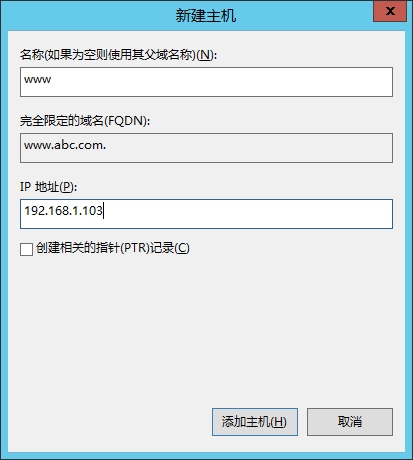
在名稱欄輸入:www,在ip地址欄輸入:192.179.1.103,點擊添加主機,然後點擊完成:
鼠標右鍵server03服務器,點擊屬性:
點擊跟提示:
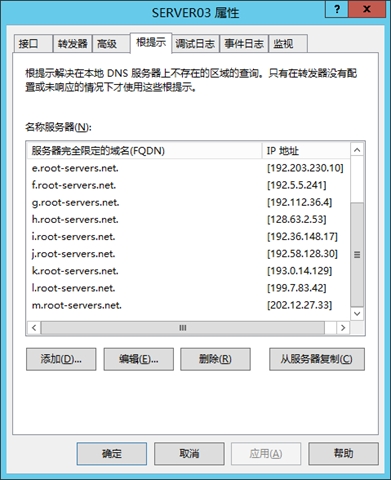
點擊添加:
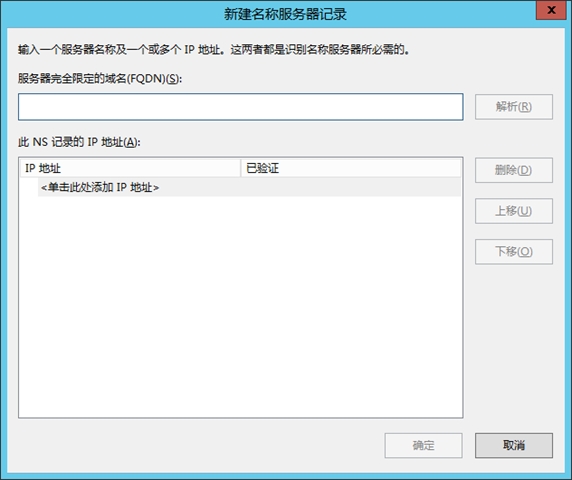
輸入完全合格的域名:server01. ,ip地址:192.168.1.101:
點擊確定:
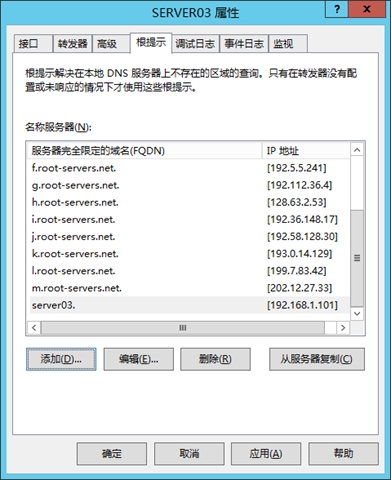
點擊應用,然後點擊確定。
到這裏我們在server02上的配置就完成了。
3測試
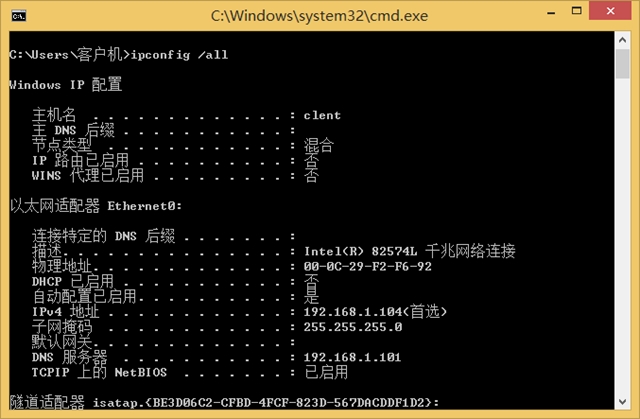
將客戶機的DNS指向server01(192.168.1.101):
使用PING命令測試私有根是否創建成功:
可以看出,server01上的DNS根服務器可以成功解析wyz.com和abc.com兩個區域的數據。所以我們的DNS私有根創建成功!!!
本文出自 “Mr、吳的微軟博客” 博客,請務必保留此出處http://wuyvzhang.blog.51cto.com/9992636/1624033