


我们已经从前面的博文中了解了很多关于DNS方面的知识,下面我们就根据一个综合的实验来把前面所说的内容复习一遍。这个实验就是DNS私有根:
所谓DNS私有根顾名思义就是企业或者个人自己创建的DNS根服务器,这个根服务器为创建者私自拥有和使用。DNS私有根主要用在客户端通过一个DNS服务器解析多个DNS区域的数据。
下面我们就用四台服务器来完成这个DNS私有根,server01充当根服务器的角色,把wyz.com的解析权委派给server02,把abc.com的解析权委派给server03,客户端DNS分别指向三台服务器,然后测试!具体实验拓扑如下(拓扑中医表明各服务器的名称和IP地址):
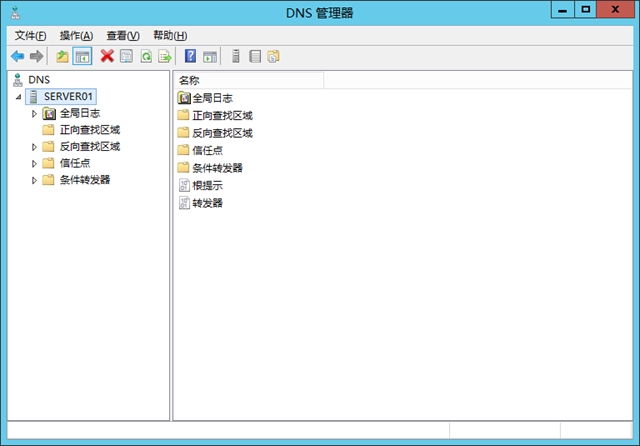
1、DNS根服务器:
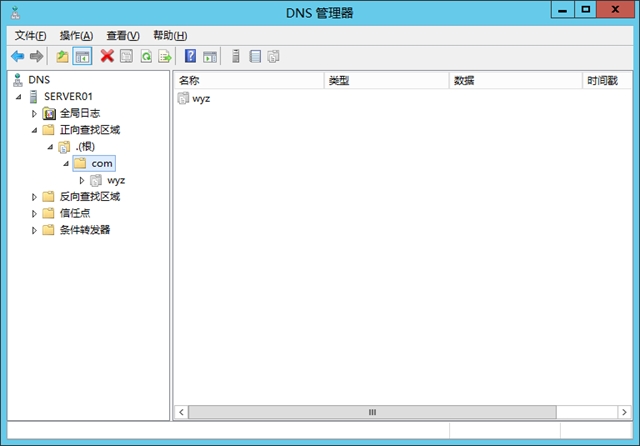
我们在server01的DNS管理器中新建根域:
点击打开server01的DNS管理器:
鼠标右键正向查找区域,点击新建区域:
和往常一样,系统给我们弹出了新建区域向导,我们直接点击下一步:
在这里我们要新建一个主要区域,点击下一步:
在这里系统让我们输入“.”,因为在互联网中“.”代表的是根的意思,点击 下一步:
在这里系统自动给我们创建了一个文件名,我们直接点击下一步:
在这里系统提示我们是否允许动态更新,我们选择允许动态更新,然后点击下一步:
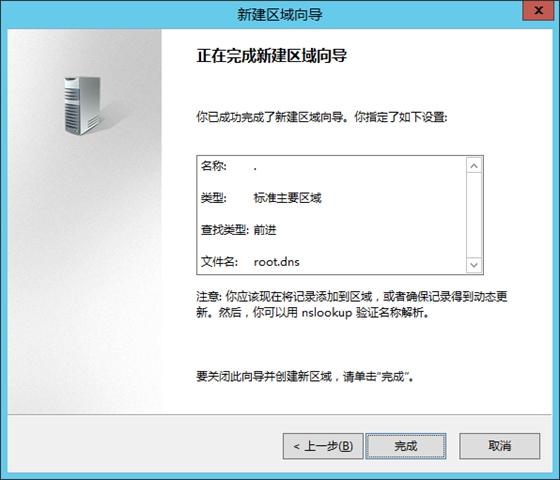
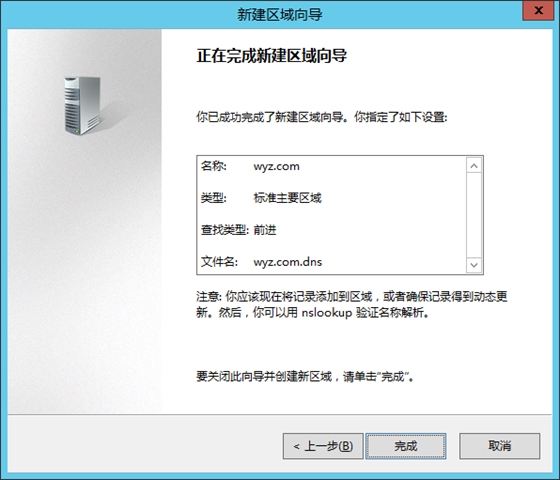
点击完成:
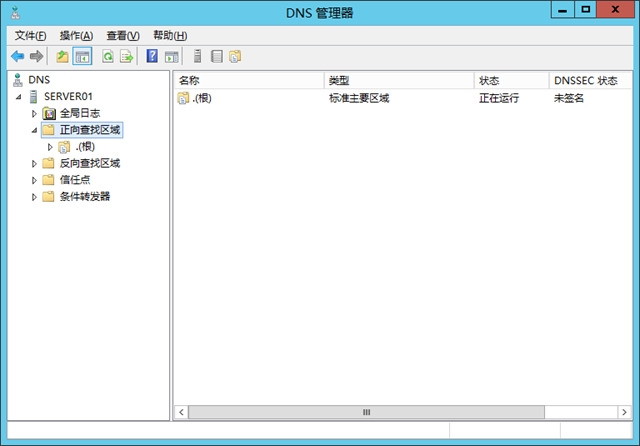
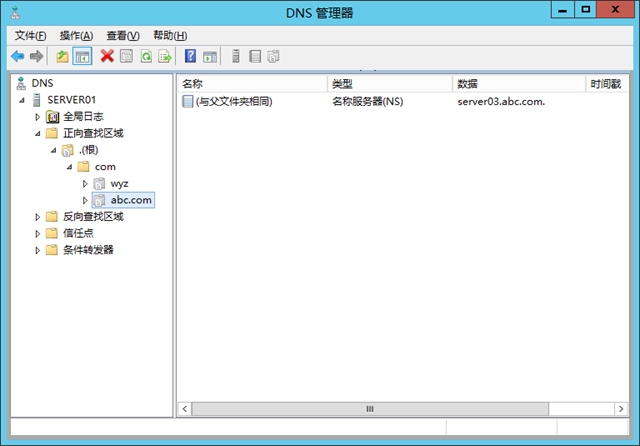
看到这个图片就说明我们的根域已经创建完成。下面我们在根域对server02和server03进行委派:
(1)将wyz.com的解析权委派给server02:
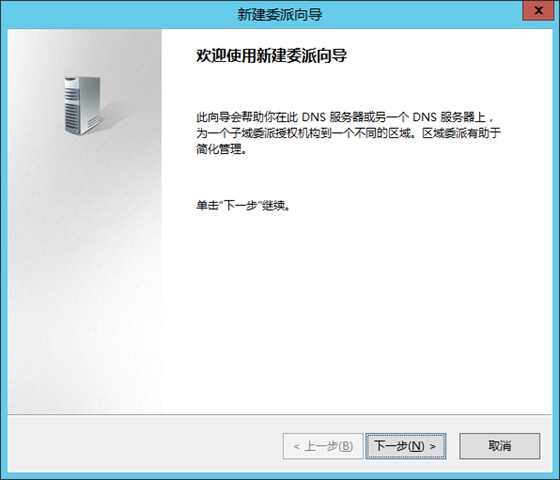
在根上鼠标右键,点击新建委派:
系统给我们弹出了一个新建委派向导,直接点击下一步:
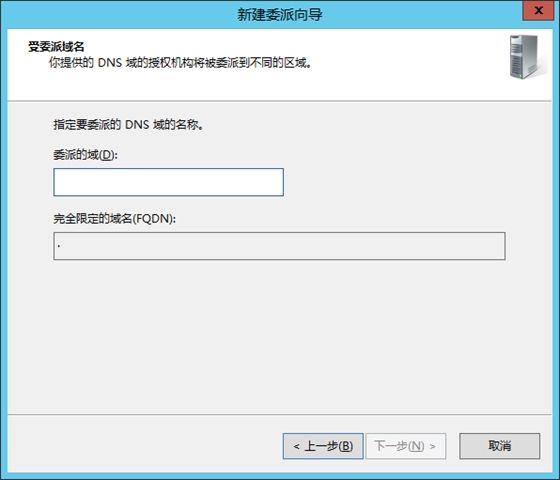
在这里系统让我们指定要委派的域,我们输入要委派的wyz.com:
点击下一步:
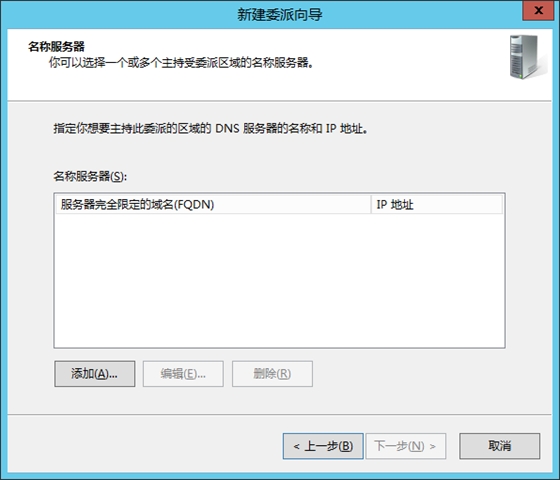
这里系统提示输入服务器名称和IP地址,点击添加:
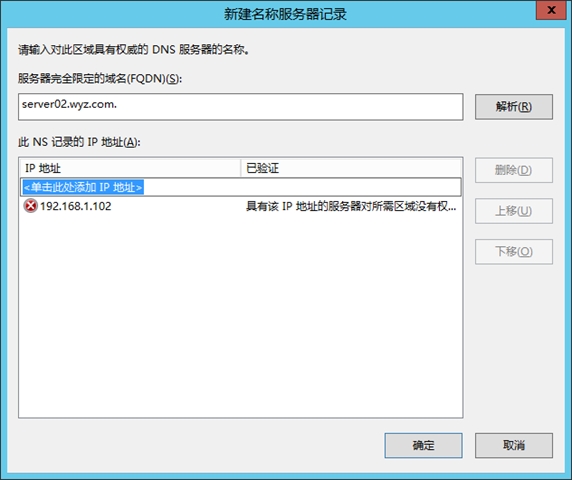
在这里我们输入一个完全合格域名:server02.wyz.com. ,ip:192.168.1.102,点击确定:
点击下一步:
点击完成:
到这里已经成功的将wyz.com的解析权委派给server02.
(2)将abc.com的解析权委派给server03:
在根上鼠标右键,点击新建委派:
系统弹出了一个新建委派的向导,直接点击下一步:
在这里系统让我们指定要委派的域,我们输入要委派的abc.com:
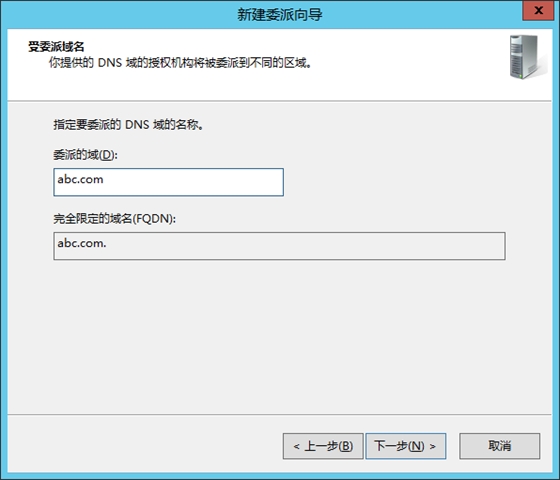
点击下一步:
这里系统提示输入服务器名称和IP地址,点击添加:
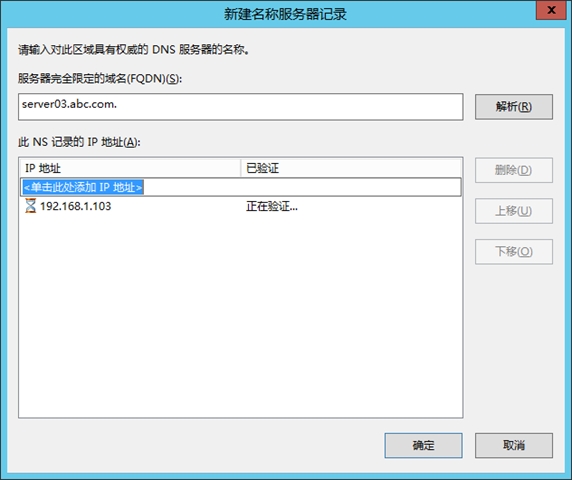
在这里我们输入一个完全合格域名:server03.abc.com. ,ip:192.168.1.103,点击确定:
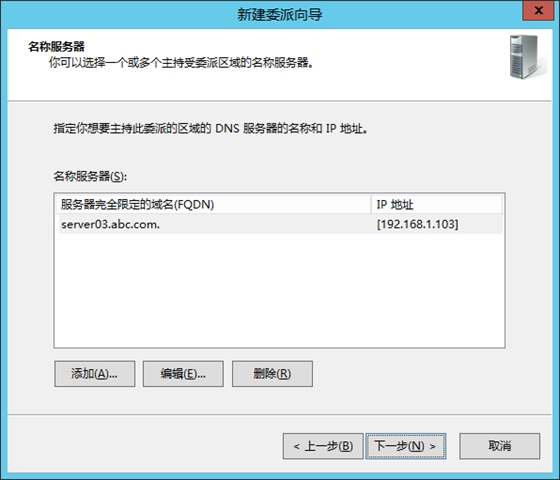
点击下一步:
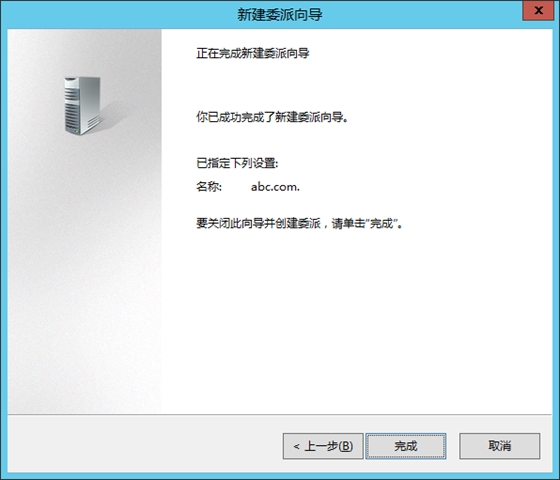
点击完成:
到这里已经成功的将abc.com的解析权委派给server03.
到这里我们在根服务器端的配置就已经结束了,下面开始配置被委派服务器。
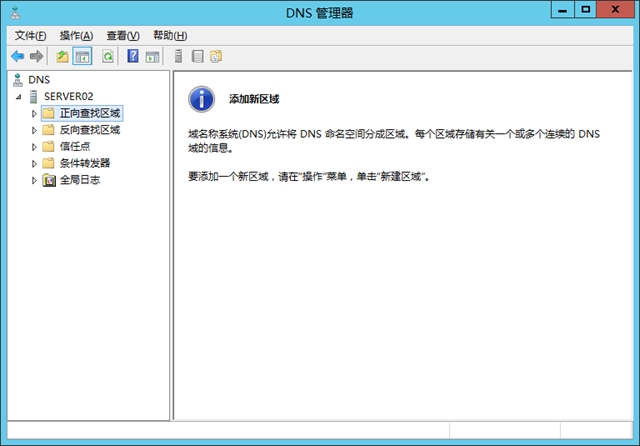
2、被委派区域:
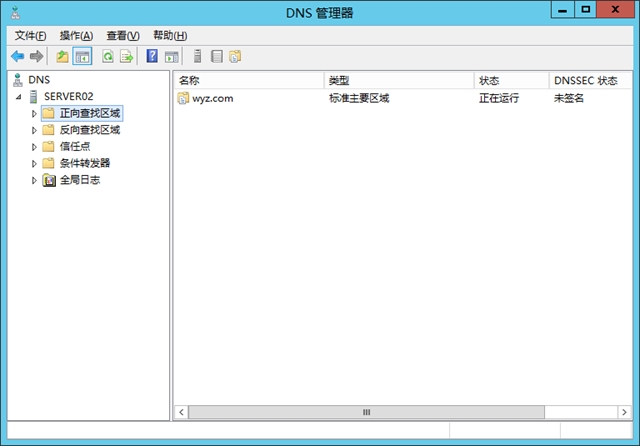
(1)配置server02
打开server02的DNS管理器:
鼠标右键正向查找区域,点击新建区域:
系统为我们弹出新建区域向导,点击下一步:
在这里要创建一个主要区域,点击下一步:
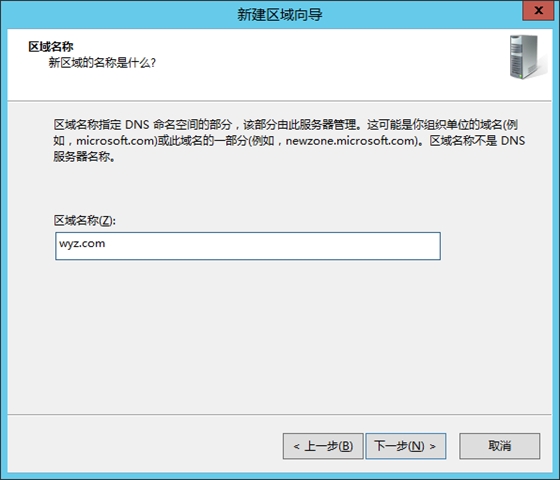
输入区域名称,输入wyz.com点击下一步:
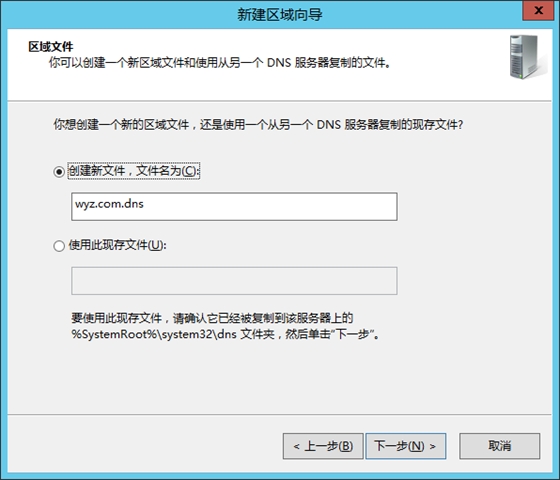
在这里系统自动创建了一个文件名,直接点击下一步即可:
选择允许动态更新,然后点击下一步:
双击打开wyz.com:
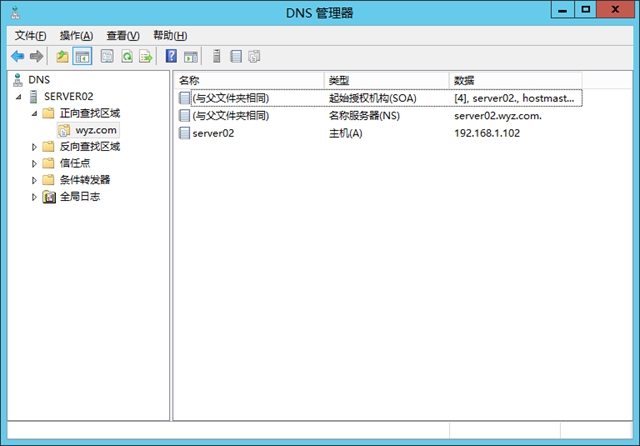
主机名输入:www ,ip地址输入:192.168.1.102,点击添加主机,然后点击完成:
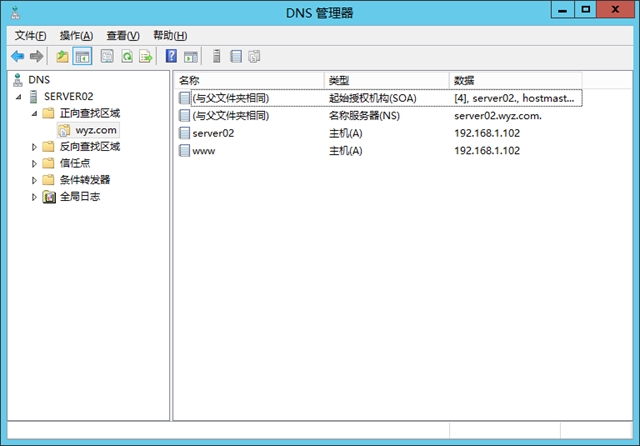
最后将私有根添加到根列表:
鼠标右键DNS下面的server02然后点击属性:
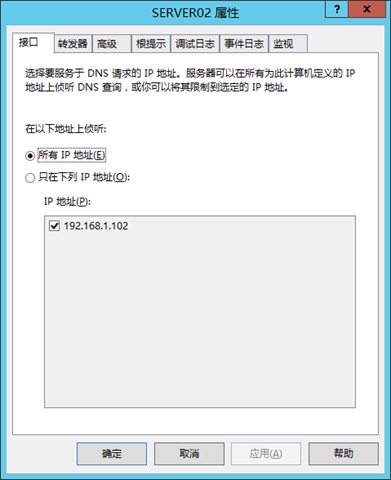
点击跟提示:
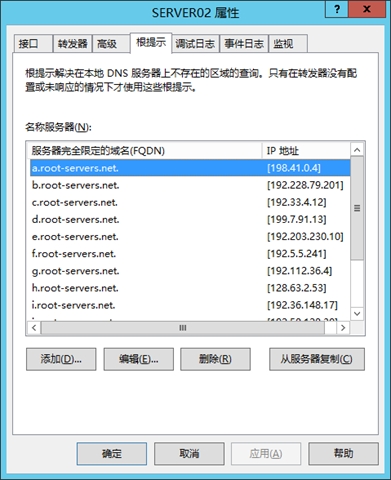
点击添加:
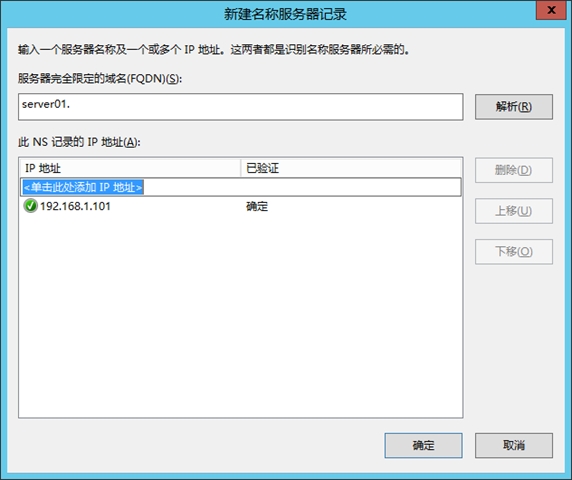
在服务器完全限定的域名输入:server01. ,在ip地址输入:192.168.1.101,点击确定:
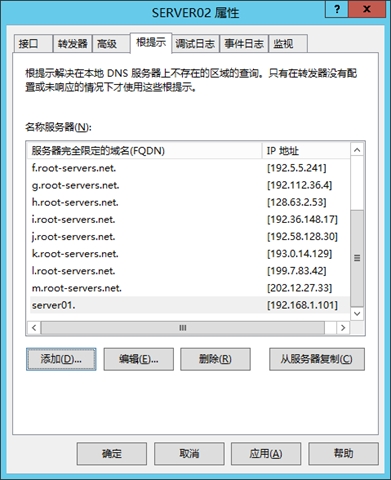
我们可以看到server01上的私有根已经成功被添加到根列表,点击确定:
到这里我们在server02上的配置就完成了。
(2) 配置server03
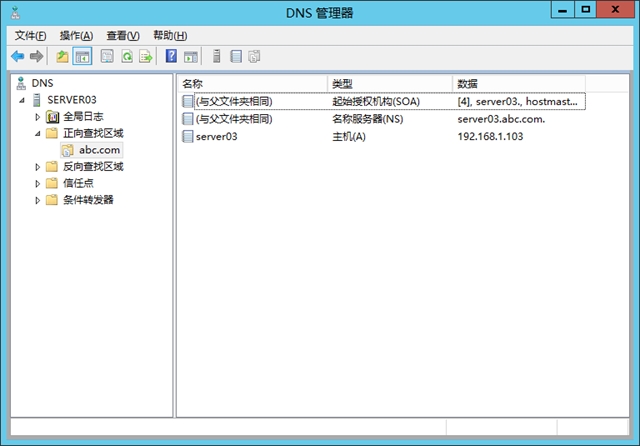
打开server03的DNS管理器:
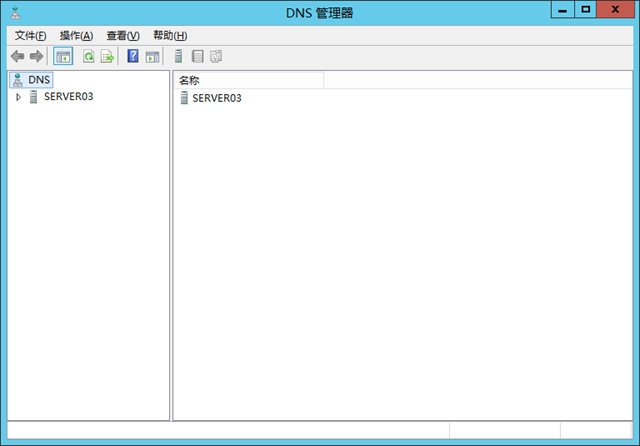
鼠标右键正向查找区域,点击新建区域:
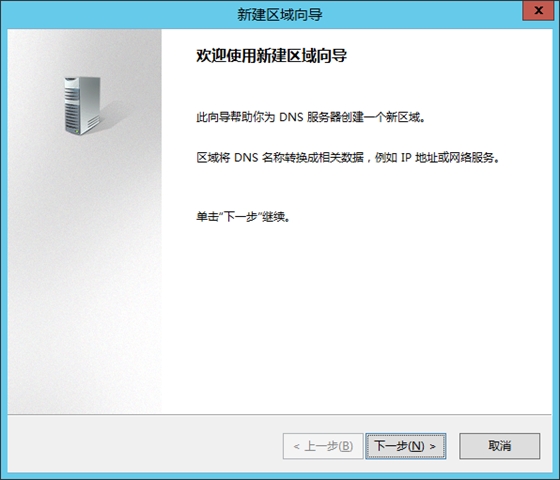
系统给我们弹出了新建区域向导,直接点击下一步:
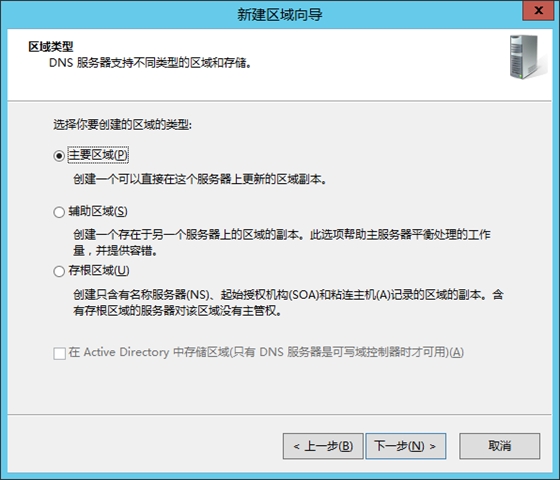
选择主要区域,点击下一步:
在这里区域名称输入abc.com ,点击下一步:
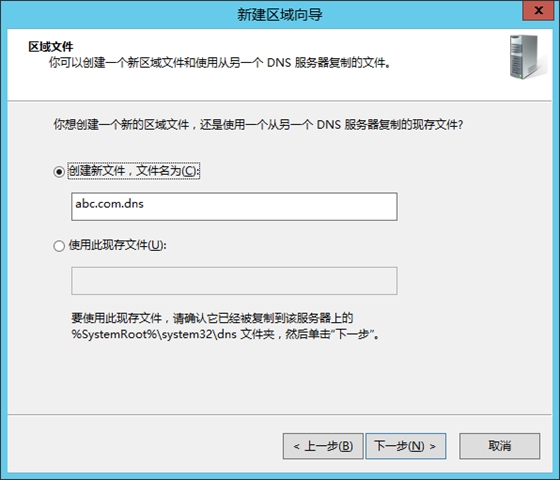
在这里系统自动创建了区域文件,直接点击下一步即可:
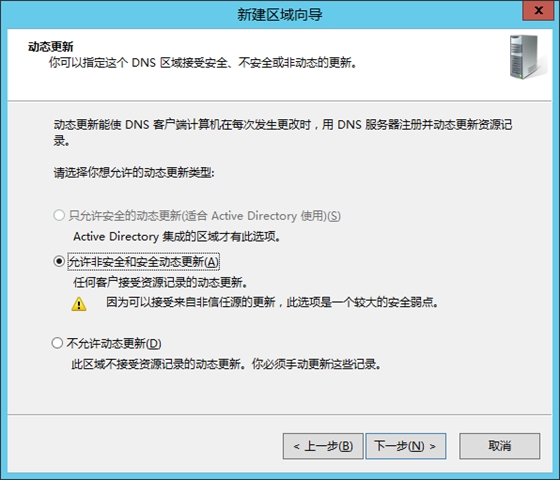
允许动态更新,点击下一步:
点击完成:
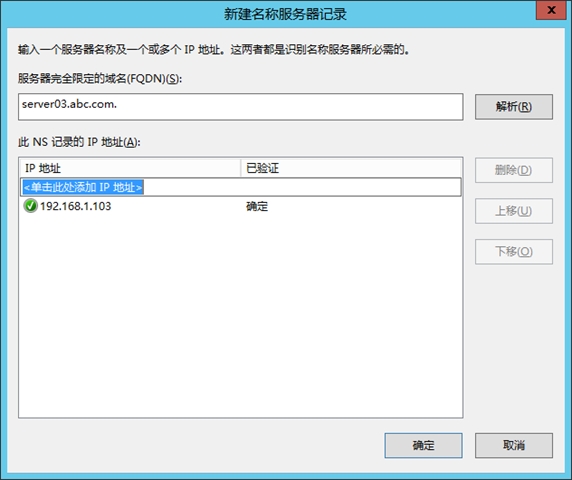
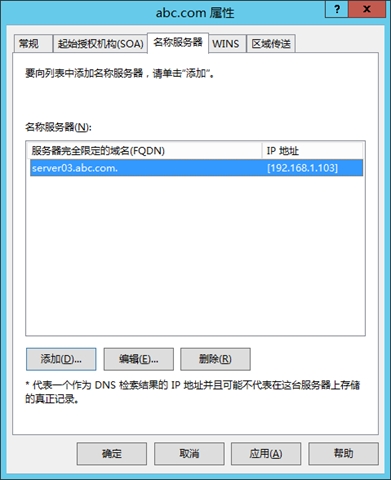
输入完全合格域名:server03.abc.com. ,ip地址:192.168.1.103,点击确定:
点击应用,然后点击确定:
鼠标右键空白区域,点击新建主机记录:
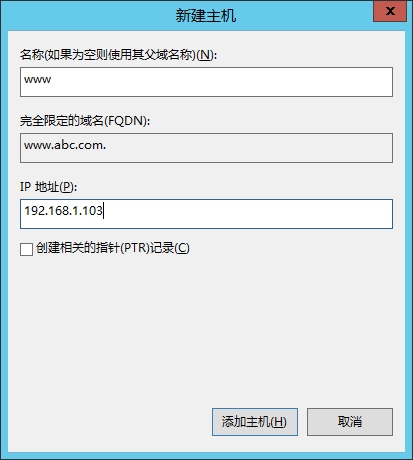
在名称栏输入:www,在ip地址栏输入:192.179.1.103,点击添加主机,然后点击完成:
鼠标右键server03服务器,点击属性:
点击跟提示:
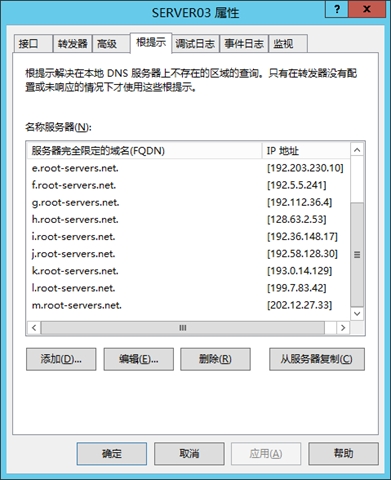
点击添加:
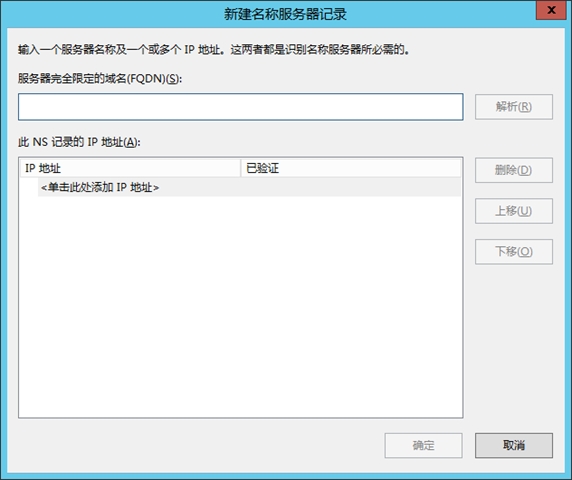
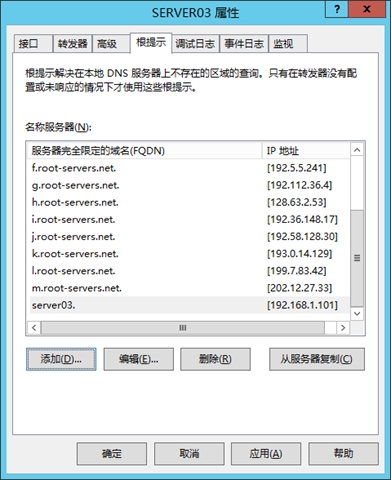
输入完全合格的域名:server01. ,ip地址:192.168.1.101:
点击确定:
点击应用,然后点击确定。
到这里我们在server02上的配置就完成了。
3测试
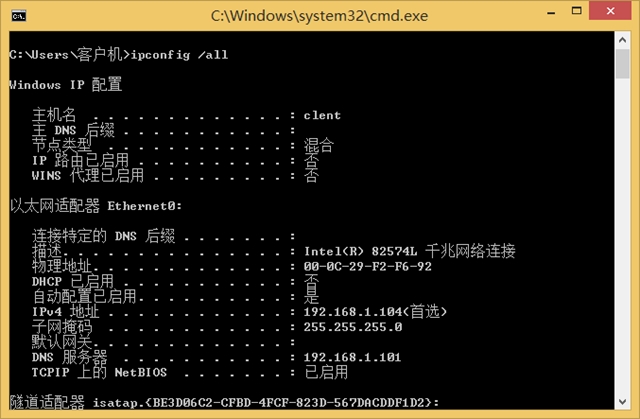
将客户机的DNS指向server01(192.168.1.101):
使用PING命令测试私有根是否创建成功:
可以看出,server01上的DNS根服务器可以成功解析wyz.com和abc.com两个区域的数据。所以我们的DNS私有根创建成功!!!
本文出自 “Mr、吴的微软博客” 博客,请务必保留此出处http://wuyvzhang.blog.51cto.com/9992636/1624033