


打開wifi
打開自帶的無線網絡診斷 wireless diagnostics (可以直接搜索無線診斷)
打開嗅探器sniffer
設置頻段 帶寬
https://osxdaily.com/2015/04/23/sniff-packet-capture-packet-trace-mac-os-x-wireless-diagnostics/
How to Sniff Packets with Wireless Diagnostics in OS X
This process will automatically disconnect from any active wireless network and transmission on the Mac, instead dedicating the Macs wi-fi card to sniff wireless network traffic and to capture detected data into a packet transfer file.
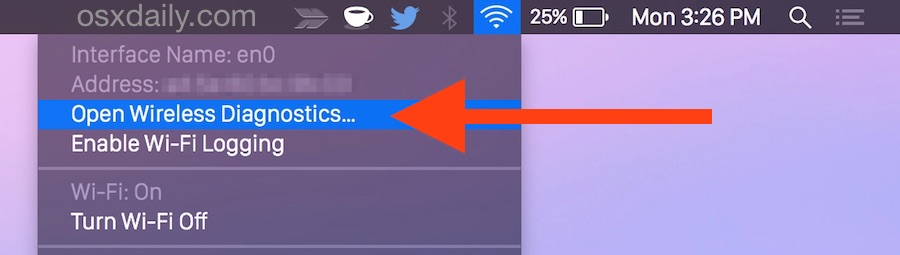
- Option+Click on the Wi-Fi menu item in the OS X menu bar
- Choose “Open Wireless Diagnostics” from the list to open the wi-fi utility
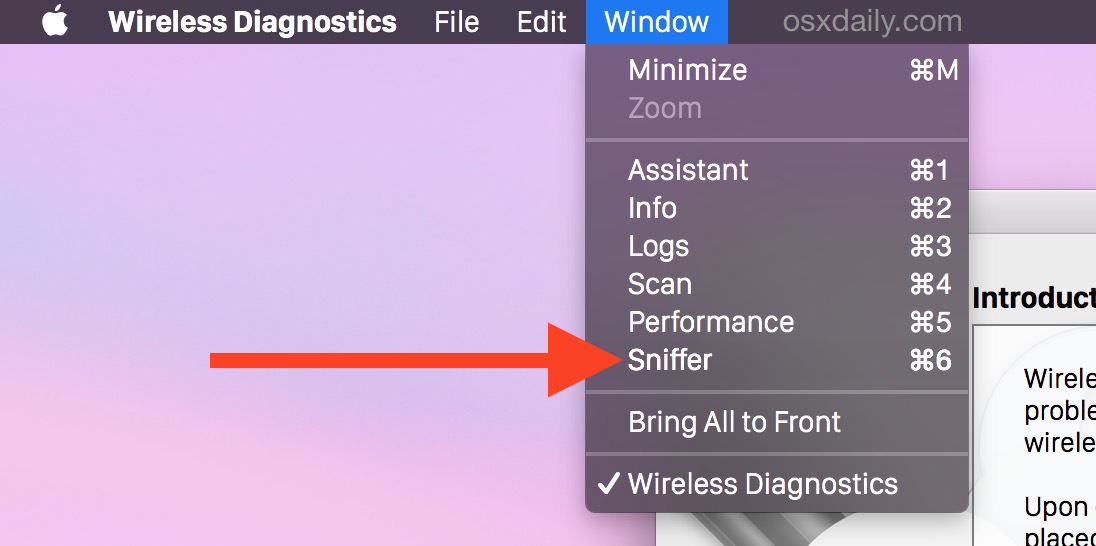
- Ignore the splash screen and pull down the “Window” menu, choose “Sniffer” from the list of options in the Wireless Diagnostics menu
- Select the Wi-Fi Channel and channel Width to sniff and capture packets for, using the wi-fi network stumbler tool can be helpful to identify which channels and widths to sniff network traffic for, then click “Start”
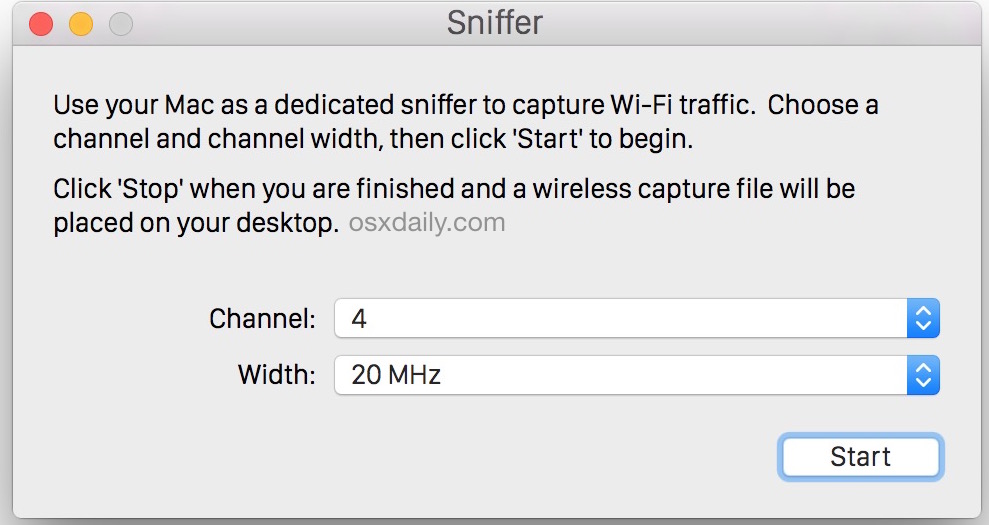
- When satisfied with the length of the packet capture, or when sufficient network traffic has been sniffed, click on “Stop” to end the packet trace and to save the captured packet file to the Desktop of OS X
The captured packet file will appear on the desktop with a .wcap extension and include the time of the packet capture, the name should look something like “2017.04.20_17-27-12-PDT.wcap”.

Opening the WCAP / PCAP Capture File in Mac OS X
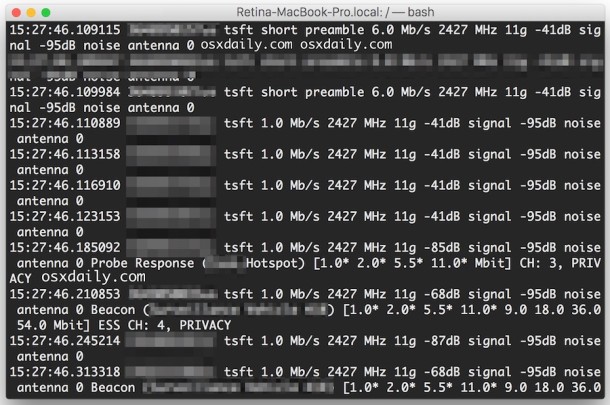
This file can be viewed from the command line with tcpdump, or with an app like WireShark. Browsing the packet capture file through the command line will look like the following:
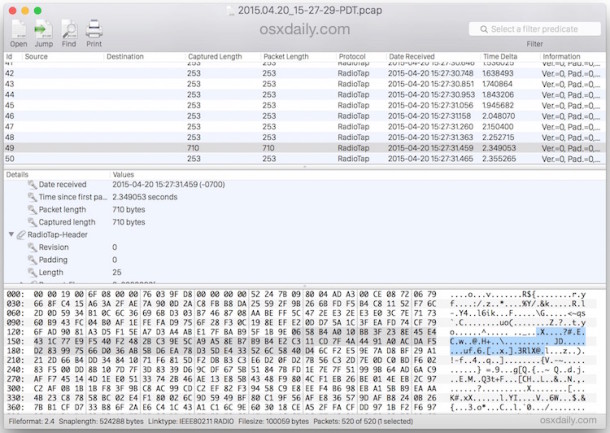
If you want to, you can change the file extension from wcap to pcap and you’ll be able to open the output file in other apps too, including Cocoa Packet Analyzer (App Store link) as well. The screen shot below shows what this looks like in the CPA app:
WIFI sniffer log抓取
https://www.cnblogs.com/bluestorm/p/17622880.html