


GitLab介紹
GitLab 是一個用於倉庫管理系統的開源項目,使用Git作爲代碼管理工具,並在此基礎上搭建起來的web服務。
系統環境準備
建議:內存4G以上不然帶不動
1 2 3 4 | [root@hejianlai-jenkins ~]# cat /etc/redhat-releaseCentOS Linux release 7.4.1708 (Core)[root@hejianlai-jenkins ~]# uname -r3.10.0-693.el7.x86_64 |
#關閉firewalld和NetWorkManager
1 2 | [root@hejianlai-jenkins ~]# systemctl stop firewalld[root@hejianlai-jenkins ~]# systemctl stop NetWorkManager |
#永久關閉
1 2 | [root@hejianlai-jenkins ~]# systemctl disable firewalld[root@hejianlai-jenkins ~]# systemctl disable NetWorkManager |
#關閉selinux
1 2 | [root@hejianlai-jenkins ~]# sed -i 's/SELINUX=enforcing/SELINUX=disabled/g' /etc/selinux/config[root@hejianlai-jenkins ~]# setenforce 0 |
#更換阿里源和下載epel源
1 2 3 | [root@hejianlai-jenkins ~]#mv /etc/yum.repos.d/CentOS-Base.repo /etc/yum.repos.d/CentOS-Base.repo.backup[root@hejianlai-jenkins ~]#wget -O /etc/yum.repos.d/CentOS-Base.repo http://mirrors.aliyun.com/repo/Centos-7.repo[root@hejianlai-jenkins ~]#wget -O /etc/yum.repos.d/epel.repo http://mirrors.aliyun.com/repo/epel-7.repo |
#yum源更新,重啓系統
1 | [root@hejianlai-jenkins ~]# yum update && reboot |
#安裝相應工具
1 2 | [root@hejianlai-jenkins ~]yum install curl policycoreutils openssh-server openssh-clients postfix -y[root@hejianlai-jenkins ~]systemctl start postfix |
#新建GitLab源
1 2 3 4 5 6 7 8 9 10 | [root@hejianlai-jenkins ~]# vim /etc/yum.repos.d/gitlab-ce.repo[gitlab-ce]name=gitlab-cebaseurl=http://mirrors.tuna.tsinghua.edu.cn/gitlab-ce/yum/el7repo_gpgcheck=0gpgcheck=0enabled=1gpgkey=https://packages.gitlab.com/gpg.key[root@hejianlai-jenkins ~]# yum makecache[root@hejianlai-jenkins ~]# yum install -y gitlab-ce |
#安裝git工具
1 | [root@hejianlai-jenkins ~]# yum install git -y |
#加載配置文件並啓動,時間稍長
1 | [root@hejianlai-jenkins ~]# gitlab-ctl reconfigure |
#gitlab-ctl其他命令
1 2 3 4 5 | 啓動:gitlib-ctl start關閉:gitlab-ctl stop重啓:gitlab-ctl restart重載配置:gitlab-ctl reconfigure查看狀態:gitlab-ctl status |
#查看端口保證80端口不被佔用
1 2 3 4 | [root@hejianlai-jenkins ~]# lsof -i:80COMMAND PID USER FD TYPE DEVICE SIZE/OFF NODE NAMEnginx 700 root 7u IPv4 16903 0t0 TCP *:http (LISTEN)nginx 804 gitlab-www 7u IPv4 16903 0t0 TCP *:http (LISTEN) |
#gitlab配置文件路徑
1 | /etc/gitlab/gitlab.rb |
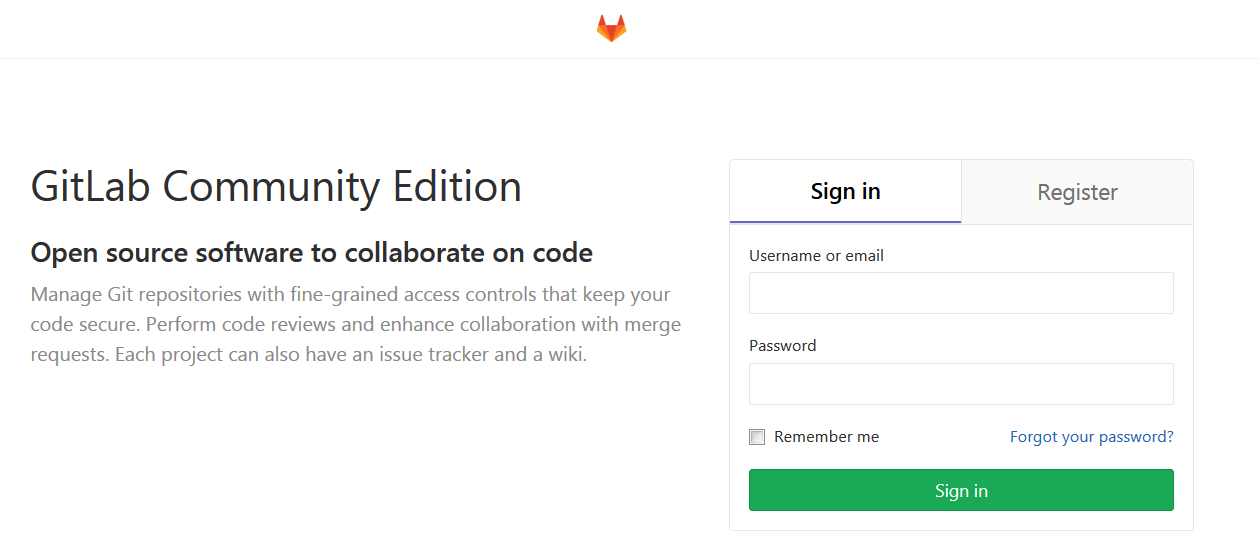
瀏覽器登錄gitlab,輸入http://ip進入下圖:
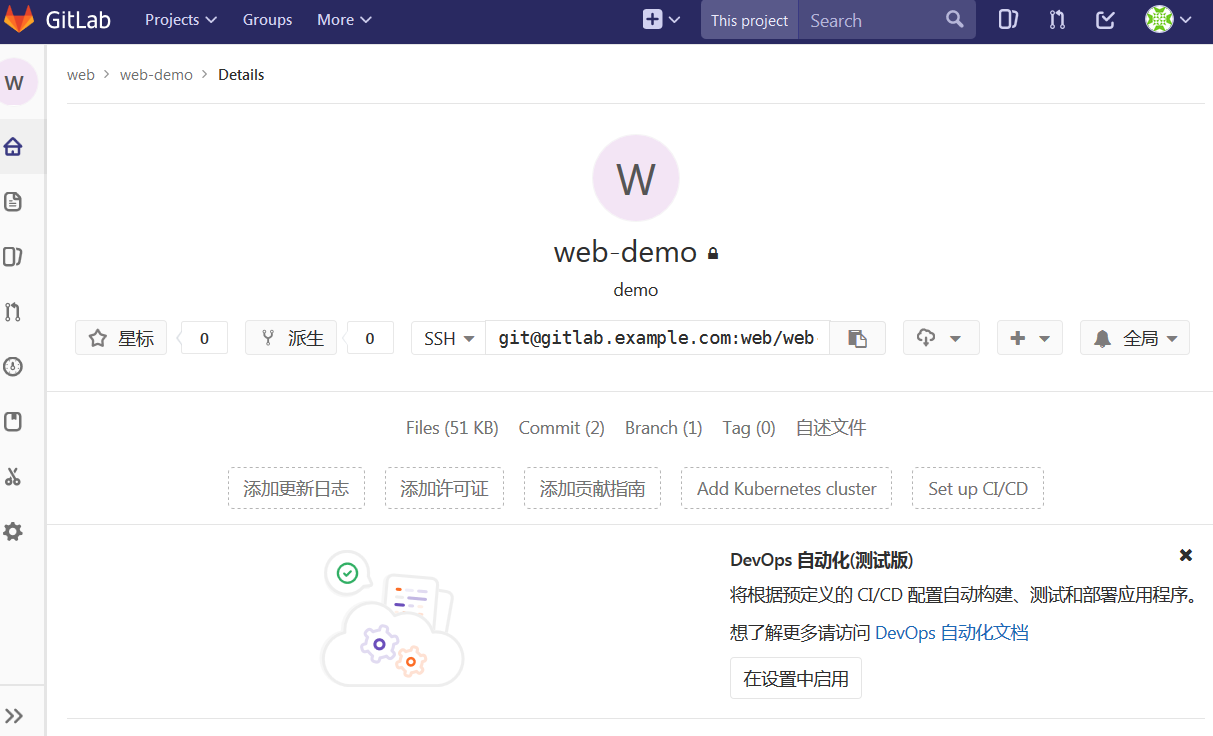
先輸入密碼,然後Register填寫賬戶信息進入新建項目
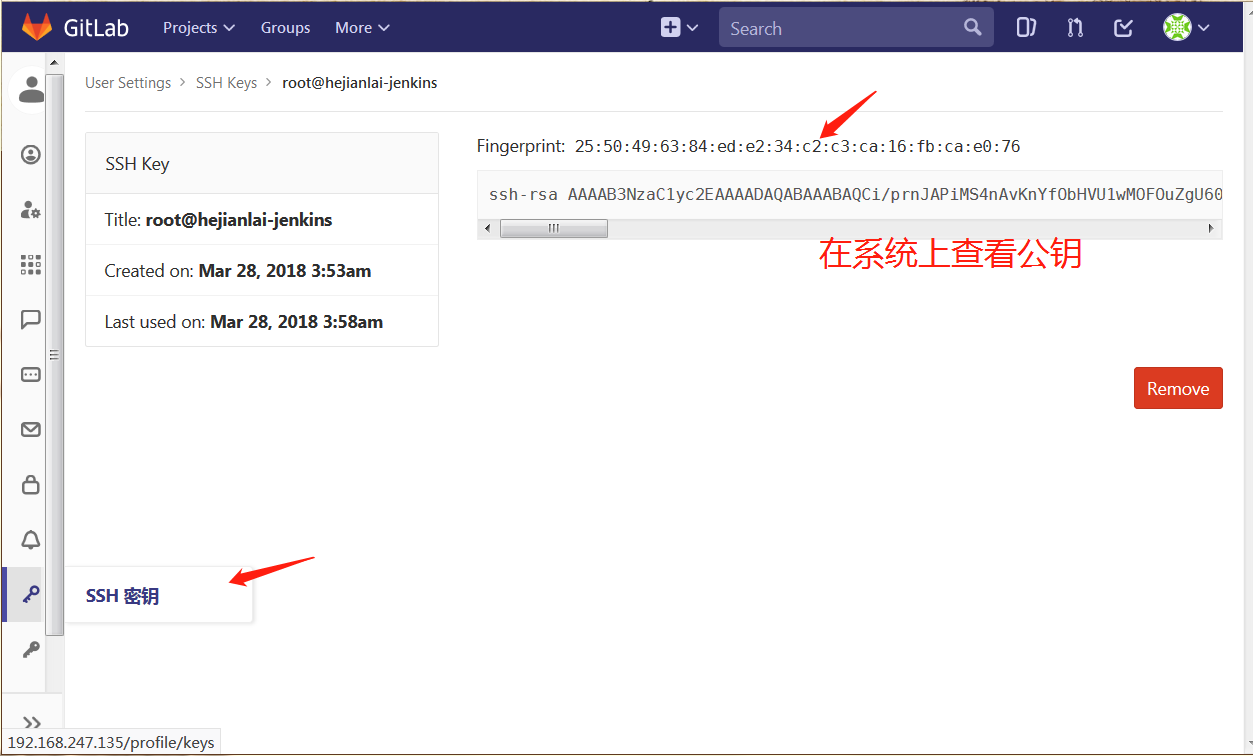
填寫ssh認證
測試拉取代碼
1 2 3 4 5 6 7 8 9 10 | [root@hejianlai-jenkins ~]# git clone git@hejianlai-jenkins:web/web-demo.gitCloning into 'web-demo'...remote: Counting objects: 6, done.remote: Compressing objects: 100% (3/3), done.remote: Total 6 (delta 0), reused 0 (delta 0)Receiving objects: 100% (6/6), done.[root@hejianlai-jenkins ~]# lsanaconda-ks.cfg epel-release-latest-7.noarch.rpm web-demo[root@hejianlai-jenkins ~]# ls web-demo/index.html README.md |
上傳代碼
1 2 3 4 5 6 7 8 9 10 11 12 13 14 15 16 17 18 19 20 21 22 23 24 25 26 27 28 29 30 31 | [root@hejianlai-jenkins web-demo]# echo "test" >>test.txt[root@hejianlai-jenkins web-demo]# git config --global user.email "[email protected]"[root@hejianlai-jenkins web-demo]# git config --global user.name "Your Name"[root@hejianlai-jenkins web-demo]# git add *[root@hejianlai-jenkins web-demo]# git commit -m "add test.txt"[master 5df66f7] add test.txt 1 file changed, 1 insertion(+) create mode 100644 test.txt[root@hejianlai-jenkins web-demo]# git pushwarning: push.default is unset; its implicit value is changing inGit 2.0 from 'matching' to 'simple'. To squelch this messageand maintain the current behavior after the default changes, use: git config --global push.default matchingTo squelch this message and adopt the new behavior now, use: git config --global push.default simpleSee 'git help config' and search for 'push.default' for further information.(the 'simple' mode was introduced in Git 1.7.11. Use the similar mode'current' instead of 'simple' if you sometimes use older versions of Git)Counting objects: 4, done.Delta compression using up to 2 threads.Compressing objects: 100% (2/2), done.Writing objects: 100% (3/3), 314 bytes | 0 bytes/s, done.Total 3 (delta 0), reused 0 (delta 0)To git@hejianlai-jenkins:web/web-demo.git 18a57cf..5df66f7 master -> master |
GitLab上查看: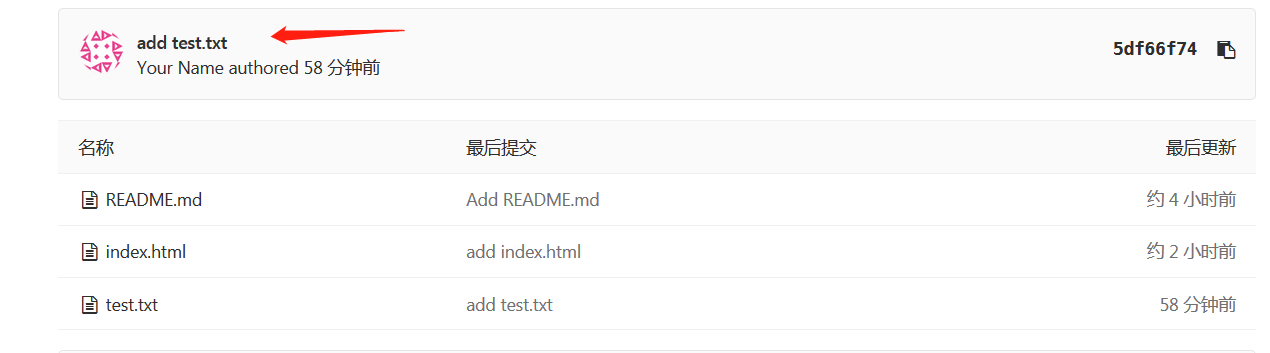
#安裝JenKins
1 2 3 4 5 6 7 8 9 | [root@hejianlai-jenkins web-demo]# sudo wget -O /etc/yum.repos.d/jenkins.repo https://pkg.jenkins.io/redhat-stable/jenkins.repo[root@hejianlai-jenkins web-demo]# sudo rpm --import https://pkg.jenkins.io/redhat-stable/jenkins.io.key[root@hejianlai-jenkins web-demo]# yum install java jenkins –y#JenKins默認端口爲8080,因爲gitlab已經佔用我們需要更改。[root@hejianlai-jenkins web-demo]# vim /etc/sysconfig/jenkinsJENKINS_PORT="8080" ---> JENKINS_PORT="8081" |
#啓動JenKins
1 2 | [root@hejianlai-jenkins web-demo]# /etc/init.d/jenkins startStarting jenkins (via systemctl): [ OK ] |
#瀏覽器登錄JenKins,地址:http://192.168.247.135:8081/
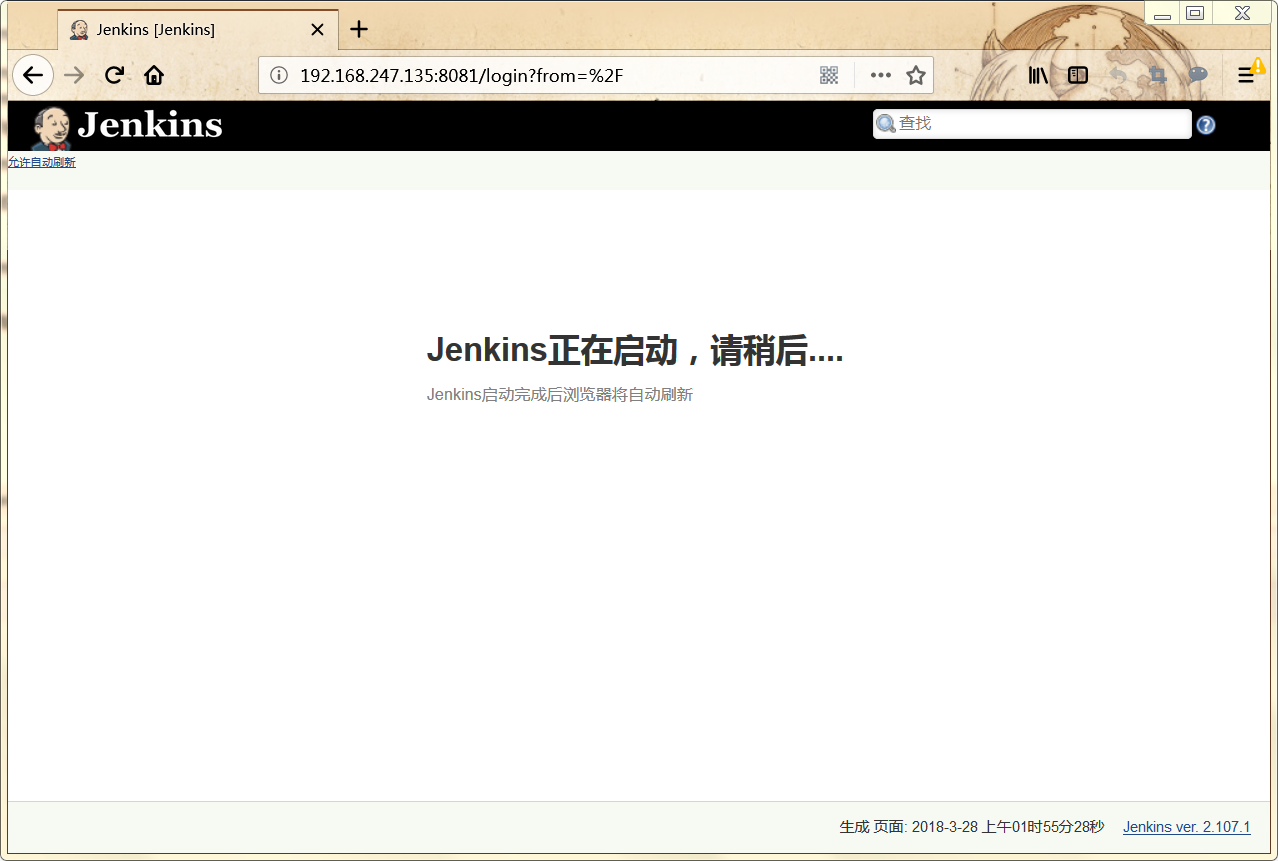
正在啓動;
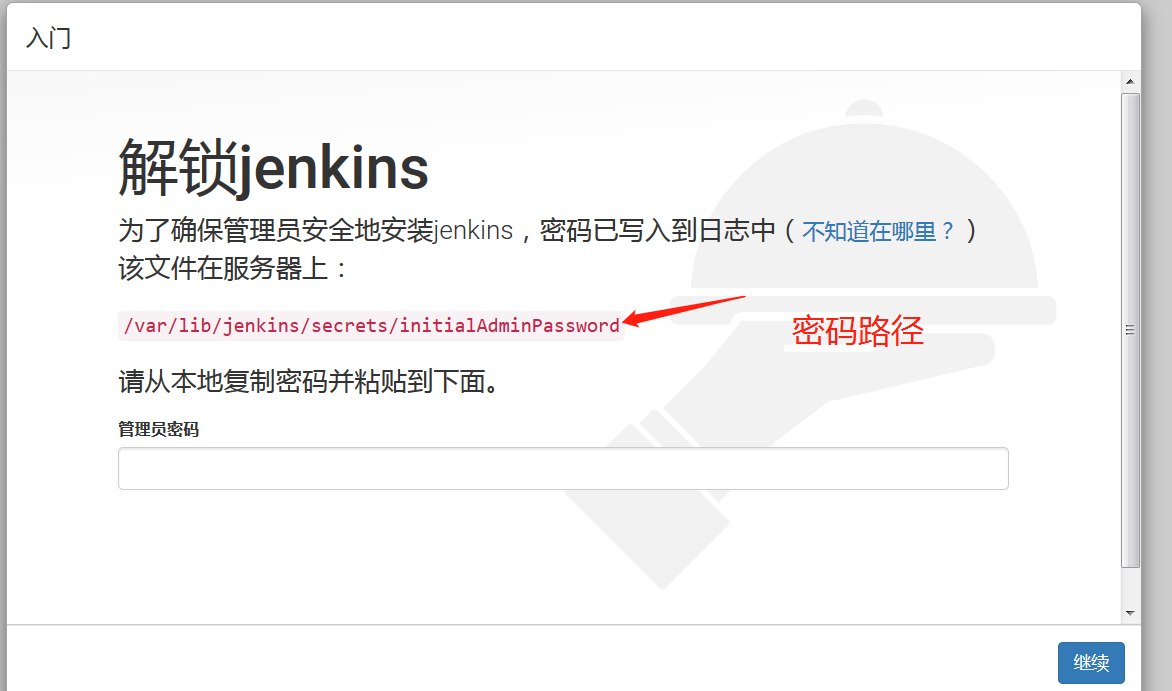
進入有個密碼路徑,系統上查看這個文件並把密碼複製粘貼才能登錄;

選擇推薦安裝;

創建一個管理員

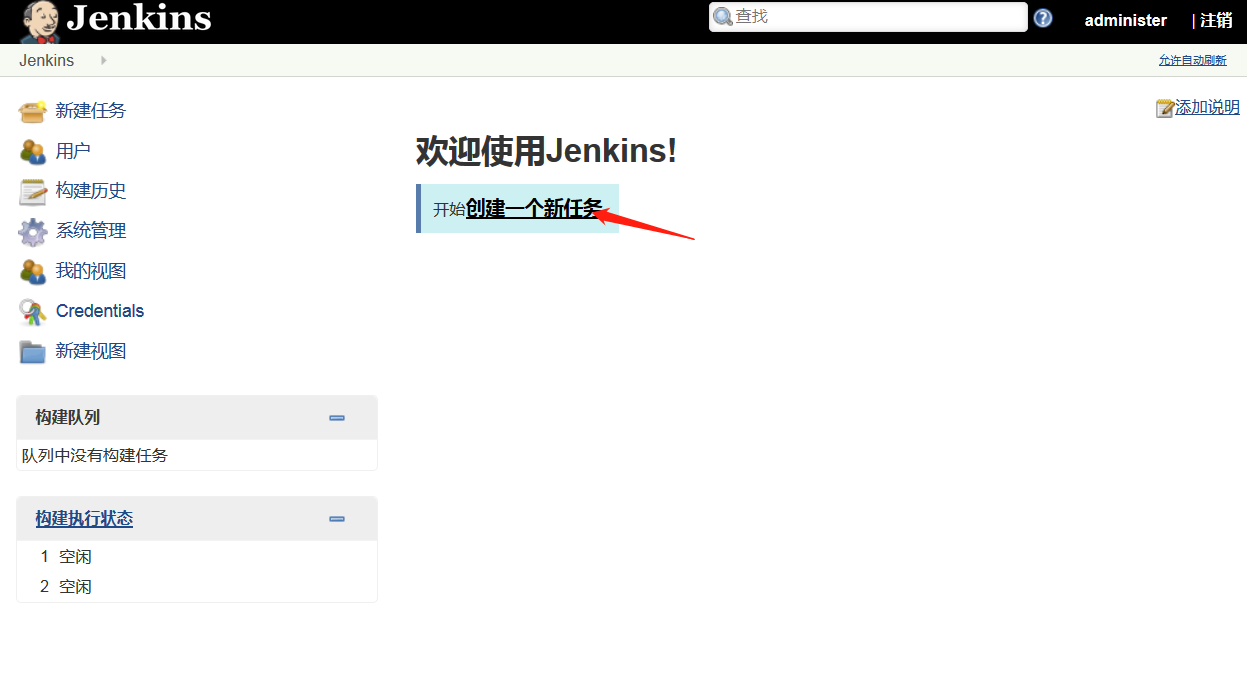
開始使用jenkins

下面實現持續集成
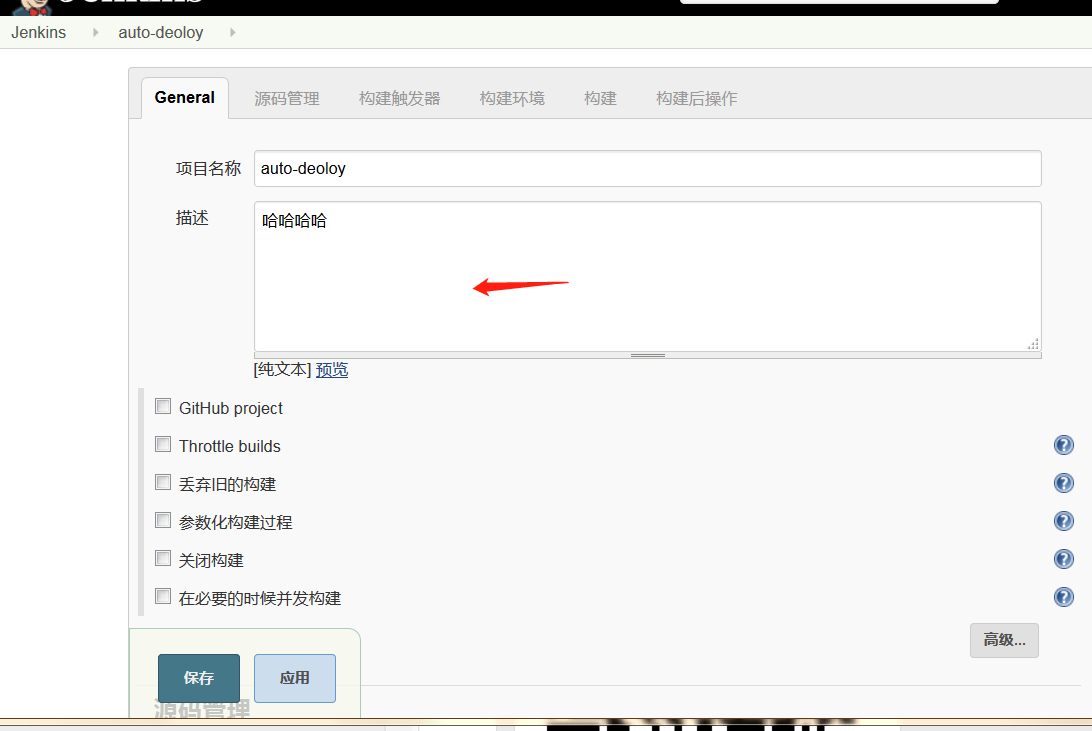
進入主頁--創建一個新任務
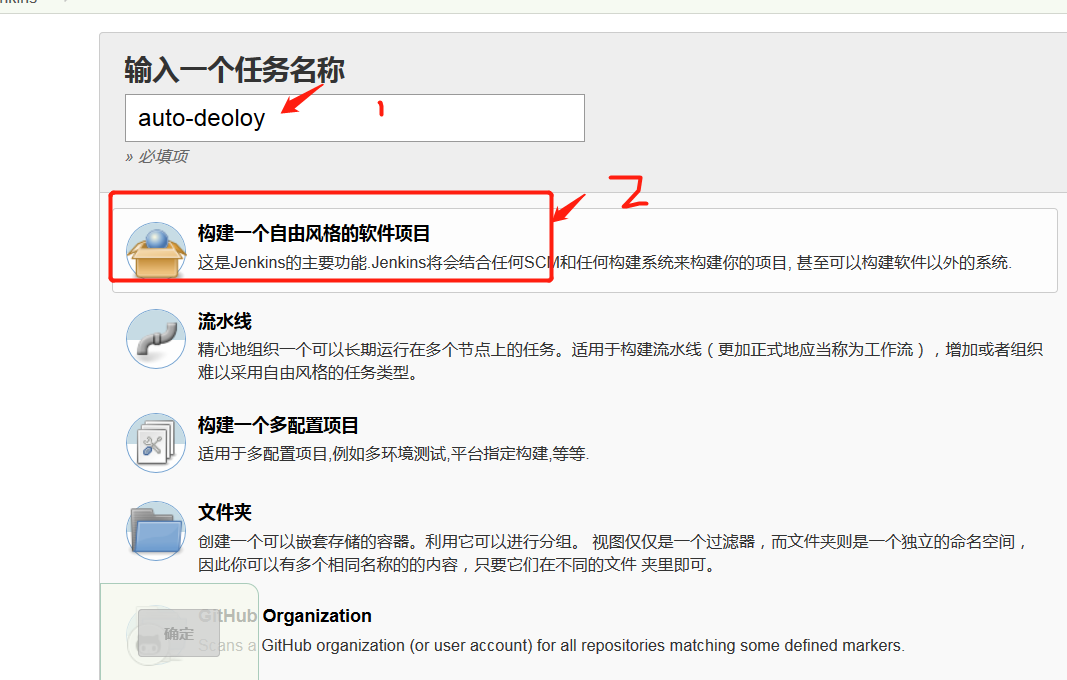
輸入項目名稱---構建一個自由風格的軟件項目---確認
General--填寫項目描述
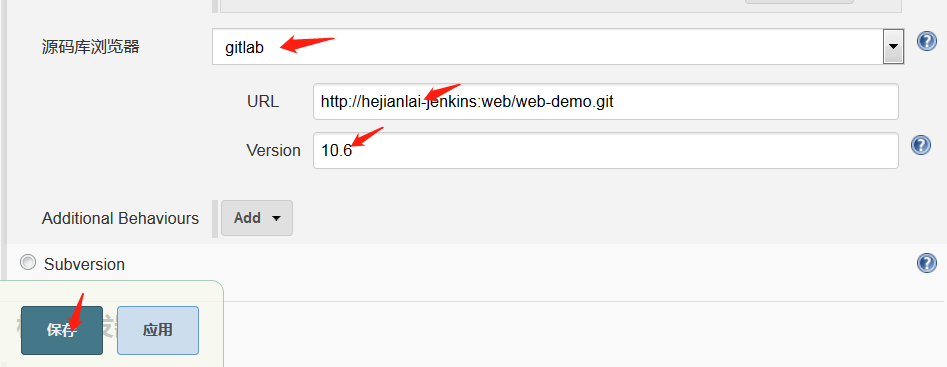
源碼管理--安裝git插件--授權認證

ssh私鑰認證我們在系統上查看粘貼進去即可。
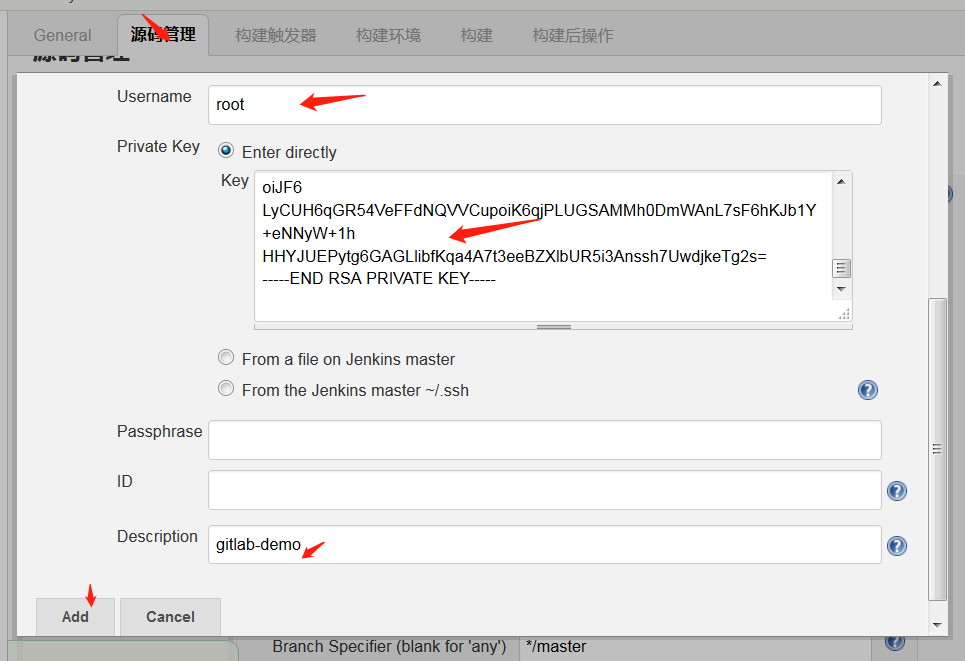

Credentials—選擇root

查看gitlab版本
1 2 | [root@hejianlai-jenkins ~]# rpm -aq|grep gitlabgitlab-ce-10.6.0-ce.0.el7.x86_64 |
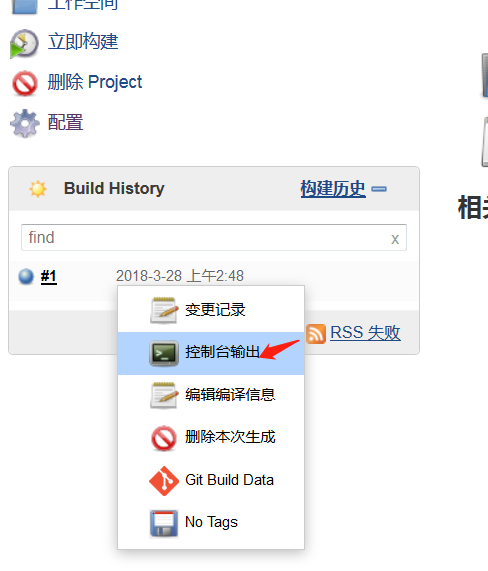
點擊立即構建
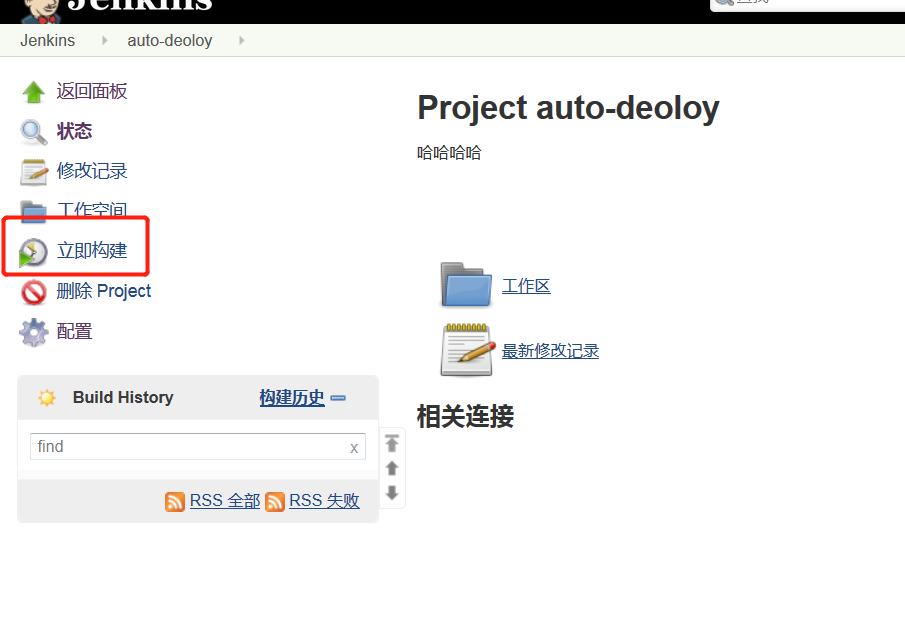
點擊控制檯輸出查看
控制檯輸出,SUCCESS則構建成功

轉載地址:https://www.cnblogs.com/Dev0ps/p/8663262.html