回顧上節課的三條經典命令
django-admin startproject 項目名稱
#建立項目

python manage.py startapp blog
#建立項目內站點

python manage.py runserver
#啓動服務
#runserver後面可以帶端口號,表示運行是的端口
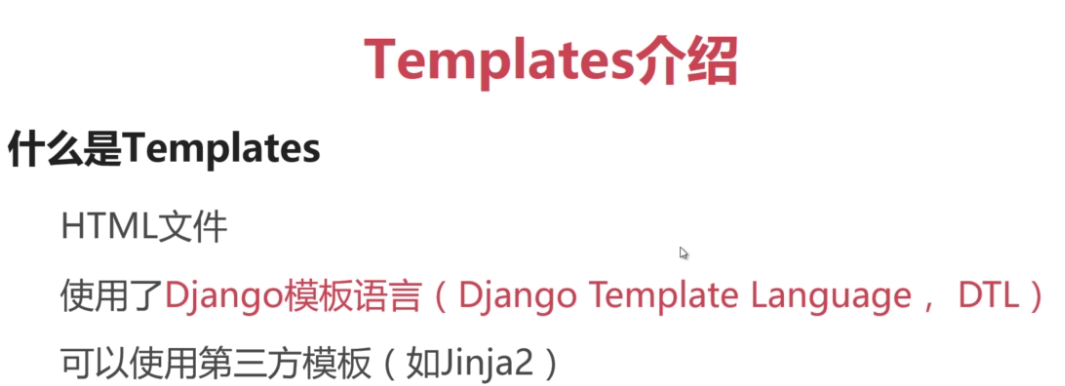
Tmeplates:
(圖片轉載至幕課)
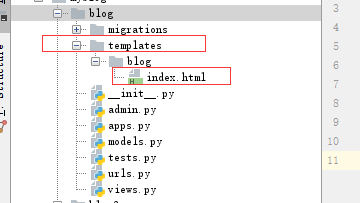
在昨天的myblog\blog下簡歷templates文件夾
結構樹
myblog
|
|-----blog
| |
| |-----templates
| | |
| | |-----index.html
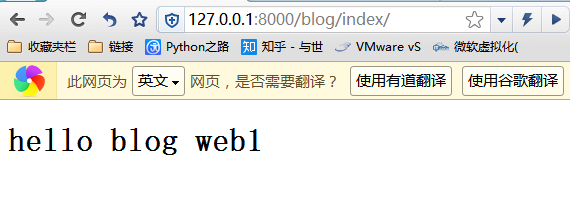
index的body內寫入一行,證明他是親生的
<h1> hello blog web1</h1>
編輯:blog目錄下的views.py
目的:指明django讀取templates目錄下的index.html文件
from django.shortcuts import render
#默認就有


def index(request):

    return render(request,'blog/index.html')
    #反饋index.html的內容
    #爲啥不用加templates的內容呢?
    #因爲在settings.py裏面有這麼行參數


TEMPLATES = [
    {
        'BACKEND': 'django.template.backends.django.DjangoTemplates',
        'DIRS': [],
        'APP_DIRS': True,
        'OPTIONS': {
            'context_processors': [
                'django.template.context_processors.debug',
                'django.template.context_processors.request',
                'django.contrib.auth.context_processors.auth',
                'django.contrib.messages.context_processors.messages',
            ],
        },
    },
]


#django默認會指明templates爲網頁存放文件夾
嘿嘿~~這不就出來了嘛
建立DTL內容:
DTL是什麼鬼?
理解的是,如果在網頁需要傳遞小參數,直接是用DTL,傳遞字典。
使用兩個小方法後,即可完成
1、
修改blog下的views.py
def index(request):

    #return render(request,'blog/index.html',{'傳遞的字典名':'對應的內容'})
    return render(request, 'blog/index.html', {'dtlname': '我們都很帥'})
2、
去index的body內添加一句
<h1>{{ dtlname }}</h1><body>
<h1>{{ dtlname }}</h1>
<h1> hello blog web1 !!!</h1>
</body>
</html>就完成dtl的快速配置了
·雙站點的templates
目錄結構
myblog
├─blog
│ │
│ ├─templates
│ │ └─blog
│ │ └─index.html
├─blog2
│ ├─templates
│ │ └─blog2
│ │ └─index.html
blog1-templates配置
index的body內寫入一行,證明他是親生的
<h1> hello blog web1</h1>
編輯:blog目錄下的views.py
from django.shortcuts import render
#默認就有

def index(request):

    return render(request,'blog/index.html')
blog2-templates配置
index的body內寫入一行,證明他是親生的
<h1> hello blog web2</h1>
編輯:blog目錄下的views.py
from django.shortcuts import render
#默認就有

def index(request):

    return render(request,'blog2/index.html')
----------------------------------------------------
使用
127.0.0.1:8000/blog/index.html
127.0.0.1:8000/blog2/index.html
各自可以訪問自行目錄,注意:如果在templates下沒有單獨建立對應文件夾是默認會訪問blog目錄下的index.html
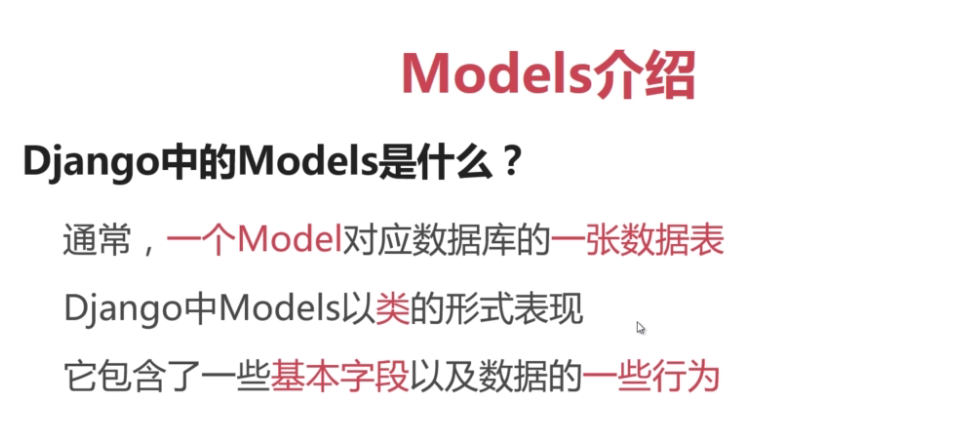
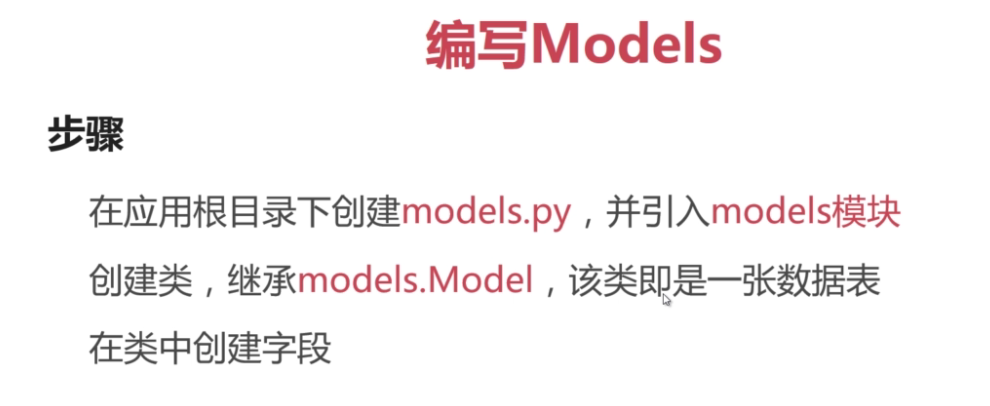
Models(魔豆)
理解是:
Django把與數據庫交互的語句,封裝起來,用jango的語言來訪問數據內容。
django在創建app時候已經有models.py這個文件
接下來,編輯blog下的models.py文件:(創建數據結構)
from django.db import models
#導入modles模塊
# Create your models here.

class Article(models.Model):
#創建一個類
    title = models.CharField(max_length=32, default='Title')
    #設置數據庫的title表 ,最大長度32位,默認字段爲Title
    content = models.TextField(null=True)
    #content賦值爲內容,允許爲空
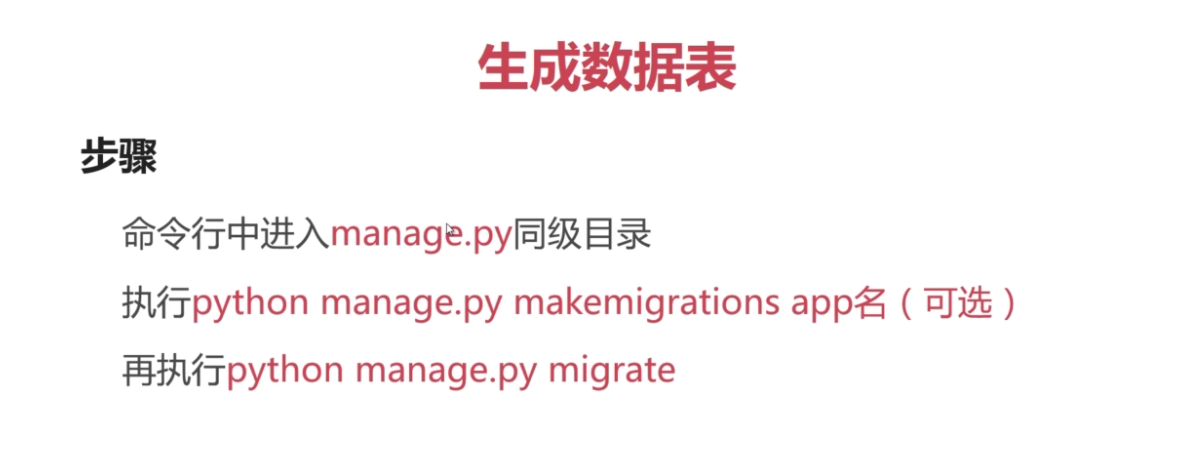
有數據結構後,把剛剛創建的標題和內容生產數據表
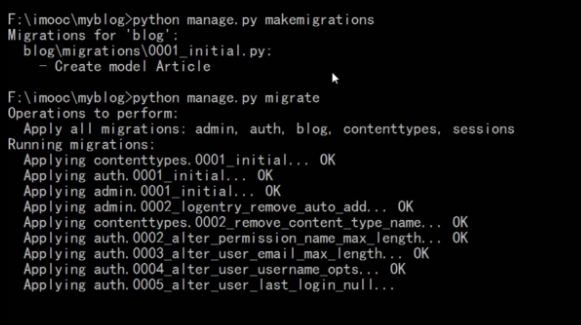
cmd: 進入myblog目錄
執行 python manage.py makemigrations app名(可選)
默認執行django項目下所有app站點
#該命令是把指定項目加入到預備隊列
再執行python manage.py migrate
#開始運行操作
昨天創建的兩個blog blog項目,都出現了migrations這個文件夾
打開裏面00001_initial.py
就可以看到剛剛所創建的數據類型,所以上一步等待那麼久是有原因的
from __future__ import unicode_literals

from django.db import migrations, models


class Migration(migrations.Migration):

    initial = True

    dependencies = [
    ]

    operations = [
        migrations.CreateModel(
            name='Article',
            fields=[
                ('id', models.AutoField(auto_created=True, primary_key=True, serialize=False, verbose_name='ID')),
                ('title', models.CharField(default='Title', max_length=32)),
                ('content', models.TextField(null=True)),
            ],
        ),
    ]
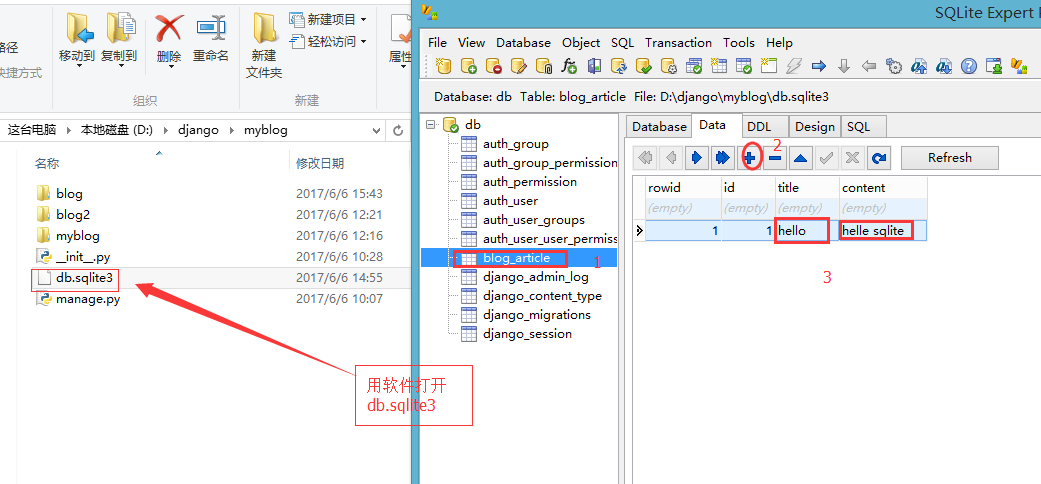
有數據了,接下來,就是給剛剛創建的數據結構添加數據。
這裏講的是使用外部軟件編輯,不是在django內。
這時候就需要大家下載SQLite Expert Personal
這樣就有數據了~~~~
第一步:
修改blog下的views.py
添加
article = models.Article.objects.get(pk=1)#主要添加這兩句
from . import models
from django.shortcuts import render

from django.http import HttpResponse
from . import models
#導入剛剛的模塊
def index(request):
    article = models.Article.objects.get(pk=1)
    #等於mysql的select id=1的語句
    return render(request,'blog/index.html',{'article':article})
    #打印title和內容
第二步:
修改indexl.html
    Title


    {{ article.title }}
    {{ article.content }}
     hello blog web1
執行服務:
進入myblog
執行 python manage.py runserver
又一次找到勝利的快感!

