LNMP+Discuz論壇
LNMP指的是一個基於CentOS/Debian編寫的Nginx、PHP、MySQL、phpMyAdmin、eAccelerator一鍵安裝包。可以在獨立主機上輕鬆的安裝LNMP生產環境。
繼上篇博客介紹的LAMP的Discuz論壇,本章博客爲大家介紹基於LNMP的Discuz論壇的搭建。使用的軟件基本上都是最新或者使用比較廣泛的,畢竟學最新的知識,挨最毒的打,纔會有成長。
環境介紹
| 系統 | IP地址 | 內存 | cpu |
|---|---|---|---|
| Centos 7 | 192.168.70.133 | 5G | 4核 |
nginx版本1.8.1 http://nginx.org/download/nginx-1.8.1.tar.gz
php版本7.31 http://am1.php.net/distributions/php-7.3.1.tar.gz
mysql版本5.7.21 https://pan.baidu.com/s/11b_ccrosT0IPdnXhRrU4yQ 密碼:ruh5
Discuz論壇版本3.3 https://pan.baidu.com/s/14ZPFy35pnpYpKeePDFoArw 密碼:2olg
一、安裝nginx
1、安裝環境包
[root@localhost opt]# yum -y install gcc gcc-c++ gd-devel autoconf automake zlib zlib-devel openssl openssl-devel pcre*
2、解壓軟件包編譯
[root@localhost opt]# tar zxf nginx-1.8.1.tar.gz
[root@localhost opt]# cd nginx-1.8.1/
./configure \
--prefix=/usr/local/nginx \
--user=nginx \
--group=nginx \
--with-http_ssl_module \
--with-http_gzip_static_module \
--with-http_image_filter_module \
--with-http_stub_status_module
編譯註解
--prefix=指向安裝目錄
--user= 指定程序運行時的非特權用戶
--group= 指定程序運行時的非特權用戶組
--with-http_ssl_module 支持https請求,需已安裝openssl
--with-http_gzip_static_module  在線實時壓縮輸出數據流
--with-http_image_filter_module 傳輸JPEG/GIF/PNG 圖片的一個過濾器,默認爲不啓用。gd庫要用到
--with-http_stub_status_module  獲取nginx自上次啓動以來的工作狀態
3、安裝
[root@localhost nginx-1.8.1]# make && make install
4、優化命令路徑
[root@localhost nginx-1.8.1]# ln -s /usr/local/nginx/sbin/nginx /usr/sbin/
5、創建nginx用戶,添加一下簡單的優化
[root@localhost nginx-1.8.1]# cd /usr/local/nginx/conf/
[root@localhost conf]# useradd -M -s /sbin/nologin nginx
[root@localhost conf]# vim nginx.conf
#以下是我的設置的一些簡單的優化,刪除了部分註釋語句
    user  nginx;
    worker_processes  4;
    worker_rlimit_nofile 65535;

    events {
            worker_connections  2048;
            use epoll;
    }
http {
include mime.types;
default_type application/octet-stream;
server_tokens off;
sendfile on;
tcp_nopush on;
tcp_nodelay on;
server_names_hash_bucket_size 128;
server_names_hash_max_size 512;
keepalive_timeout 65;
client_header_timeout 15s;
client_body_timeout 15s;
send_timeout 60s;
gzip on;
gzip_buffers 4 64k;
gzip_http_version 1.1;
gzip_comp_level 2;
gzip_min_length 1k;
gzip_vary on;
gzip_types text/plain text/javascript application/x-javascript text/css text/xml application/xml applicatin/xml+rss;
server {
listen 80;
server_name localhost;
location / {
root html;
index index.html index.htm;
}
error_page 500 502 503 504 /50x.html;
location = /50x.html {
root html;
}
#location ~ \.php$ {
# root html;
# fastcgi_pass 127.0.0.1:9000;
# fastcgi_index index.php;
# fastcgi_param SCRIPT_FILENAME /scripts$fastcgi_script_name;
# include fastcgi_params;
#}
}}
6、查看語法並啓動nginx
[root@localhost conf]# nginx -t
nginx: the configuration file /usr/local/nginx/conf/nginx.conf syntax is ok
nginx: configuration file /usr/local/nginx/conf/nginx.conf test is successful
[root@localhost conf]# nginx #啓動nginx
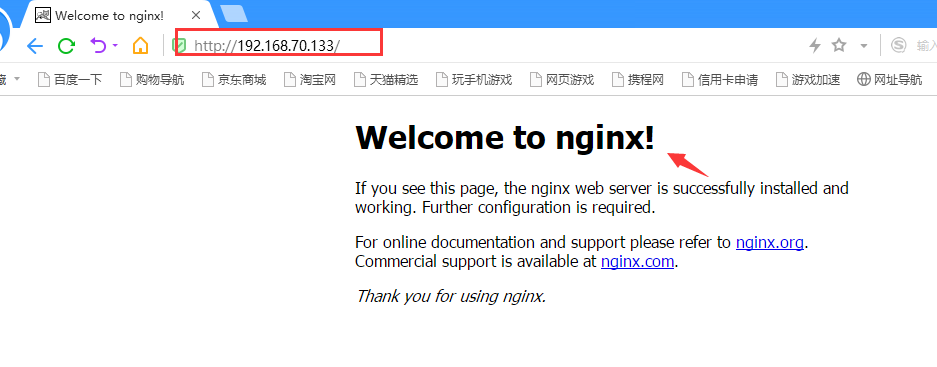
7、關閉防火牆和selinux,網頁中訪問
[root@localhost conf]# systemctl stop firewalld.service
[root@localhost conf]# setenforce 0
網頁中直接輸入IP地址訪問
二、安裝mysql
本文依舊使用解壓版的mysql5.7.21,文章開頭已經爲大家提供解壓版的下載地址,使用解壓版大幅度減少我們使用的時間。
1、解壓安裝包並更名
[root@localhost opt]# tar zxf mysql-5.7.21-linux-glibc2.12-x86_64.tgz
[root@localhost opt]# mv mysql-5.7.21-linux-glibc2.12-x86_64 mysql
2、修改配置文件
root@localhost opt]# vim /etc/my.cnf #刪除原本的內容,添加如下
[client]
port = 3306
socket = /tmp/mysql.sock

[mysqld]

character-set-server = utf8mb4
skip_name_resolve = 1
user = mysql
port = 3306
socket = /tmp/mysql.sock
basedir = /opt/mysql/
datadir = /opt/mysql/data
log-error = /opt/mysql/data/log-error.log
pid-file = /opt/mysql/data/mysql.pid
innodb_data_home_dir = /opt/mysql/data
slow-query-log-file=/opt/mysql/data/slow.log
relay-log-index = /opt/mysql/data/relaylog
relay-log-info-file = /opt/mysql/data/relaylog
relay-log = /opt/mysql/data/relaylog

open_files_limit = 10240
table_open_cache = 2048
back_log = 300
max_connections = 10000
max_connect_errors = 20
explicit_defaults_for_timestamp = 1
max_allowed_packet = 64M
thread_cache_size = 300
query_cache_size = 256M
query_cache_limit = 2M
query_cache_min_res_unit = 2k
default-storage-engine = InnoDB
thread_stack = 512K
transaction_isolation = READ-COMMITTED
tmp_table_size = 256M
max_heap_table_size = 256M
key_buffer_size = 2G
sort_buffer_size = 2M
join_buffer_size = 6M
read_buffer_size = 4M
read_rnd_buffer_size = 16M
bulk_insert_buffer_size = 64M
myisam_sort_buffer_size = 128M
myisam_max_sort_file_size = 15G
myisam_repair_threads = 1
interactive_timeout = 1800
wait_timeout = 28800
innodb_data_file_path = ibdata1:200M;ibdata2:200M;ibdata3:200M:autoextend
innodb_buffer_pool_size = 2G
innodb_thread_concurrency = 0
innodb_flush_log_at_trx_commit = 2
innodb_log_buffer_size = 16M
innodb_log_file_size = 512M
innodb_log_files_in_group = 3
innodb_max_dirty_pages_pct = 90
innodb_lock_wait_timeout = 120
innodb_purge_threads = 0
slow_query_log = 1
long_query_time = 3
replicate-ignore-db = mysql
replicate-ignore-db = test
replicate-ignore-db = information_schema
#slave-skip-errors = 1032,1062,1026,1114,1146,1048,1396
server-id = 1
sql_mode=STRICT_TRANS_TABLES,NO_ZERO_IN_DATE,NO_ZERO_DATE,ERROR_FOR_DIVISION_BY_ZERO,NO_AUTO_CREATE_USER,NO_ENGINE_SUBSTITUTION
[mysqldump]
quick
max_allowed_packet = 64M
3、創建mysql用戶並初始化數據庫
[root@localhost opt]# adduser -s /sbin/nologin mysql
[root@localhost opt]# /opt/mysql/bin/mysqld --initialize-insecure
4、啓動數據庫,設置數據庫密碼
[root@localhost opt]# /opt/mysql/bin/mysqld_safe &
[root@localhost opt]# /opt/mysql/bin/mysqladmin -uroot password '123123'
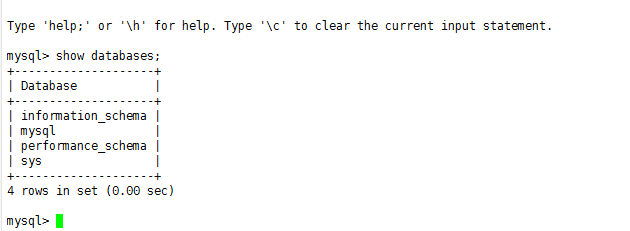
5、進入數據庫查看
[root@localhost opt]# /opt/mysql/bin/mysql -uroot -p123123
三、安裝PHP7
1、安裝依賴環境包
yum -y install pcre pcre-devel openssl openssl-devel libicu-devel gcc gcc-c++ autoconf libjpeg libjpeg-devel libpng libpng-devel freetype freetype-devel libxml2 libxml2-devel zlib zlib-devel glibc glibc-devel glib2 glib2-devel ncurses ncurses-devel curl curl-devel krb5-devel libidn libidn-devel openldap openldap-devel openldap-servers openldap-client nss_ldap jemalloc-devel cmake boost-devel bison automake libevent libevent-devel gd gd-devel libtool* libmcrypt libmcrypt-devel mcrypt mhash libxslt libxslt-devel readline readline-devel gmp gmp-devel libcurl libcurl-devel openjpeg-devel bzip2 bzip2-devel libxml2 libxml2-devel bzip2 bzip2-devel curl-devel gmp-devel readline-devel
2、解壓安裝包
[root@localhost opt]# tar zxf php-7.3.1.tar.gz
3、編譯
[root@localhost opt]# cd php-7.3.1/
./configure \
--prefix=/usr/local/php7 \
--with-pdo-mysql=/opt/mysql \
--enable-mysqlnd \
--with-pdo-mysql=mysqlnd \
-with-mysqli=mysqlnd \
--with-mysql-sock=/tmp/mysql.sock \
--with-config-file-path=/usr/local/php7 \
--enable-fpm \
--enable-inline-optimization \
--disable-debug \
--disable-rpath \
--enable-shared \
--enable-soap \
--with-libxml-dir \
--with-xmlrpc \
--with-openssl \
--with-mhash \
--with-pcre-regex \
--with-sqlite3 \
--with-zlib \
--enable-bcmath \
--with-iconv \
--with-bz2 \
--enable-calendar \
--with-curl \
--with-cdb \
--enable-dom \
--enable-exif \
--enable-fileinfo \
--enable-filter \
--with-pcre-dir \
--enable-ftp \
--with-gd \
--with-openssl-dir \
--with-jpeg-dir \
--with-png-dir \
--with-zlib-dir \
--with-freetype-dir \
--enable-gd-jis-conv \
--with-gettext \
--with-gmp \
--with-mhash \
--enable-json \
--enable-mbstring \
--enable-mbregex \
--enable-mbregex-backtrack \
--with-onig \
--enable-pdo \
--with-zlib-dir \
--with-pdo-sqlite \
--with-readline \
--enable-session \
--enable-shmop \
--enable-simplexml \
--enable-sockets \
--enable-sysvmsg \
--enable-sysvsem \
--enable-sysvshm \
--enable-wddx \
--with-libxml-dir \
--with-xsl \
--enable-zip \
--with-pear \
--enable-opcache
編譯會遇到幾個小問題
●configure: error: Please reinstall the libzip distribution
tar -zxvf libzip-1.2.0.tar.gz
cd libzip-1.2.0
./configure
make && make install
●configure: error: off_t undefined; check your library configuration
解決方法
echo '/usr/local/lib64
/usr/local/lib
/usr/lib
/usr/lib64'>>/etc/ld.so.conf&&ldconfig -v
●/usr/local/include/zip.h:59:21: 致命錯誤:zipconf.h:沒有那個文件或目錄
cp /usr/local/lib/libzip/include/zipconf.h /usr/local/include/zipconf.h
++++系統不同缺包也不同,總而言之,缺什麼裝什麼~
4、安裝
[root@localhost php-7.3.1]# make && make install
5、複製php配置文件到指定目錄,並優化命令路徑
[root@localhost php-7.3.1]# cp php.ini-development /usr/local/php7/php.ini
[root@localhost opt]# cd /usr/local/php7/etc/
[root@localhost etc]# cp php-fpm.conf.default php-fpm.conf
[root@localhost php-7.3.1]# ln -s /usr/local/php7/bin/ /usr/local/bin/
[root@localhost php-7.3.1]# ln -s /usr/local/php7/sbin/ /usr/local/sbin/
6、創建php用戶
useradd -M -s /sbin/nologin php
7、修改conf文件
[root@localhost php-7.3.1]# cd /usr/local/php7/etc/php-fpm.d
[root@localhost php-fpm.d]# cp www.conf.default www.conf
[root@localhost php-fpm.d]# vim www.conf
#修改以下幾個參數
user = php #用戶php
group = php #組php
pm.max_children = 50 # php-fpm 能啓動的子進程的最大數量
pm.start_servers = 20 #動態方式下的起始php-fpm進程數量
pm.min_spare_servers = 5 #動態方式空閒狀態下的最小php-fpm進程數量
pm.max_spare_servers = 35 #動態方式空閒狀態下的最大php-fpm進程數量。
8、啓動php-fpm
[root@localhost etc]# /usr/local/php7/sbin/php-fpm
9、查看php進程
[root@localhost etc]# pgrep php
17859
17860
17861
17862
17863
17864
17865
17866
17867
.........
查看端口:9000
[root@localhost etc]# netstat -ntap | grep 9000
tcp 0 0 127.0.0.1:9000 0.0.0.0:* LISTEN 17859/php-fpm: mast
10、php連接nginx
[root@localhost etc]# cd /usr/local/nginx/conf/
[root@localhost conf]# vim nginx.conf
#添加index.php,識別默認首頁
   location / {
                root   html;
                index  index.html index.htm index.php;
        }
#去掉如下注釋,這裏需要將/scripts改成$document_root,否則nginx返回空白頁面
    location ~ \.php$ {
        root           html;
        fastcgi_pass   127.0.0.1:9000;
        fastcgi_index  index.php;
        fastcgi_param  SCRIPT_FILENAME  $document_root$fastcgi_script_name;
        include        fastcgi_params;
    }
11、修改默認首頁
[root@localhost conf]# cd ../html/
[root@localhost html]# vim index.php
<?php
phpinfo();
?>
12、重啓nginx,網頁中訪問
[root@localhost html]# nginx -s reload
網頁中輸入192.168.70.133/index.php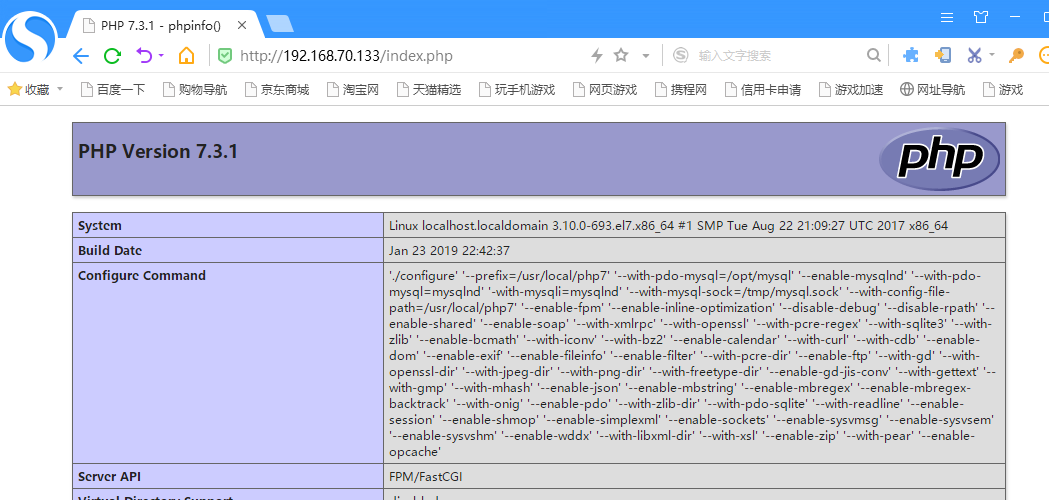
需要有如下mysql擴展模塊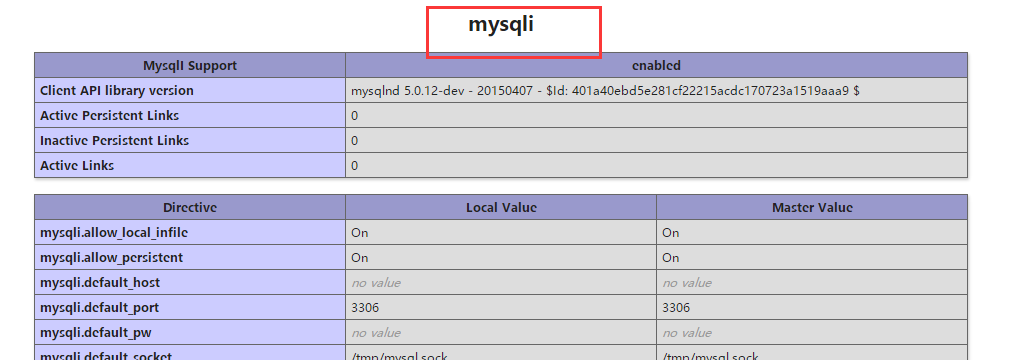
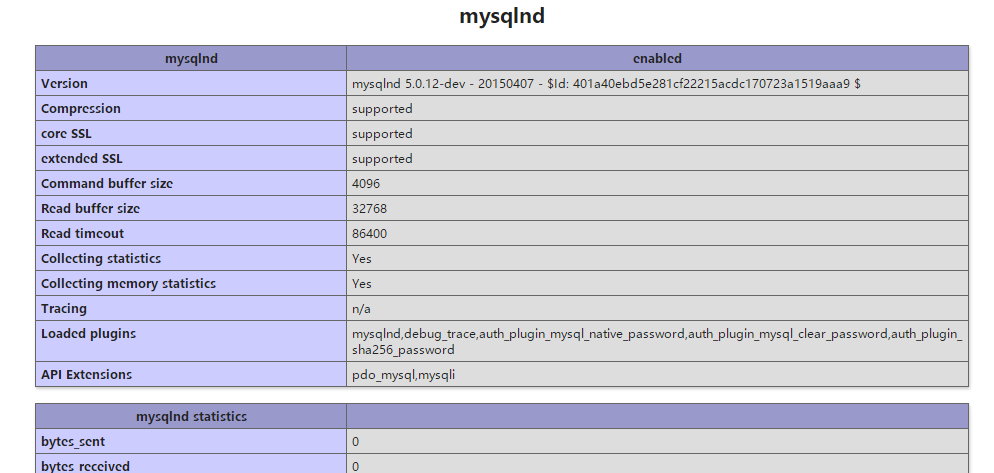
13、php連接mysql
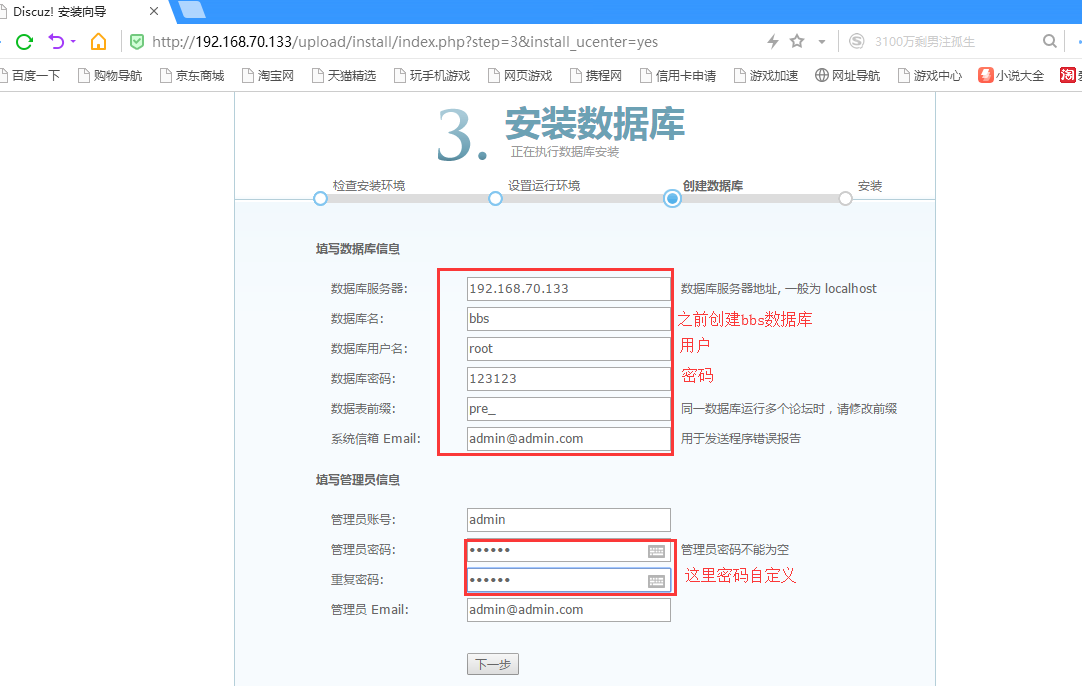
◆進數據庫創建庫並授權
/opt/mysql/bin/mysql -uroot -p123123
mysql> create database bbs;
mysql> grant all privileges on bbs.* to 'root'@'192.168.70.%' identified by '123123' with grant option;
mysql> flush privileges;
◆再次修改index.php文件
<?php
$link=mysqli_connect('192.168.70.133','root','123123');
if($link) echo "<h1>PHP-link-MYSQL  Success!!</h1>";
else echo "PHP-link-MYSQL Fail!!";
?>
◆刷新剛剛的頁面,顯示PHP-link-MYSQL Success!!即可以連接數據庫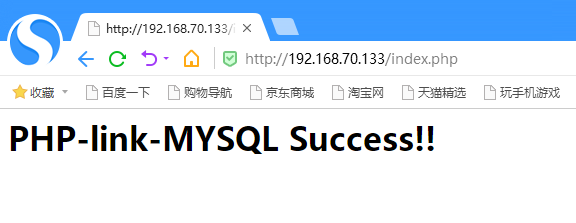
四、安裝Discuz論壇
1、修改nginx.conf文件,設置我們指定的安裝目錄
[root@localhost html]# cd /usr/local/nginx/conf/
[root@localhost conf]# vim nginx.conf
#這裏將root後面原本的html換成/var/www
        location  ~ \.(gif|jepg|png|bmp|ico)$ {
            root   /var/www;
            index  index.html index.htm index.php;
            expires 1d;
        }
#將$document_root換成/var/www/
        location ~ \.php$ {
            fastcgi_pass   127.0.0.1:9000;
            fastcgi_index  index.php;
            fastcgi_param  SCRIPT_FILENAME   /var/www/$fastcgi_script_name;
            include        fastcgi_params;
        }
2、創建指定的目錄
[root@localhost conf]# mkdir /var/www
3、解壓Discuz項目包,將upload移動到/var/www下
[root@localhost opt]# unzip Discuz_X3.3_SC_UTF8.zip
[root@localhost opt]# mv upload/ /var/www/
4、授權,放大目錄權限
[root@localhost opt]# cd /var/www/upload/
[root@localhost upload]# chown -R php config data uc_client/data uc_server/data/
[root@localhost upload]# chmod -R 777 ../upload
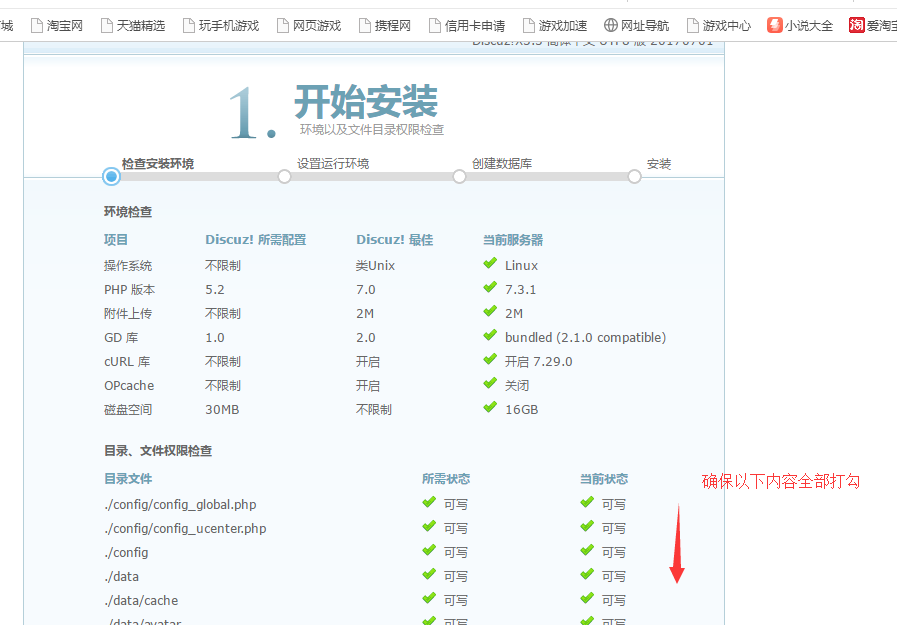
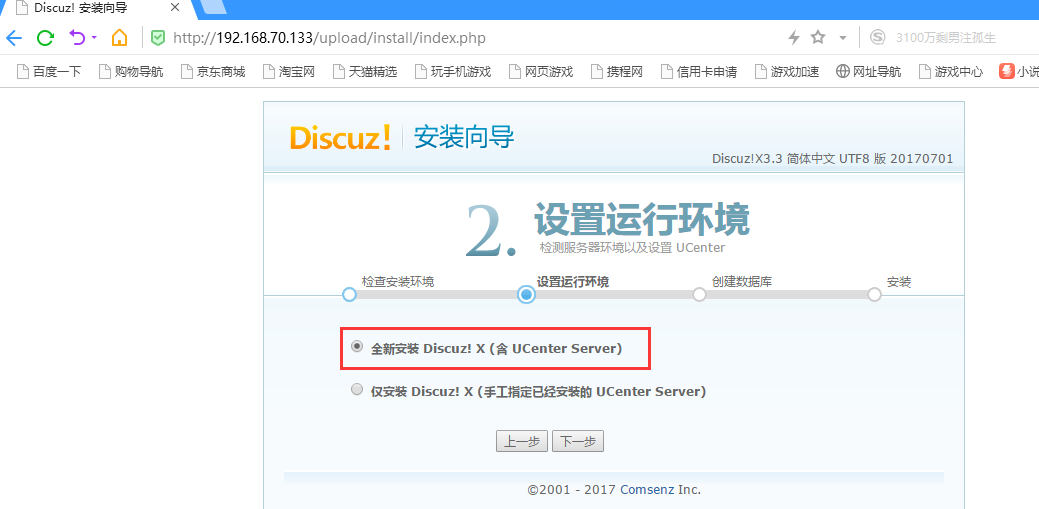
5、重啓nginx,網頁中訪問安裝
[root@localhost upload]# nginx -s reload
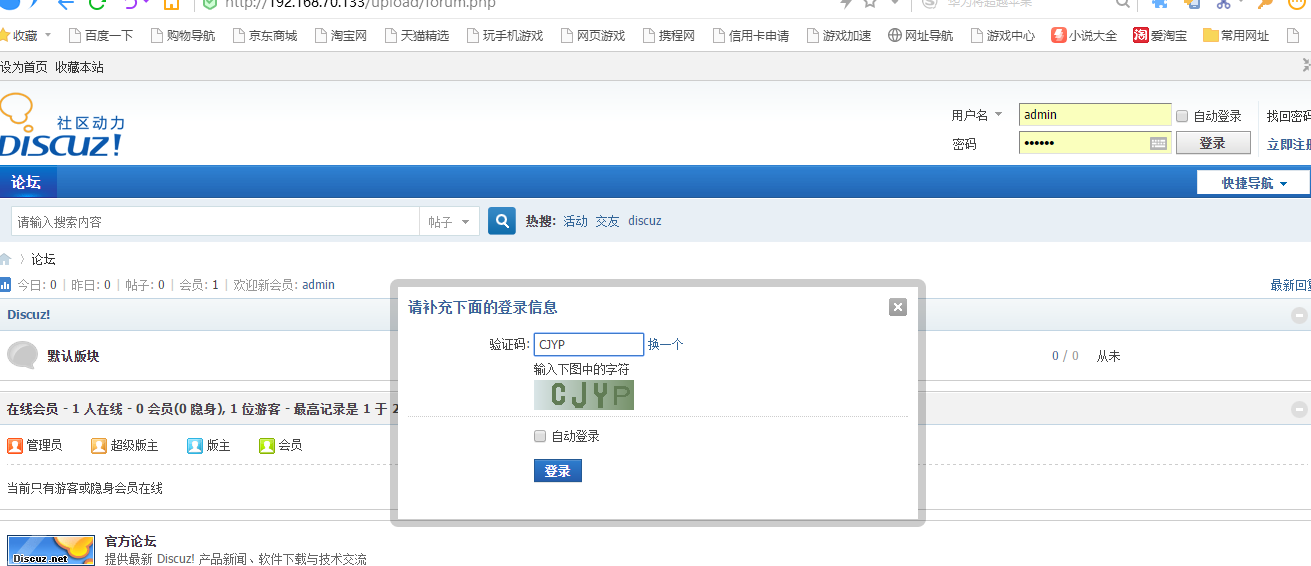
網頁中訪問192.168.70.133/upload/install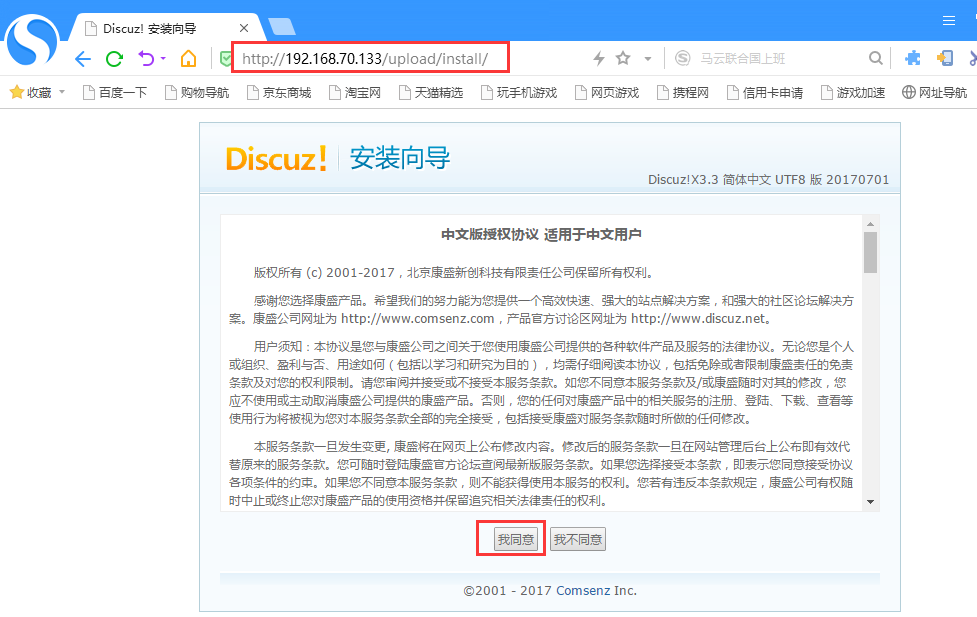
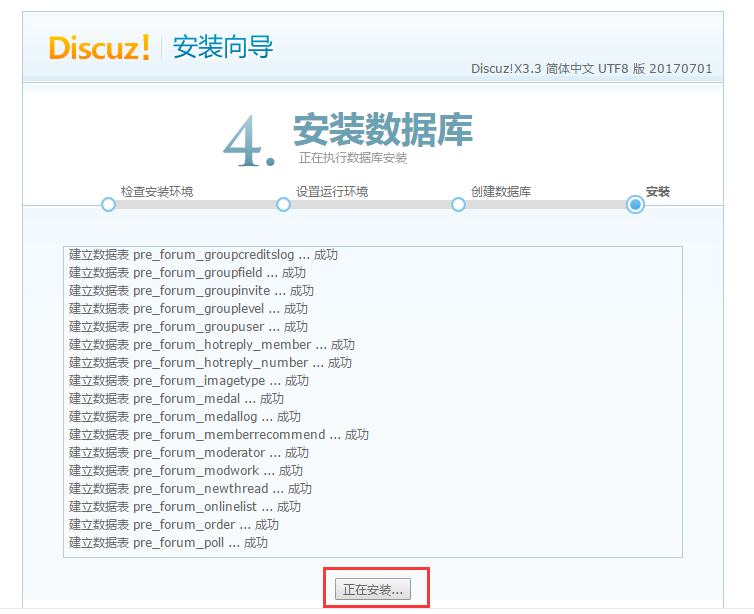
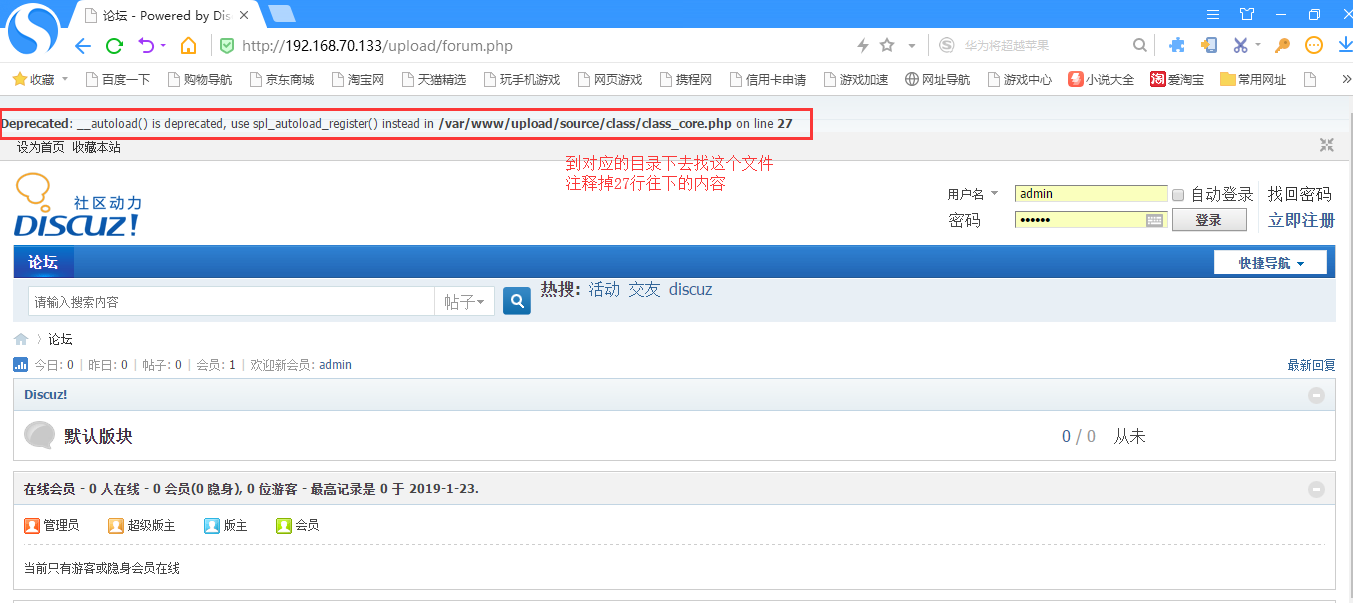
[root@localhost upload]# vim /var/www/upload/source/class/class_core.php
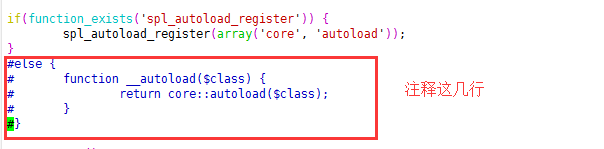
再次刷新頁面就好了,不然admin用戶無法登陸哦