


Centreon 安裝步驟
參考文檔連接:
http://documentation.centreon.com/docs/centreon/en/latest/installation/index.html
安裝模式
一般來說,有三種安裝方法
>二進制rpm包
>源碼包
>git 倉庫
RPM包安裝是最好的,因爲不用擔心 編譯和安裝的問題
如果你的平臺不支持RPM包,可以考慮源碼包,它支持穩定的版本。但是手動編譯是效率很低的。
最後一種方法是提供給開發人員的測試,沒有官方的支持但是他一直在發張
Centreon Web
Tarballs: http://www.centreon.com/Content-Download/donwload-centreon
git: http://git.centreon.com/centreon.git
Centreon Engine
Tarballs: http://www.centreon.com/Content-Download/download-centreon-engine-centreon
git: http://git.centreon.com/centreon-engine
Centreon Broker
Tarballs: http://www.centreon.com/Content-Download/download-centreon-broker-centreon
git: http://git.centreon.com/centreon-broker.git
Centreon Connector Perl
git: http://git.centreon.com/centreon-connector
Centreon Connector SSH
git : http://git.centreon.com/centreon-connector
一 RPM安裝
RPM是爲CES 製作,但是通過了 RedHat 5 和 Centos 5的測試
步驟
安裝yum源
$ wget http://yum.centreon.com/standard/2.2/ces-standard.repo -O /etc/yum.repos.d/ces-standard.repo
有兩個基本的配置
|
Configuration package name |
Monitoring Engine |
Broker module |
|
centreon-base-config-centreon-engine |
Centreon Engine |
Centreon Broker |
|
centreon-base-config-nagios |
Nagios |
Ndoutils |
從兩個中選擇一個
首先安裝個 Central Server,我這裏選擇使用centos 6.2
安裝 使用Centreon Engine
$ yum install centreon-base-config-centreon-engine centreon
安裝出現錯誤
Running Transaction Test
Transaction Check Error:
  file /etc/snmp/snmptrapd.conf conflicts between attempted installs of net-snmp-1:5.5-41.el6_3.1.x86_64 and centreon-trap-2.4.0stable-13.noarch
解決辦法
yum install net-snmp centreon-snmptt perl-DBD-MySQL
wget http://yum.centreon.com/standard/2.2/noarch/RPMS/centreon-trap-2.4.1-4.noarch.rpm
rpm -ivh --force centreon-trap-2.4.1-4.noarch.rpm
yum install centreon-base-config-centreon-engine centreon
安裝 使用 Nagios
$ yum install centreon-base-config-nagios centreon
安裝完成之後就可以進入web頁面進行安裝
web頁面地址爲
http://SERVER_ADDRESS/centreon
安裝步驟如下
1, 看到的頁面如下

點擊 next

如果這一步缺少軟件包,安裝相關軟件包之後點擊refresh
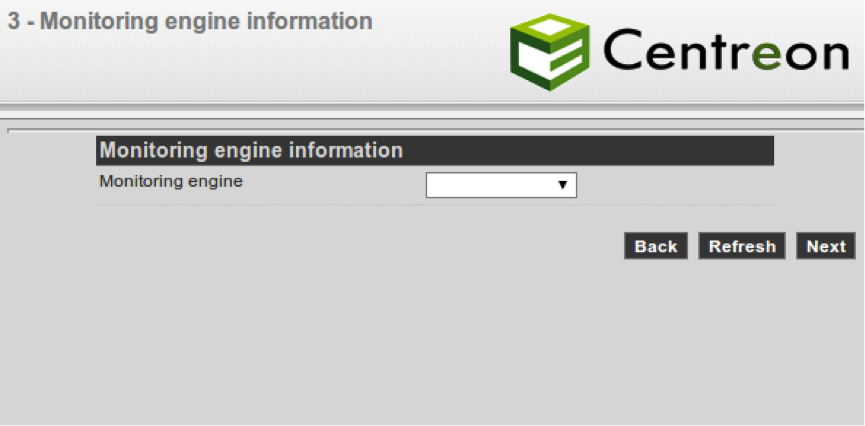
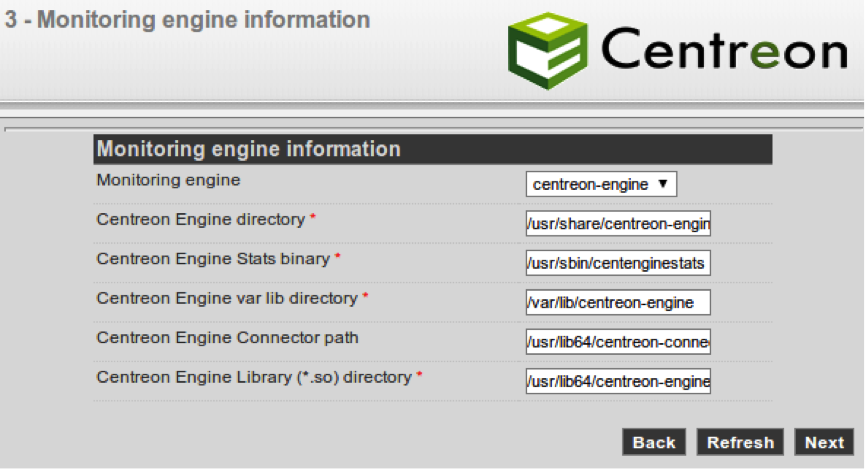
選擇監控引擎根據選擇的引擎,下一步會要求輸入相關的配置路徑,如果選擇Centren engine 如下圖
Nagios 如下圖
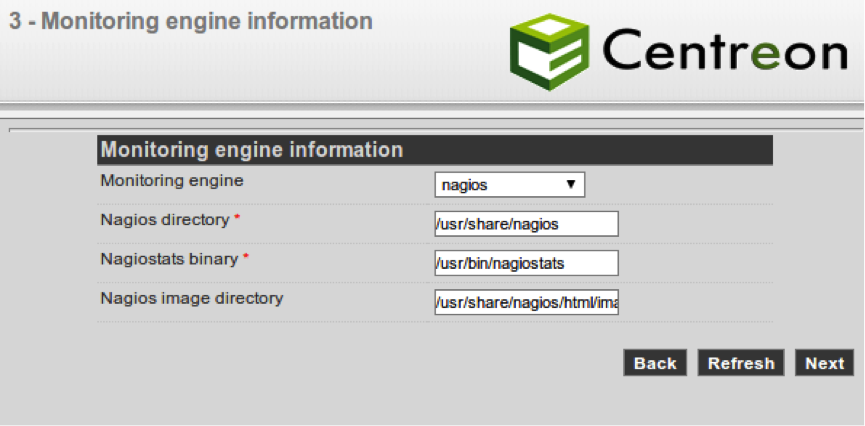
當所有的參數填好之後點擊next
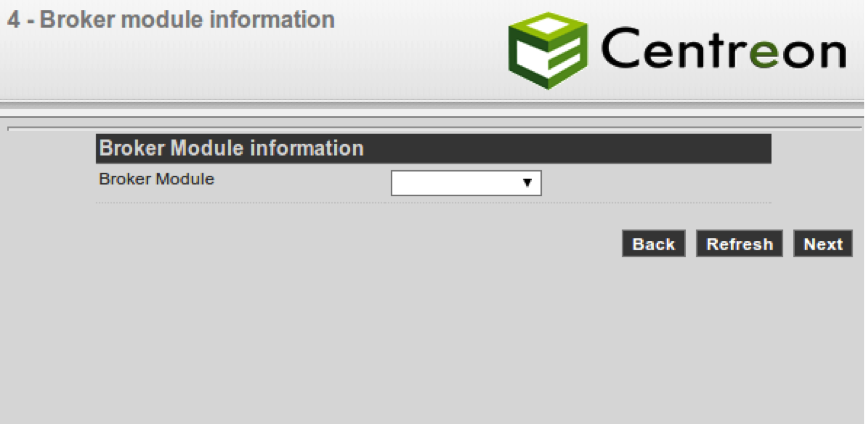
根據不同的選擇會需要填寫相關參數
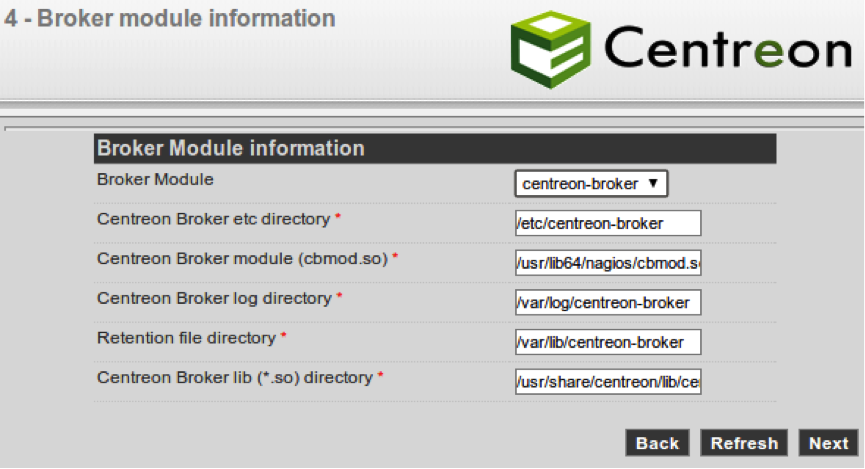
選擇centreon broker
選擇NDOUtils
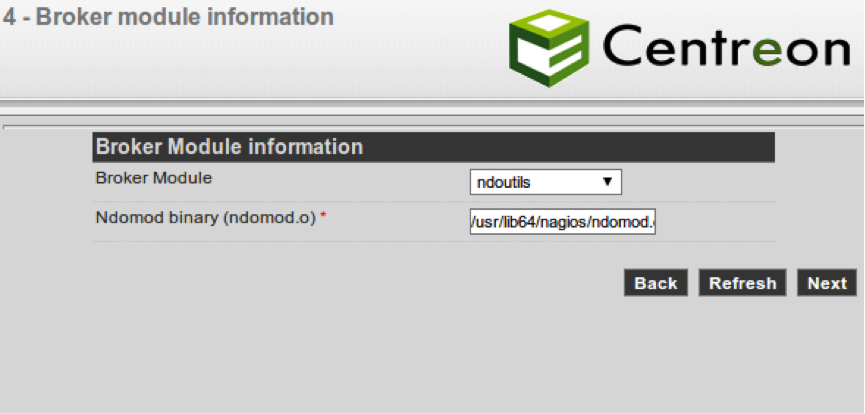
當所有選擇匹配點擊 Next
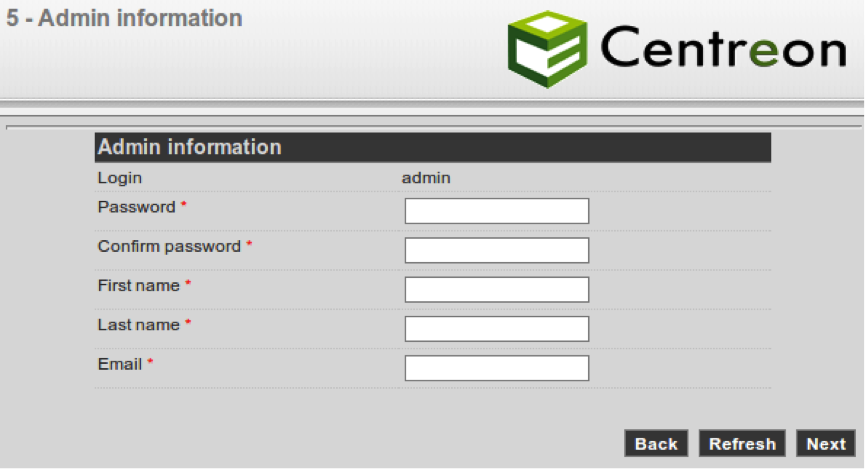
填寫用戶名稱和密碼這一步確保記住密碼
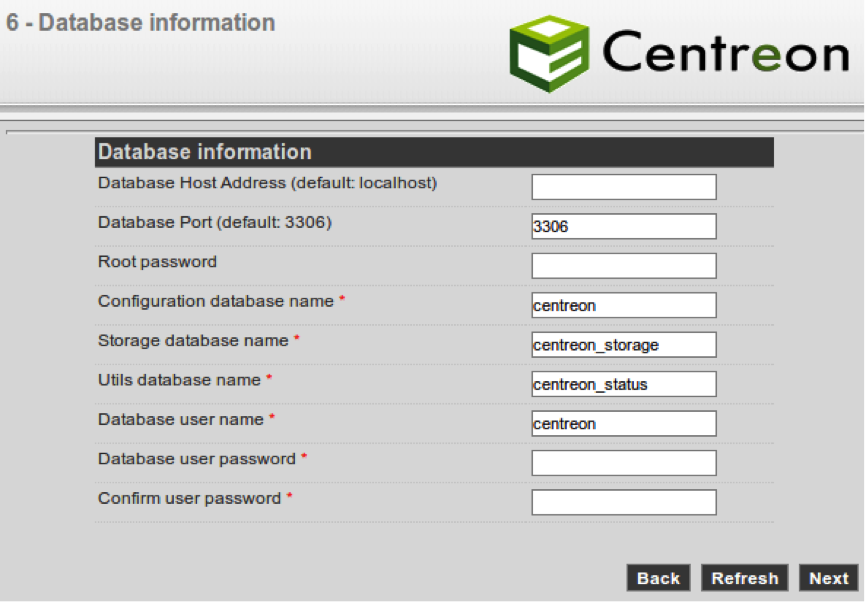
填寫數據庫信息,確保可以進行數據庫的安裝和連接,點擊Next
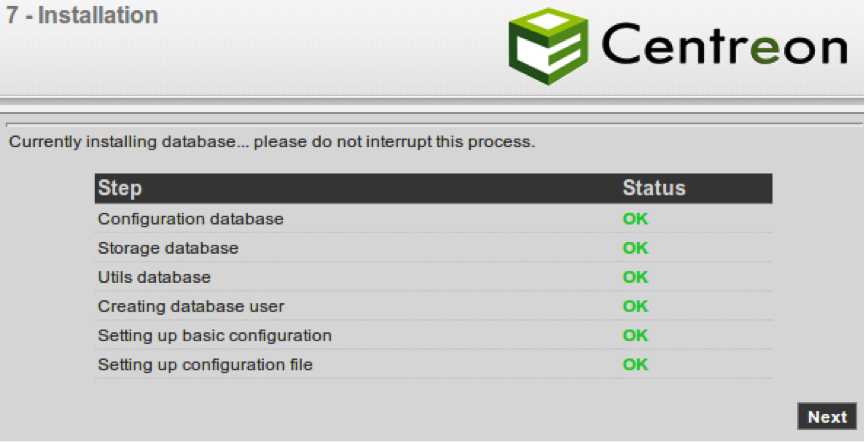
數據結構將在這一步進行安裝,所有通過之後顯示 ok
Note: 在mysql配置文件中添加一行 innodb_file_per_table=1
點擊Next
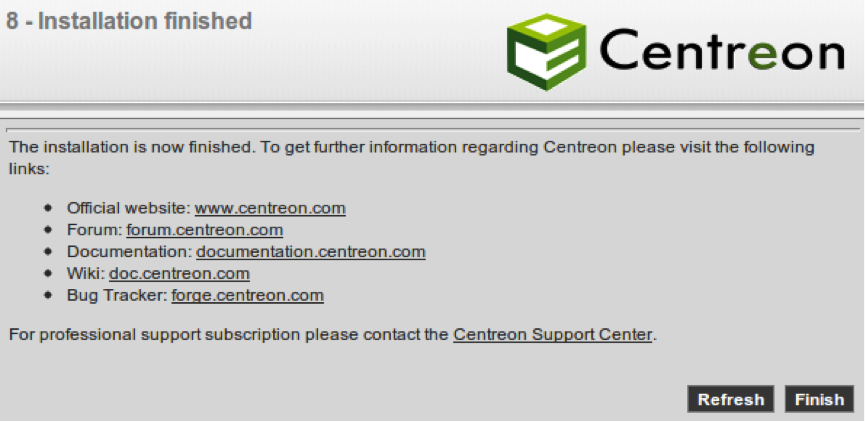
安裝完成顯示Finish,點擊Finish按鈕跳轉到登陸界面
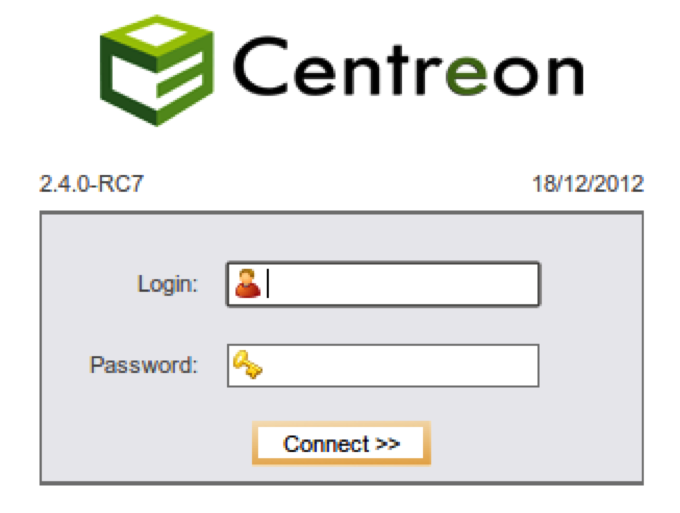
輸入用戶名密碼,可以進入管理界面。