gitlab安裝以及操作文檔系統:centos6.9 x86_64
ip:192.168.122.148
Selinux 關閉 SELINUX=disabled
設定源:
新建 /etc/yum.repos.d/gitlab-ce.repo,內容爲
[gitlab-ce]
name=Gitlab CE Repository
baseurl=https://mirrors.tuna.tsinghua.edu.cn/gitlab-ce/yum/el$releasever/
gpgcheck=0
enabled=1
yum clean all
yum makecache
安裝
執行下面指令安裝
yum install gitlab-ce
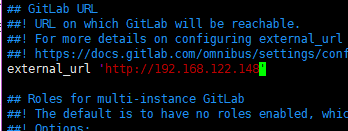
修改 /etc/gitlab/gitlab.rb 文件中的 external_url 爲你自己的ip地址。然後根據自己的需求修改此文件中的其他配置項
執行 gitlab-ctl reconfigure 完成如下圖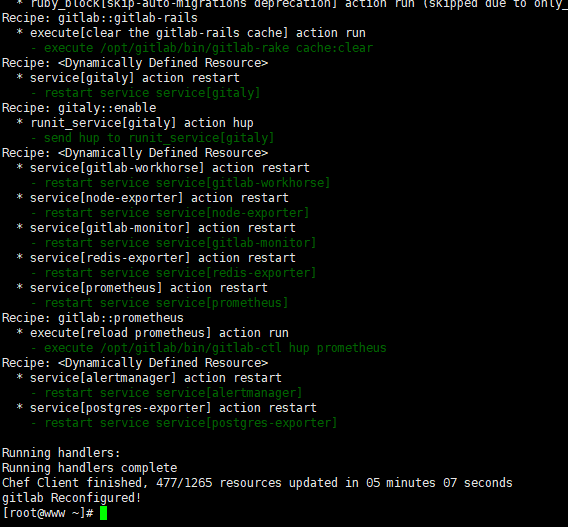
輸入剛剛填寫的ip地址,默認的賬號密碼是root 5iveL!fe 提示修改密碼自定義設定,然後登陸
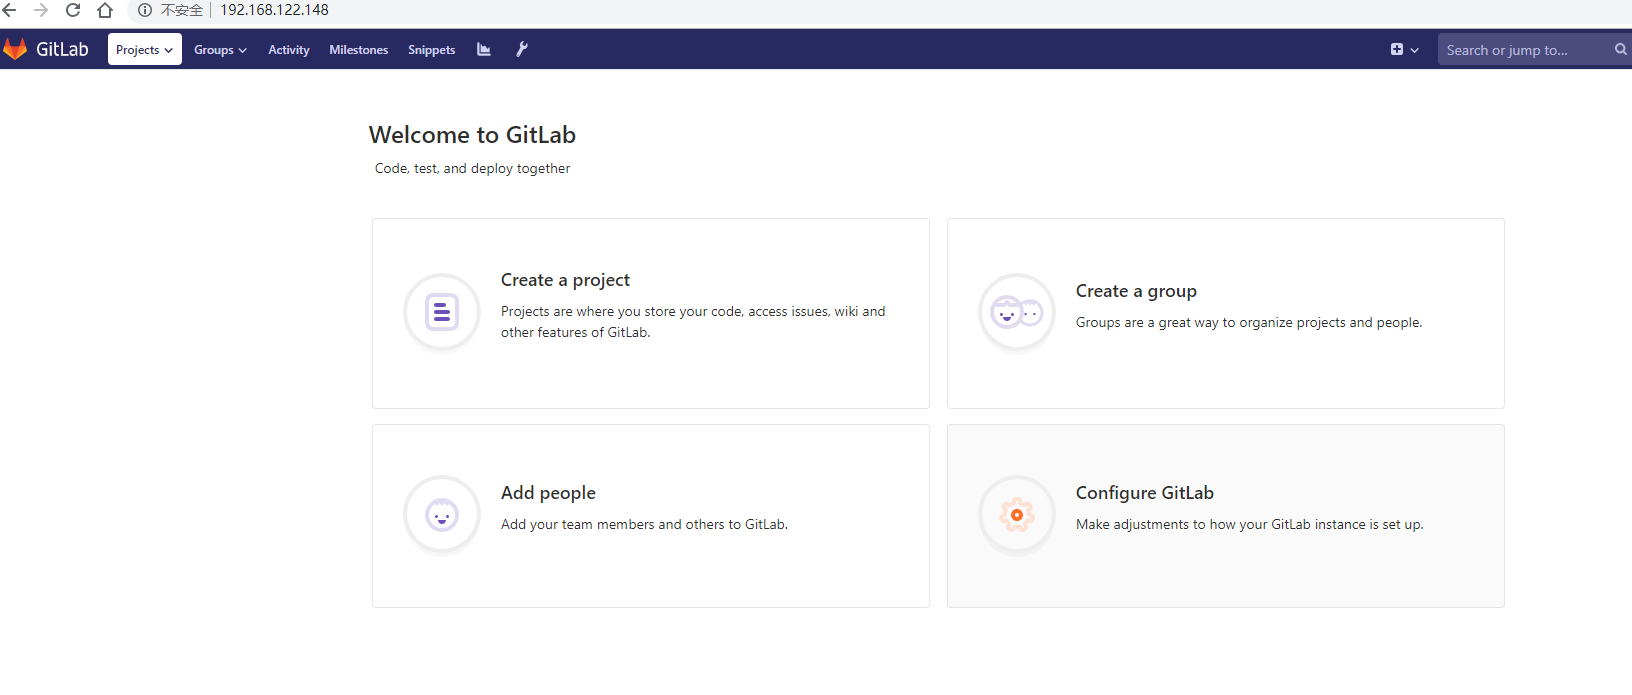
創建project
1、安裝Git工具linux:安裝Git,使用自帶的源安裝
[root@www ~]# yum install git
2、生成密鑰文件,一路回車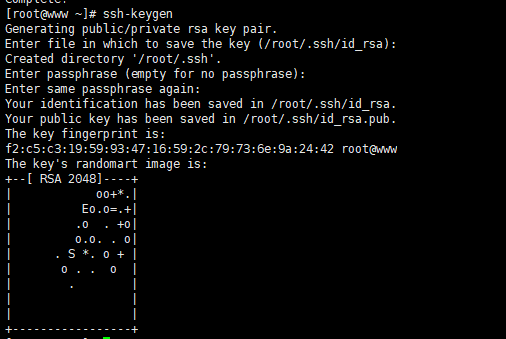
使用ssh-keygen生成密鑰文件.ssh/id_rsa.pub

3.在GitLab的主頁中新建一個Project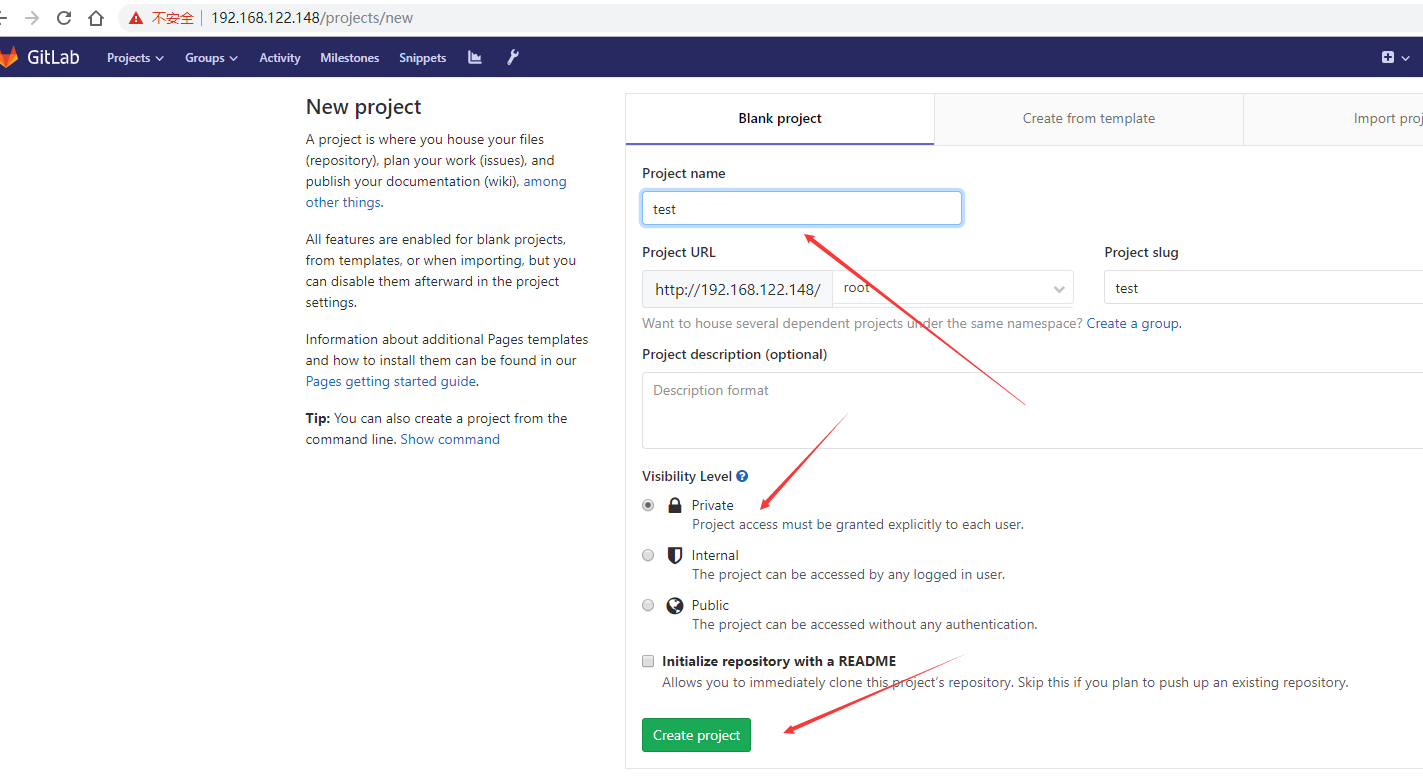
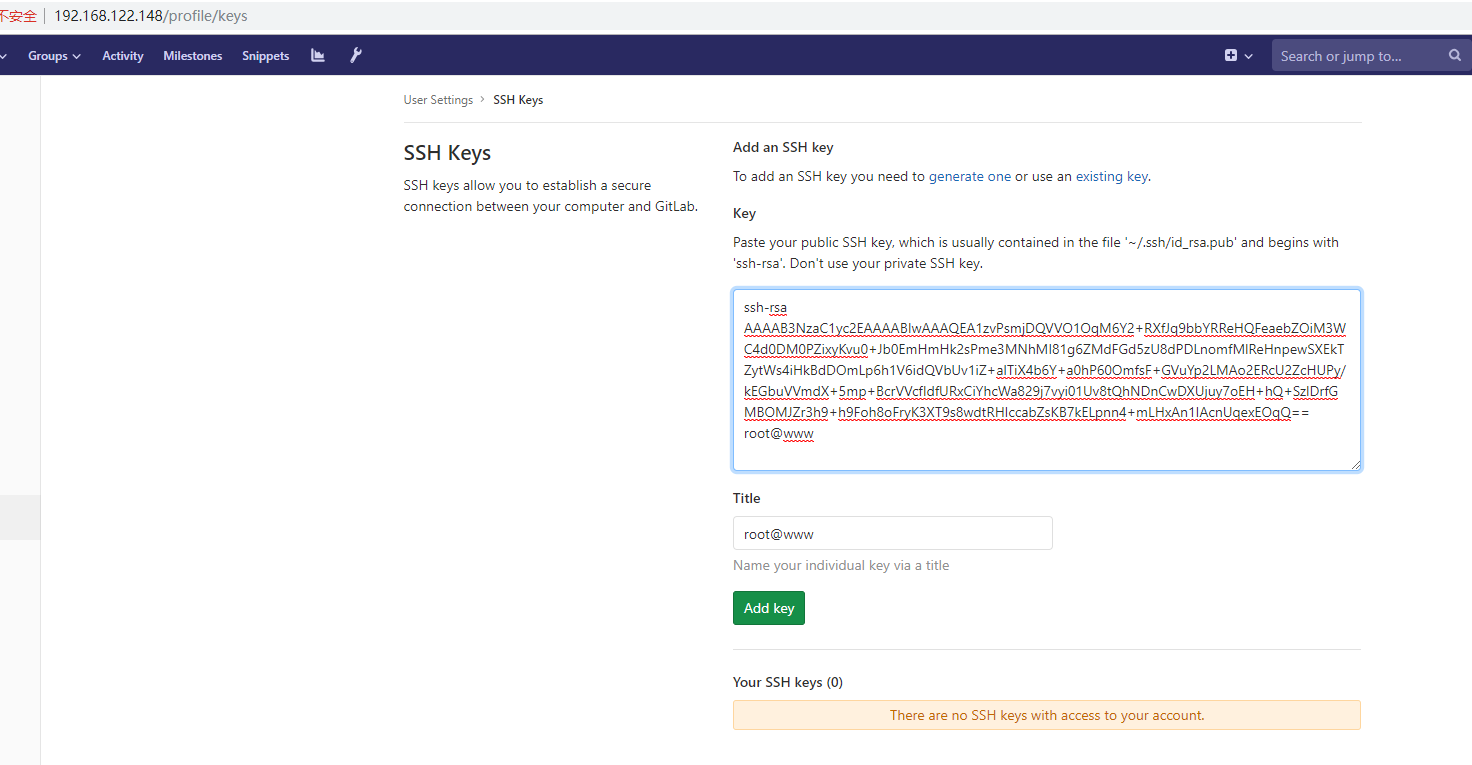
4.添加ssh key導入步驟2中生成的密鑰文件內容:
ssh key添加完成: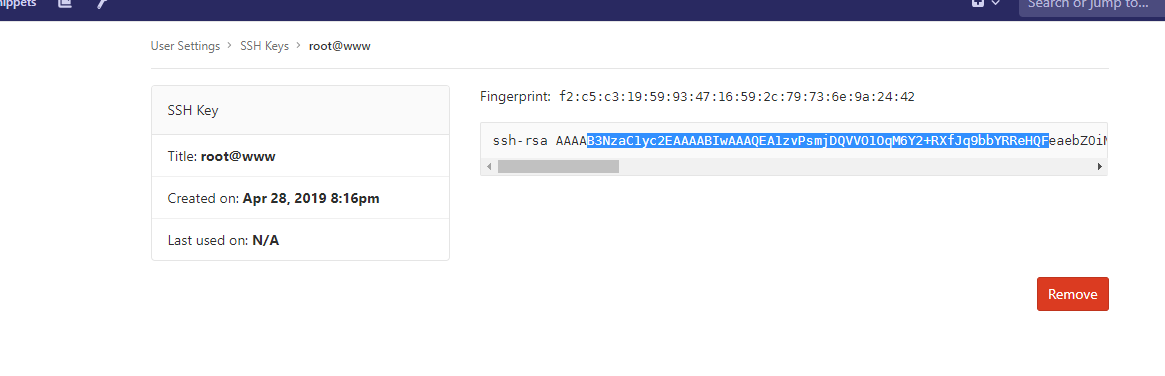
項目地址,該地址在進行clone操作時需要用到: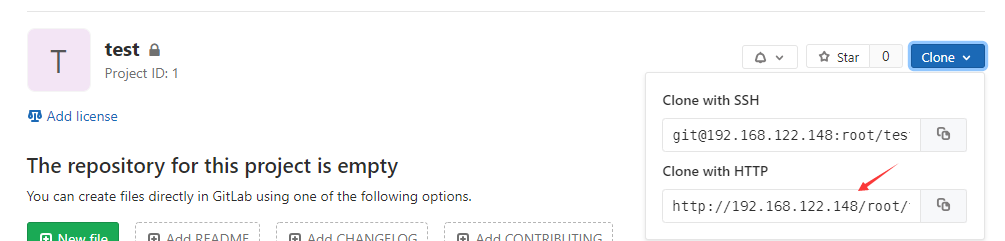
簡單配置
1、配置使用Git倉庫的人員姓名
[root@www ~]# git config --global user.name "運維DBA"
2、配置使用Git倉庫的人員email,填寫自己的公司郵箱或者值班郵箱
[root@www ~]# git config --global user.email "[email protected]"
3、克隆項目,在本地生成同名目錄,並且目錄中會有所有的項目文件
[root@www ~]# git clone http://192.168.122.148/root/test.git
上傳文件
1、進入到項目目錄
cd test/
2、創建需要上傳到GitLab中的目標文件
echo “test” > /root/test.sh
3、將目標文件或者目錄拷貝到項目目錄下
cp /root/test.sh ./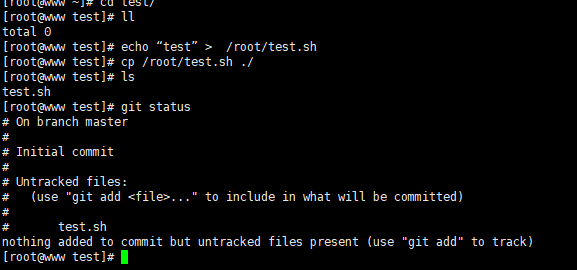
4、將test.sh文件加入到索引中
git add test.sh
5、將test.sh提交到本地倉庫
git commit -m “test.sh”
6、將文件同步到GitLab服務器上
git push -u origin master 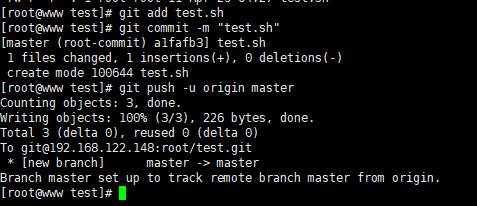
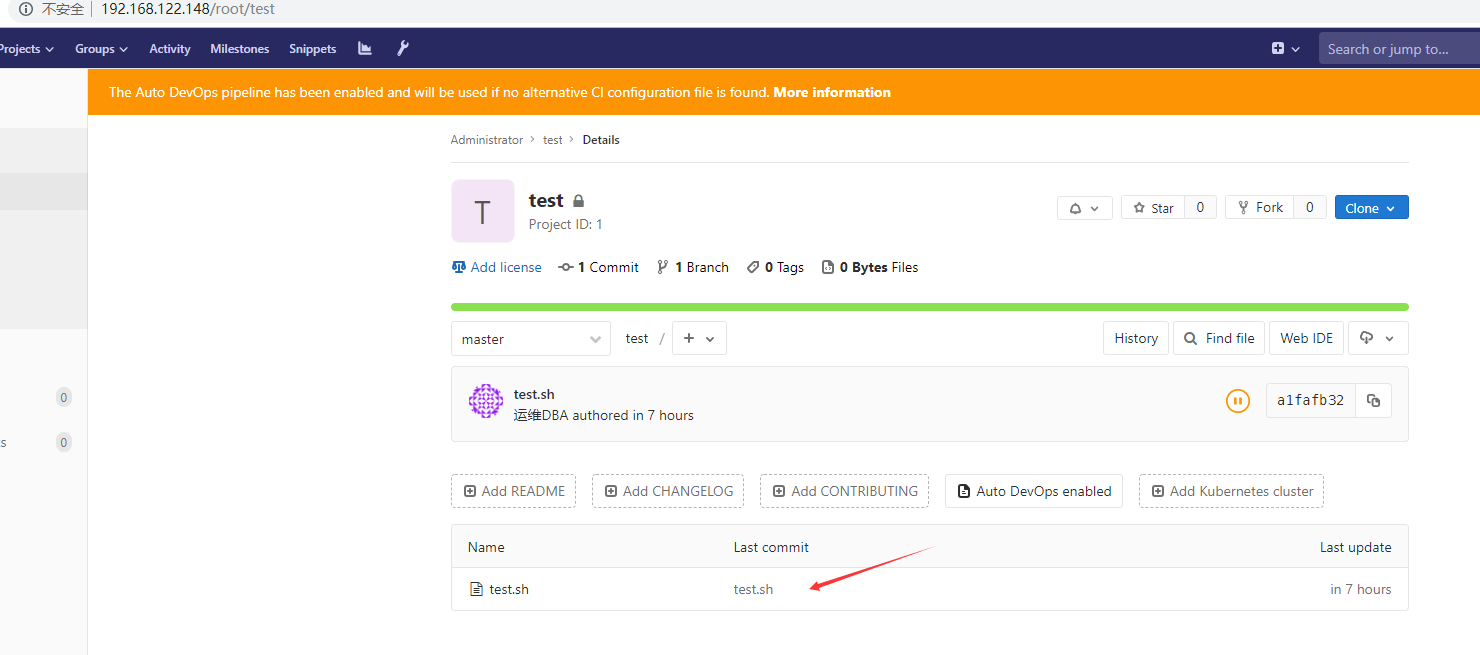
7、在網頁中查看上傳的test.sh文件已經同步到GitLab中