


先前的準備工作:
第一步,準備好數據源.
- #import <UIKit/UIKit.h>
- @interface UITableCellSwapDeleteViewController : UIViewController <UITableViewDelegate>{
- IBOutlet UITableView *testTableView;
- NSMutableArray *dataArray;
- }
- @property (nonatomic, retain) UITableView *testTableView;
- @property (nonatomic, retain) NSMutableArray *dataArray;
- @end
- - (void)viewDidLoad {
- [super viewDidLoad];
- dataArray = [[NSMutableArray alloc] initWithObjects:@"1",@"2",@"3",@"4",@"5",nil];
- }
這裏筆者定義了並實現了一個一維的可變數組.爲什麼要用可變數組呢?因爲我們要刪除裏面的數據呀.
第二步,展示數據.
- - (NSInteger)numberOfSectionsInTableView:(UITableView *)tableView {
- // Return the number of sections.
- return 1;
- }
- - (NSInteger)tableView:(UITableView *)tableView numberOfRowsInSection:(NSInteger)section {
- // Return the number of rows in the section.
- return [dataArray count];
- }
- // Customize the appearance of table view cells.
- - (UITableViewCell *)tableView:(UITableView *)tableView cellForRowAtIndexPath:(NSIndexPath *)indexPath {
- static NSString *CellIdentifier = @"Cell";
- UITableViewCell *cell = [tableView dequeueReusableCellWithIdentifier:CellIdentifier];
- if (cell == nil) {
- cell = [[[UITableViewCell alloc] initWithStyle:UITableViewCellStyleDefault reuseIdentifier:CellIdentifier] autorelease];
- }
- // Configure the cell...
- cell.textLabel.text = [dataArray objectAtIndex:indexPath.row];
- return cell;
- }
通過實現上面三個代理方法向UITableView中添加了數據.
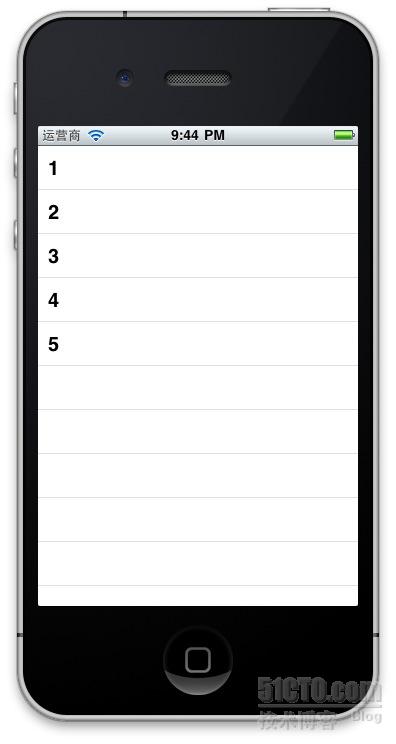
通過上面兩步就實現了數據展示工作,接下就實現關鍵的數據刪除了.
- - (BOOL)tableView:(UITableView *)tableView canEditRowAtIndexPath:(NSIndexPath *)indexPath {
- return YES;
- }
- - (void)tableView:(UITableView *)tableView commitEditingStyle:(UITableViewCellEditingStyle)editingStyle forRowAtIndexPath:(NSIndexPath *)indexPath {
- if (editingStyle == UITableViewCellEditingStyleDelete) {
- [dataArray removeObjectAtIndex:indexPath.row];
- // Delete the row from the data source.
- [testTableView deleteRowsAtIndexPaths:[NSArray arrayWithObject:indexPath] withRowAnimation:UITableViewRowAnimationFade];
- }
- else if (editingStyle == UITableViewCellEditingStyleInsert) {
- // Create a new instance of the appropriate class, insert it into the array, and add a new row to the table view.
- }
- }
啓用上面兩個代理,並增加數據刪除操作:
[dataArray removeObjectAtIndex:indexPath.row];
在一條數據上向右划動一下.
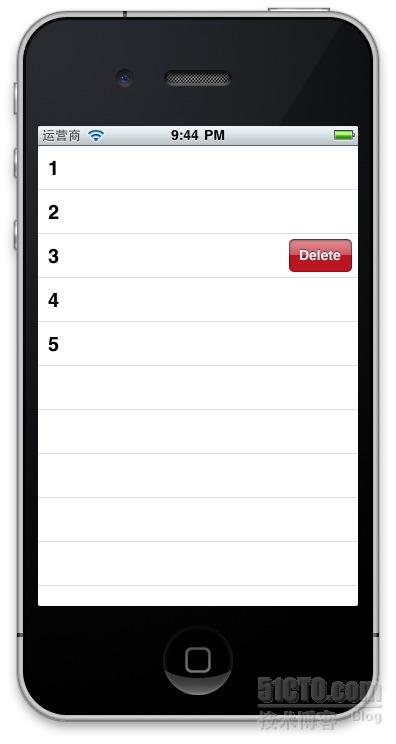
點Delete.

是不是就成功刪除了一條數據呢?
按理說故事講到這裏也就講完了.但是筆者想延伸一下.注意看圖二劃動以後的"Delete",你有沒有想把這個東東改掉的衝動呢?比如改成:下載?其實很簡單,其實下面這個代理方法:
- - (NSString *)tableView:(UITableView *)tableView titleForDeleteConfirmationButtonForRowAtIndexPath:(NSIndexPath *)indexPath{
- return @"下載";
- }
再划動一下,是不是變了呢?

相關文章:

