


實驗環境
環境介紹
操作系統:RHEL 7.2
服務器IP:192.168.1.45
軟件版本:zabbix-3.4.15
軟件存放位置:/opt/soft
軟件安裝位置:/apps/zabbix
數據庫類型:mysql
數據庫IP:192.168.1.45
所需軟件下載地址
鏈接:https://pan.baidu.com/s/1nrDbe02L1ei0HE9gR5fIAw
提取碼:1tu6
意外彩蛋
Zabbix Server是基於LAMP平臺部署的,本實驗讓我們在學會如何部署Zabbix Server的同時,還鞏固了對LAMP架構及原理的理解。
配置YUM源
掛載系統鏡像
[]# mount /dev/cdrom /media/
[]# mkdir /opt/soft
拷貝httpd所需軟件
[]# cp /media/Packages/httpd-2.4.6-40.el7.x86_64.rpm /opt/soft/
[]# cp /media/Packages/httpd-tools-2.4.6-40.el7.x86_64.rpm /opt/soft/
[]# cp /media/Packages/mailcap-2.1.41-2.el7.noarch.rpm /opt/soft/
安裝httpd服務
[]# rpm -ivh httpd-tools-2.4.6-40.el7.x86_64.rpm
[]# rpm -ivh mailcap-2.1.41-2.el7.noarch.rpm
[]# rpm -ivh httpd-2.4.6-40.el7.x86_64.rpm
[]# systemctl enable httpd
[]# systemctl start httpd
拷貝、安裝製作軟件倉庫所需軟件
[]# cp /media/Packages/createrepo-0.9.9-23.el7.noarch.rpm /opt/soft/
[]# cp /media/Packages/python-deltarpm-3.6-3.el7.x86_64.rpm /opt/soft/
[]# cp /media/Packages/deltarpm-3.6-3.el7.x86_64.rpm /opt/soft
[]# rpm -ivh createrepo-0.9.9-23.el7.noarch.rpm
[]# rpm -ivh python-deltarpm-3.6-3.el7.x86_64.rpm
[]# rpm -ivh deltarpm-3.6-3.el7.x86_64.rpm
準備本次實驗的依賴軟件包
1.將myrepo文件夾上傳到服務器的/var/www/html/目錄中
2.拷貝系統鏡像中所有軟件包到/var/www/html/myrepo/中
[]# cp -r /media/Packages /var/www/html/myrepo/
[]# pwd
/var/www/html/myrepo
[]# lsfping-2.4b2-10.el6.x86_64.rpm Packages php-devel-5.4.16-36.el7_1.x86_64.rpm OpenIPMI-devel-2.0.19-11.el7.x86_64.rpm php-bcmath-5.4.16-36.el7_1.x86_64.rpm php-mbstring-5.4.16-36.el7_1.x86_64.rpm
生成本地資源庫
[]# cd /var/www/html/myrepo
[]# createrepo . //注意中間有個空格
配置yum源
[]# vim /etc/yum.repos.d/yum.repo
[zabbix]
name=zabbix
baseurl=http://192.168.1.45/myrepo/
enable=1
gpgcheck=0
安裝web服務
安裝httpd-devel包
[]# yum install httpd-devel
[]# systemctl restart httpd
安裝PHP軟件包
[]# yum install php*
配置PHP
編輯/etc/httpd/conf/httpd.conf,在最下面新加一行添加如下內容:
[]# vim /etc/httpd/conf/httpd.conf
AddHandler application/x-httpd-php .php
[]# systemctl restart httpd
安裝Zabbix Server
創建zabbix用戶
[]# groupadd zabbix
[]# useradd -g zabbix zabbix -s /sbin/nologin
安裝libevent軟件包
拷貝libevent-release-1.4.15-stable.tar.gz到/opt/soft下,並解壓
[]# tar zxvf libevent-release-1.4.15-stable.tar.gz
[]# cd libevent-release-1.4.15-stable/
[]# ./autogen.sh
[]# ./configure --prefix=/usr
[]# make
[]# make install
[]# ln -s /usr/lib/libevent-1.4.so.2 /usr/lib64/libevent-1.4.so.2
安裝zabbix server依賴包
[]# yum -y install unixODBC-devel curl-devel net-snmp-devel OpenIPMI-devel mysql-devel libxml2-devel
編譯安裝zabbix server
[]# cd /opt/soft/zabbix-3.4.15/
[]# tar zxvf zabbix-3.4.15.tar.gz
[]# ./configure --enable-server --enable-agent --with-mysql --with-net-snmp --with-libcurl --with-libxml2 --with-openipmi --with-unixodbc --prefix=/apps/zabbix
[]# make install
配置Zabbix server
修改zabbix配置文件
[]# vim /apps/zabbix/etc/zabbix_server.conf
SourceIP=192.168.1.45           //本機IP
DBHost=192.168.1.45             //數據庫IP
DBName= zabbix                      //數據庫名稱
DBUser= root                              //數據庫用戶名
DBPassword=1qaz3edc         //數據庫用戶密碼
DBPort=3306                             //數據庫端口
StartPollers=50                          //初始化時,啓動子進程數量,數量越多,服務器吞吐能力越強,對系統資源消耗越大。
StartPreprocessors=10
StartTrappers=10                       //用於設置諸如SNMP STRAPPER場景提交的數據的接收進程數,若客戶機SNMP STRAPPER技術較多,建議加大此數據。
StartPingers=5                          //用於設置使用ICMP協議ping主機方式的監控進程數,若單臺代理所監控的機器超過500臺,建議加大此數字。
StartDiscoverers=5              //用於設置自動發現主機的進程數量,若單臺代理所監控的機器超過500臺,建議加大此數字。
CacheSize=128M
TrendCacheSize=32M
ValueCacheSize=32M
拷貝zabbix_server啓動文件
[]# cp /opt/soft/zabbix-3.4.15/misc/init.d/tru64/zabbix_server /etc/init.d/
[]# chmod 775 /etc/init.d/zabbix_server
配置zabbix_server啓動文件
[]# vim /etc/init.d/zabbix_server
#/etc/rc.d/init.d/zabbix_server
# chkconfig: - 95 5
# processname: zabbix_server        //這三行需要添加,注意帶“#”號
DAEMON=/apps/zabbix/sbin/zabbix_server    //這一行需要修改,改成自己的安裝目錄
添加zabbix_server服務,並設置其開機自啓
[]# chkconfig --add zabbix_server
[]# systemctl enable zabbix_server
DB安裝及配置
安裝MySQL數據庫
建議安裝Linux 7.2自帶的mariadb(就是MySQL,改名了)。
[]# yum install mariadb-server mariadb-devel
啓動MySQL數據庫
[]# systemctl enable mariadb
[]# systemctl start mariadb
配置DB
1.創建可以從外部訪問的賬號
mysql默認安裝會創建root用戶,本機登錄的密碼爲空。以root用戶登錄:
[]# mysql
GRANT ALL PRIVILEGES ON *.* to 'root'@'%' IDENTIFIED BY '1qaz3edc';
(.表示所有數據庫的所有表,%表示任意ip,如果限定用戶只能從192.168.1.45以root用戶登錄就是:'root'@'192.168.1.45',’1qaz3edc’爲密碼)
2.創建zabbix數據庫
[]# mysql
create database zabbix character set utf8 collate utf8_bin;
quit;
[]# cd /opt/soft/zabbix-3.4.15/database/mysql/
[]# mysql zabbix < schema.sql
[]# mysql zabbix < images.sql
[]# mysql zabbix < data.sql
通過web配置zabbix
[]# cp -r /opt/soft/zabbix-3.4.15/frontends/php/ /var/www/html/
[]# setfacl -R -m u:zabbix:rwx /var/www/html/php/
[]# vim /etc/php.inipost_max_size = 16M max_execution_time = 300 max_input_time = 300 date.timezone = Asia/Shanghai[]# systemctl restart httpd
[]# systemctl restart zabbix_server
通過瀏覽器訪問http://192.168.1.45/php/setup.php配置數據庫ip及端口號。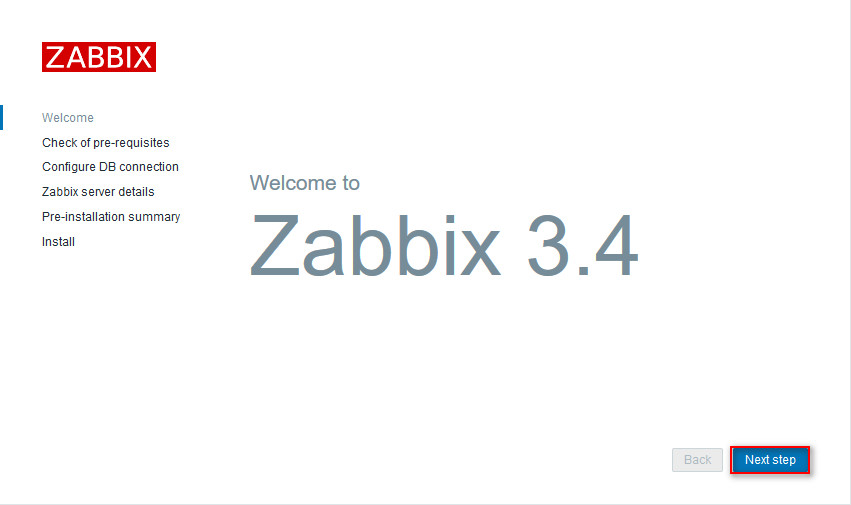
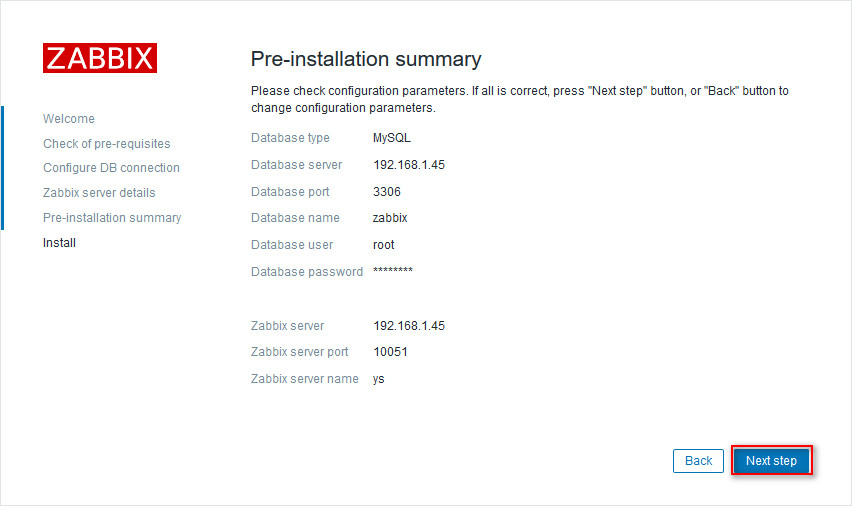
檢查配置是否正確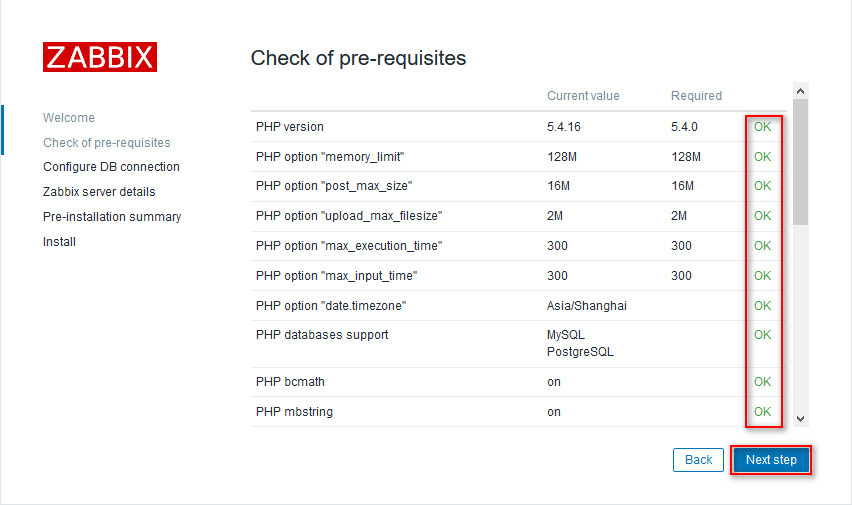
配置數據庫連接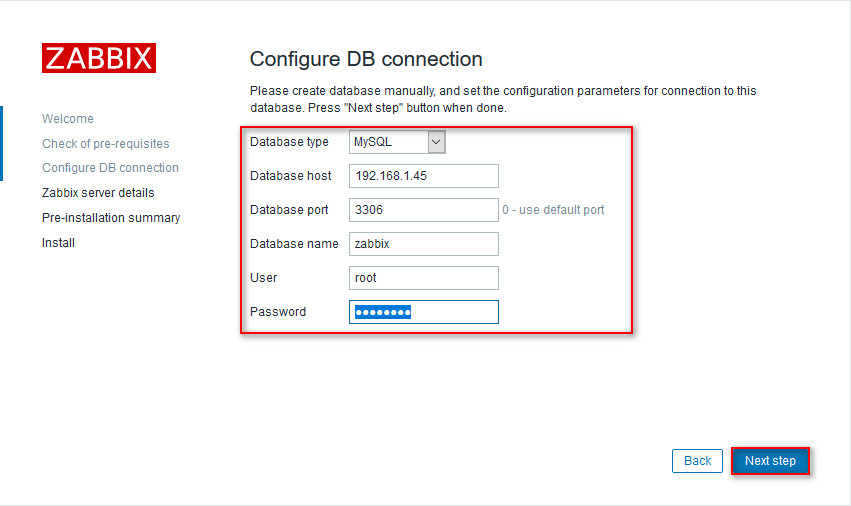
配置zabbix server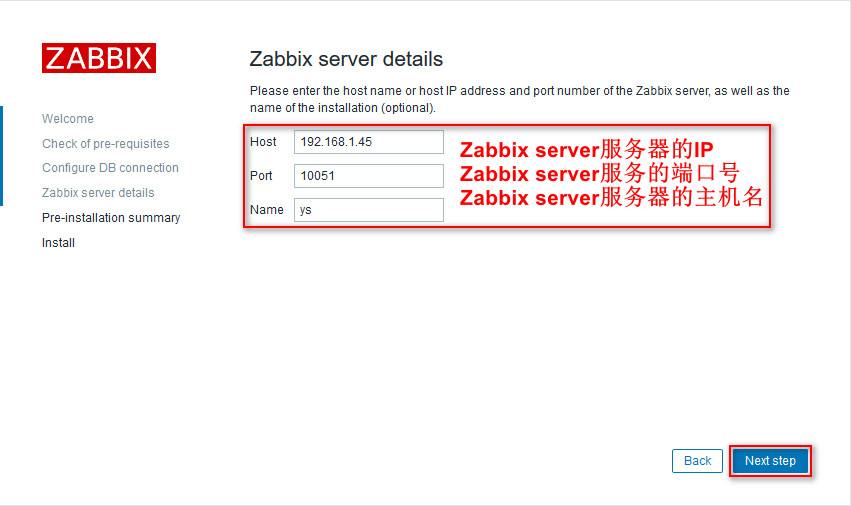
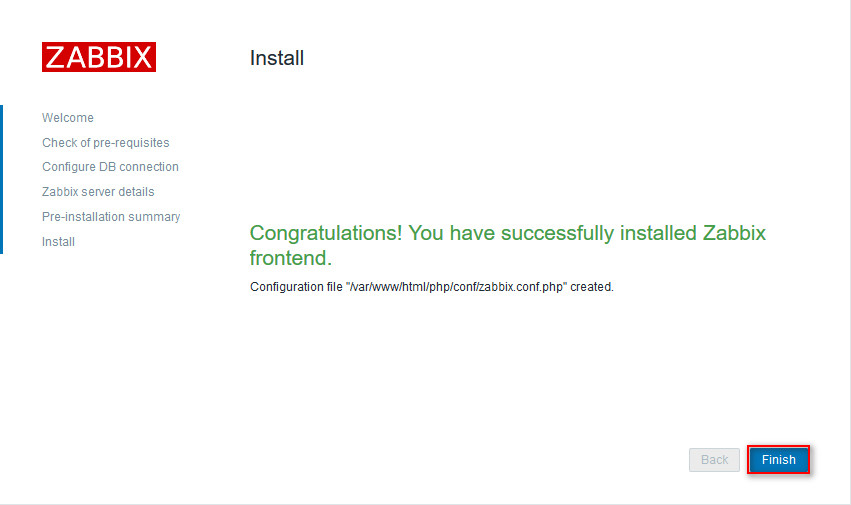
下載配置文件,並保存到服務器的對應目錄中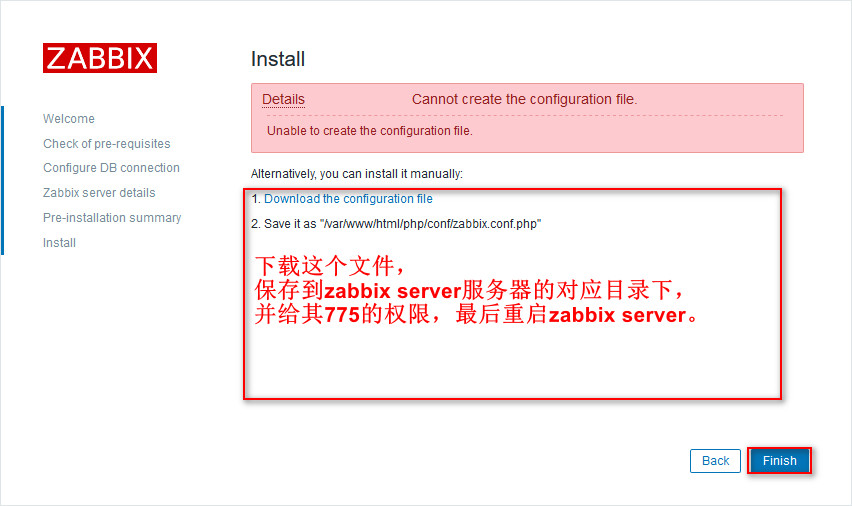
驗證
訪問:http://192.168.1.45/php/index.php
由於還沒有創建zabbix中的用戶,可以先使用gust登陸驗證是否安裝成功。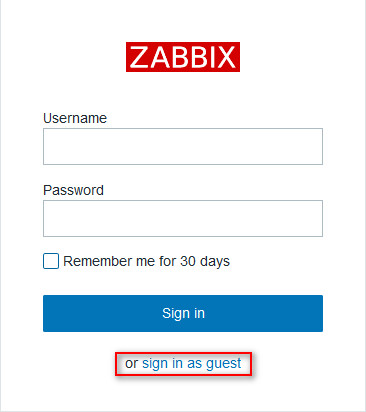
一切正常,沒有報錯,本實驗成果。