


參考官網: https://www.cypress.io/
環境準備
1.工具:vs code;環境:node.js。
按網上教程安裝即可。
2.安裝 cypress
cd /your/project/path
npm install cypress --save-dev
3.安裝插件:
npm install eslint-plugin-cypress --save-dev
npm install --save-dev eslint-plugin-chai-friendly
##4.配置:
在根目錄下創建package.json:
{
  "scripts": {
    "cypress:open": "cypress open"
  },
  "devDependencies": {
    "eslint-plugin-chai-friendly": "^0.4.1",
    "eslint-plugin-cypress": "^2.2.1"
  }
}
在 // my-project/cypress/ 目錄下創建 .eslintrc.json:
{
    "plugins": [
      "cypress",
      "chai-friendly"
    ],
    "rules": {
      "no-unused-expressions": 0,
      "chai-friendly/no-unused-expressions": 2
    },
    "env": {
      "cypress/globals": true
    },

        "extends": [
          "plugin:cypress/recommended"
        ]

  }
5.啓動命令:
npm run cypress:open
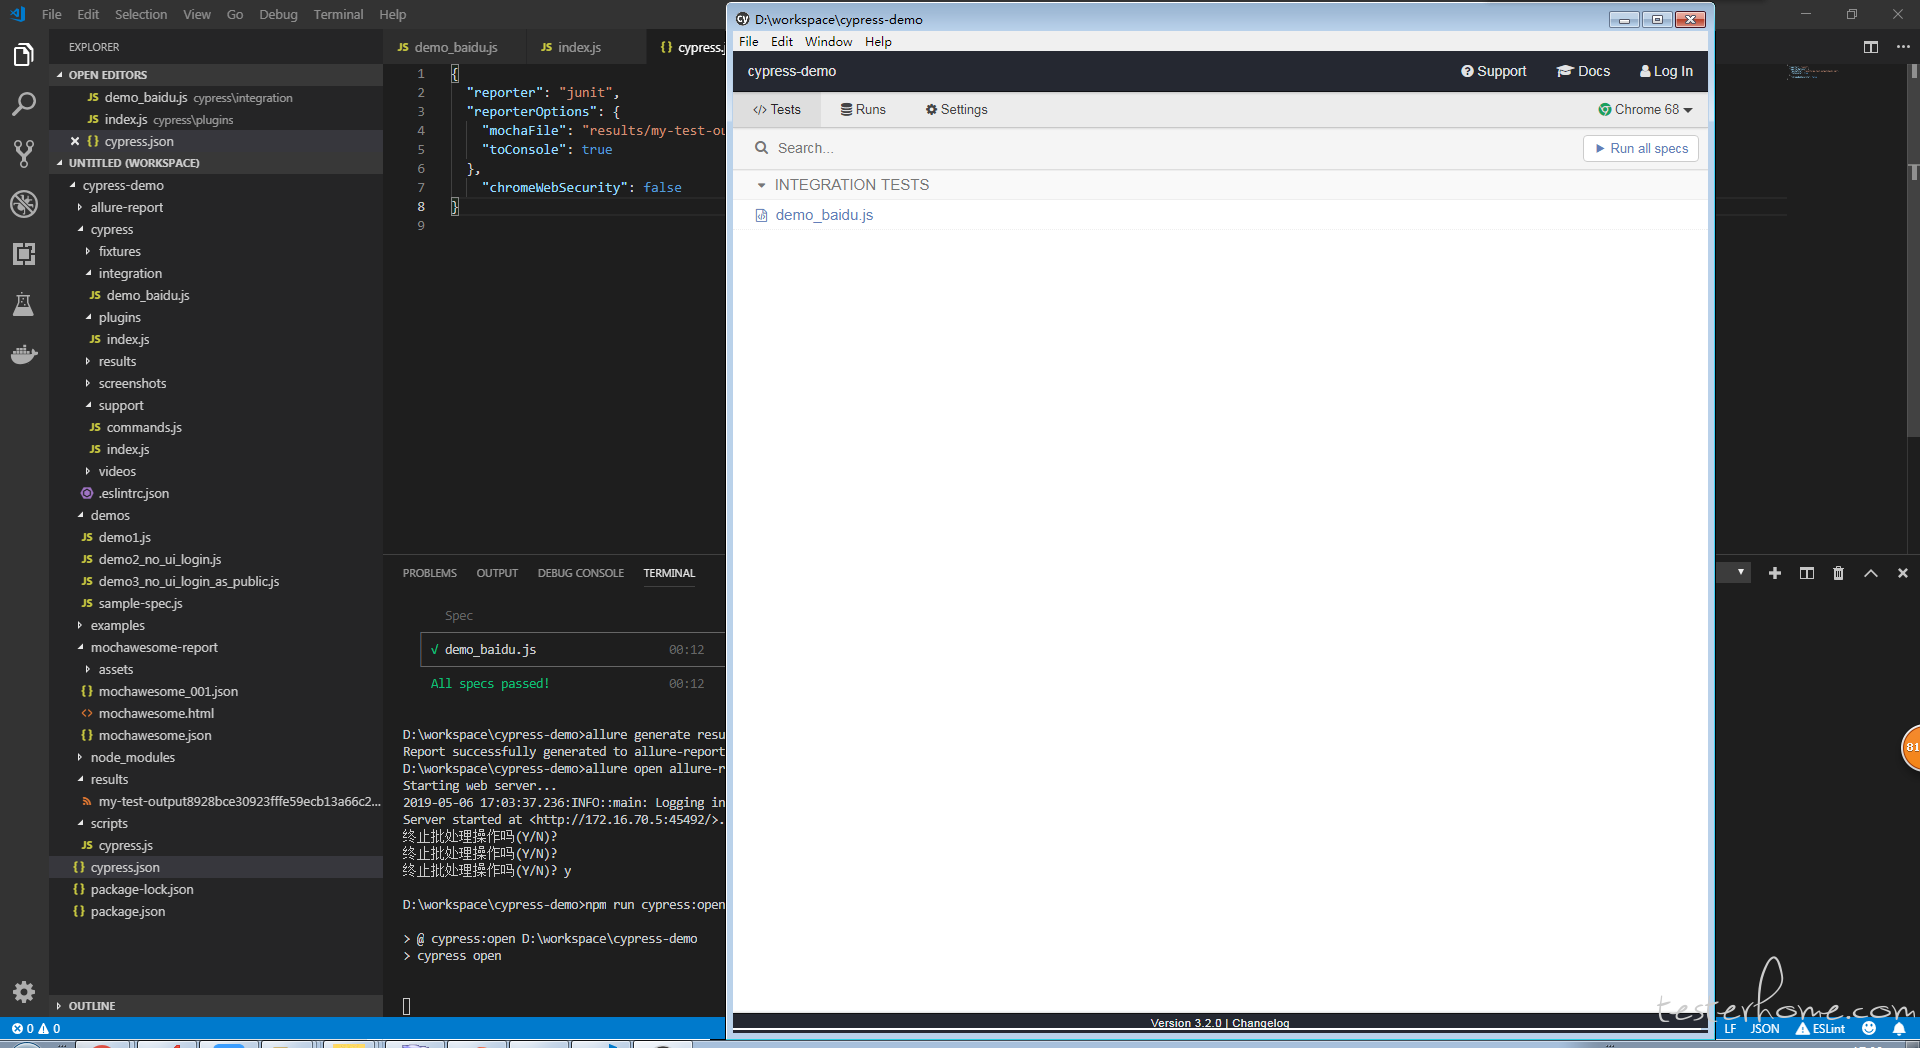
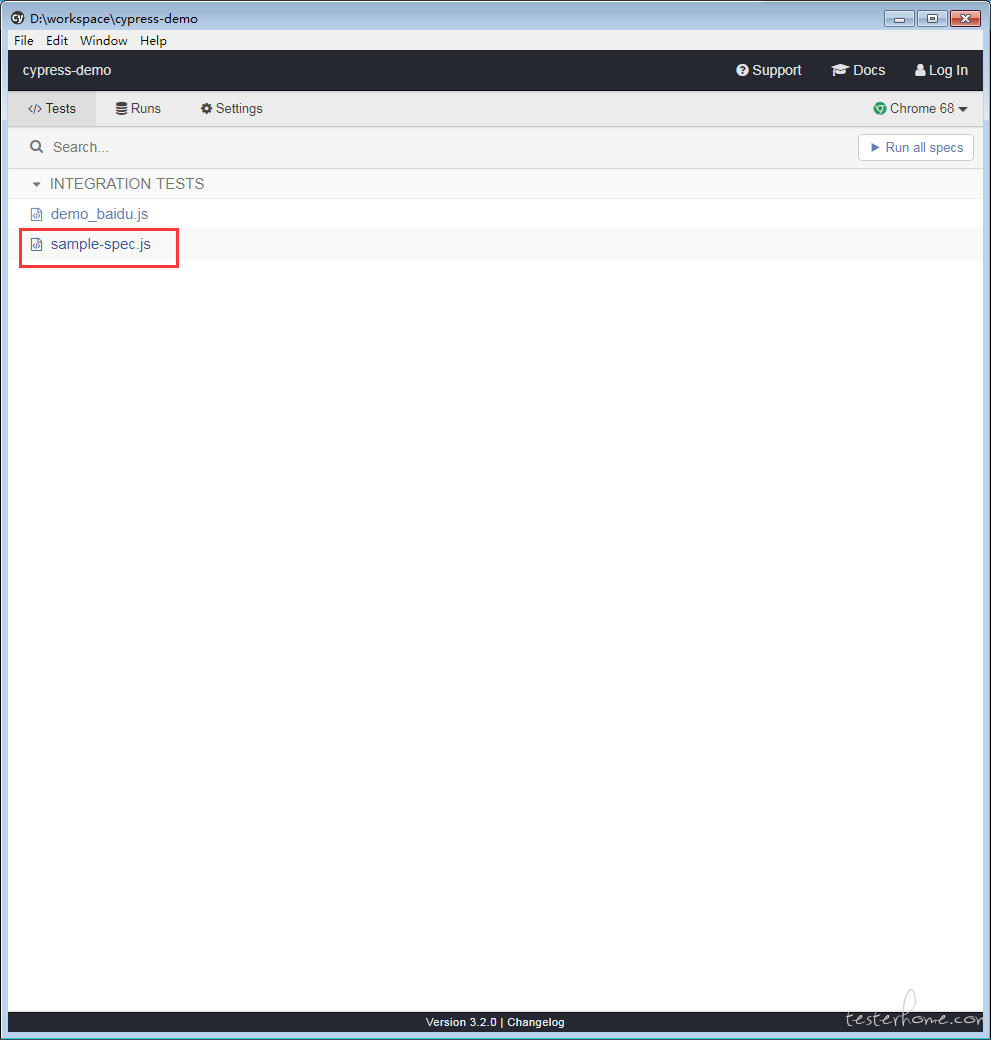
helloworld:
your-project/cypress/intgration 目錄下新建 sample-spec.js
describe('My first test case for cypress',function(){
    it('Does not match!',function(){
        expect(true).to.equal(true)
    })
})
在 cypress 窗口點擊當前用例執行:
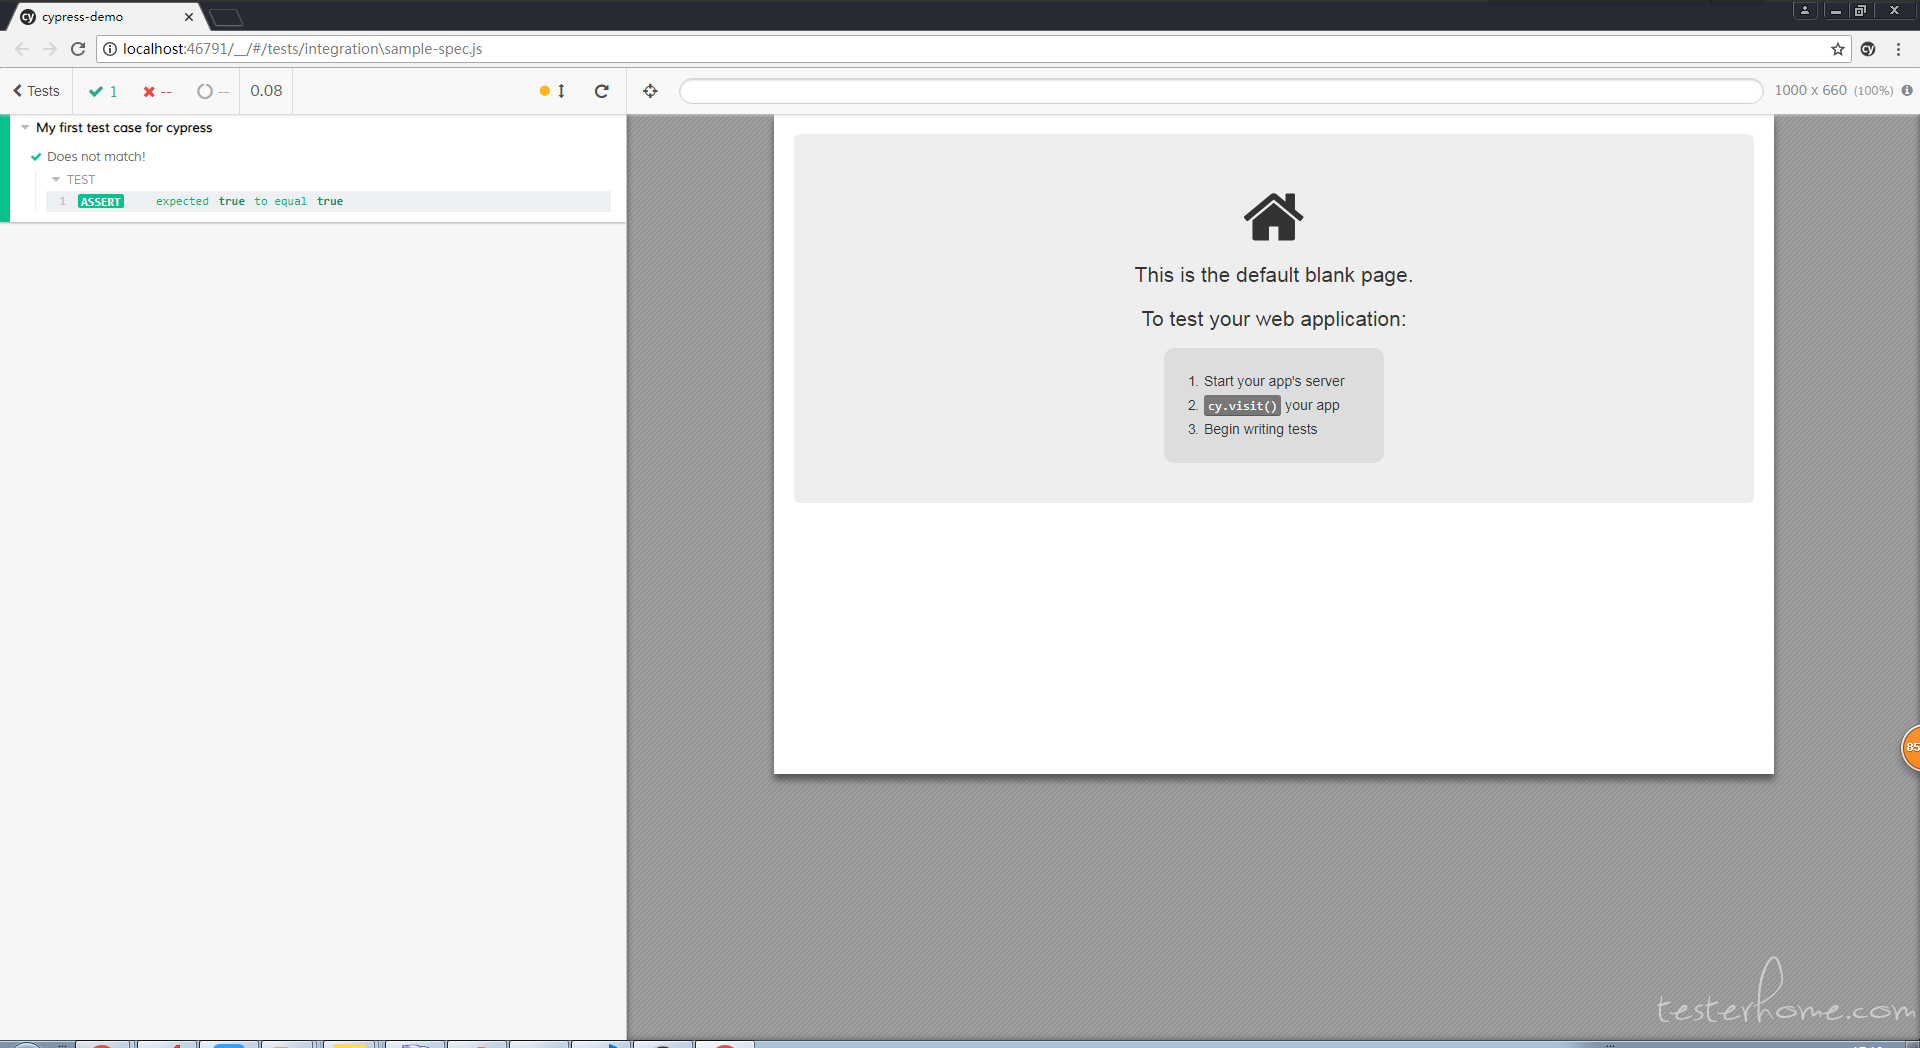
注意在編寫用例時,每次保存會自動觸發測試,對於調試來說是比較方便的。
第一個用例
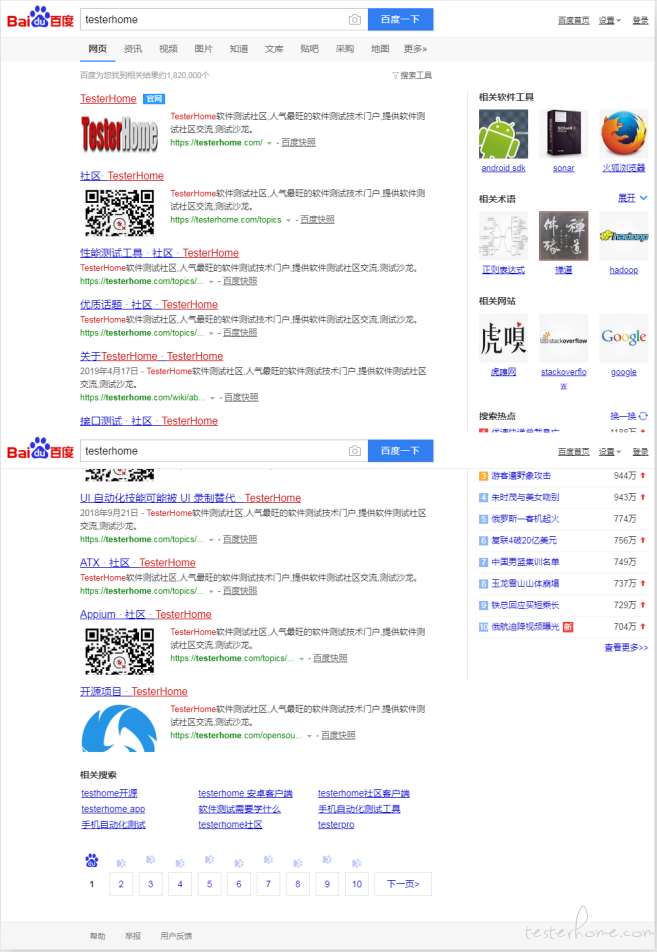
訪問百度首頁並搜索 testerhome:
describe('My first test case for cypress',function(){
    it('visit baidu home page and search for testerhome:',function(){
        cy.visit('http://www.baidu.com') //訪問url
        cy.title().should('contain','百度一下,你就知道')   //驗證頁面 title 是否正確
        cy.get('#kw')      //根據 css 定位搜索輸入框
        .type('testerhome')        //輸入關鍵字
        .should('have.value','testerhome')  //驗證關鍵字自動是否展示正確
        cy.get('#su').click()   //根據 css 定位搜索按鈕並點擊
        cy.url().should('include','wd=testerhome')     //驗證目標url 是否正確包含關鍵字
        cy.title().should('contain','testerhome_百度搜索')  //驗證頁面 title 是否正確
        cy.get('[id="1"]')
        .should('contain','TesterHome')   // 驗證第一個結果中是否包含TesterHome
        cy.screenshot()
    })
})
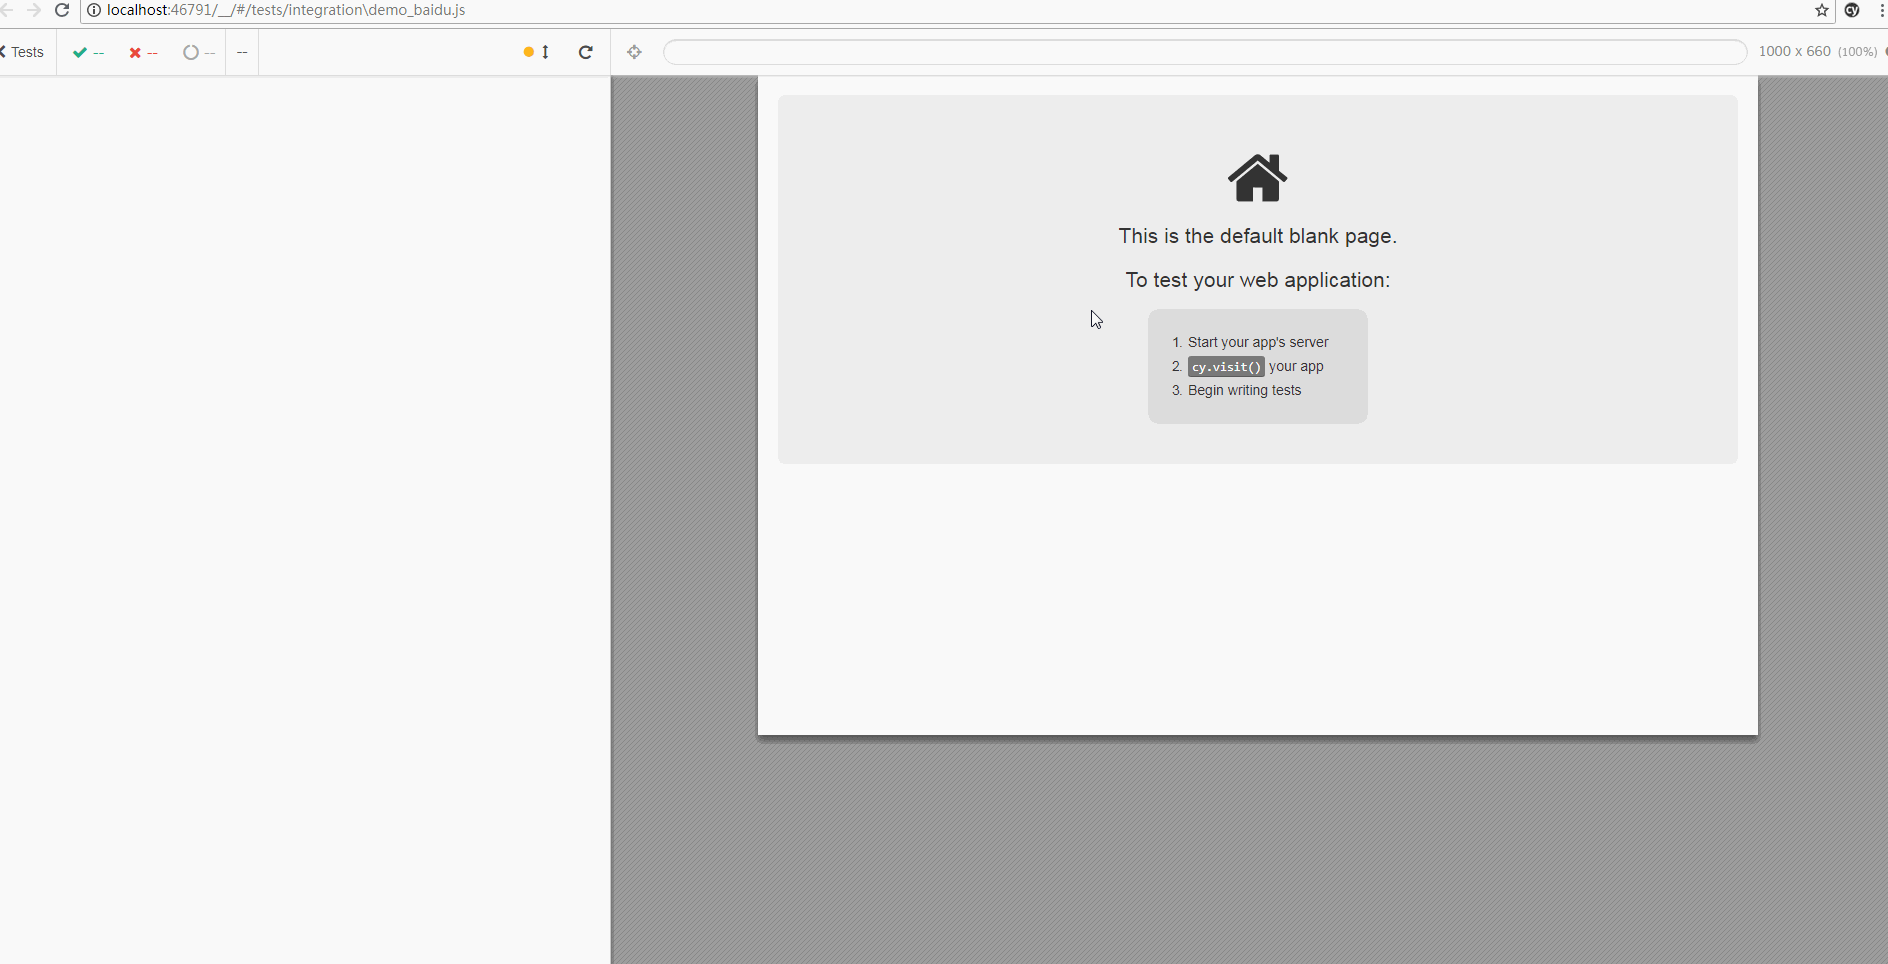
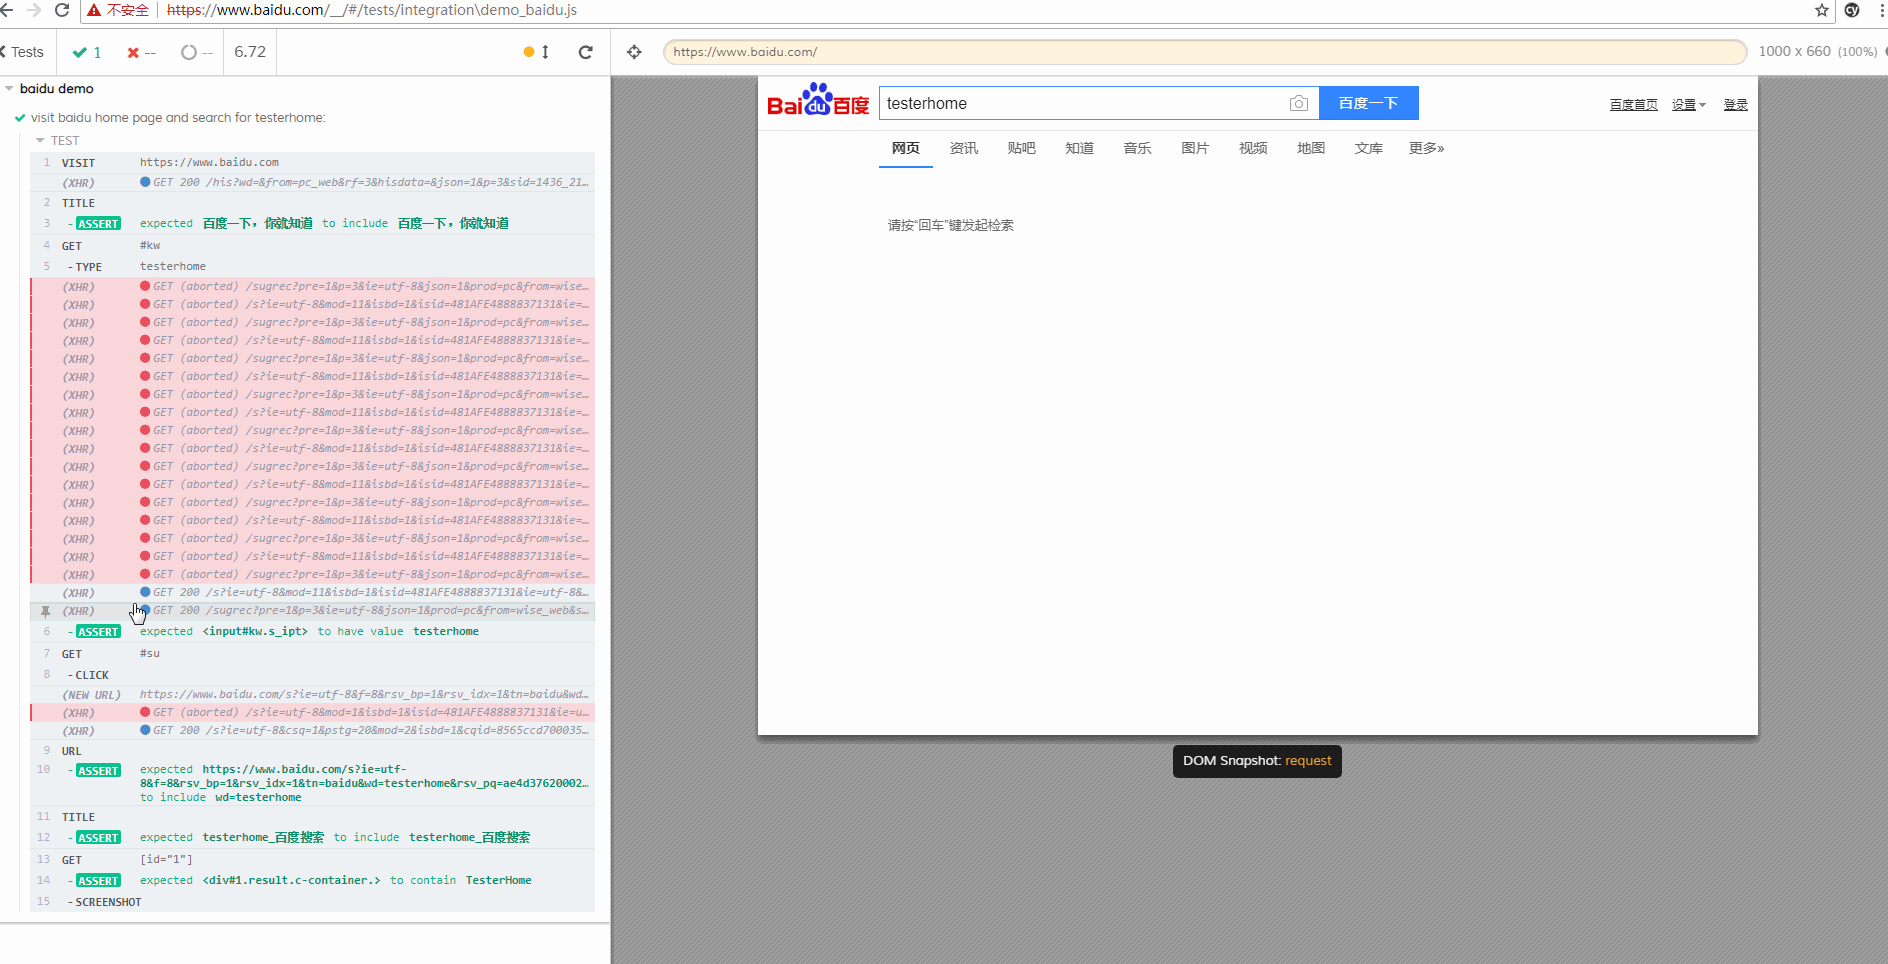
生成的截圖:
這裏有一個比較特別的 snapshot 功能,可以記錄下執行過程中的每一步,並可以查看當時的頁面(真實的網頁,不是圖片)
元素定位方式
- get:按 css 或元素特定屬性的方式定位元素
- contains:按特定字符串定位元素
使用request 請求進行登錄
cypress 推薦在每個用例的登錄步驟,不調用 UI ,直接使用 request 登錄。下面是一個例子:
describe('My first test case for cypress',function(){
    it('login as admin without UI:',function(){
        const accountTypes = {   // 設置賬號類型
            admin:{
                account:'admin',
                password:'123456'
            }
        }

        cy.request({
            url:'http://yourhost/login',
            method:'POST',
            form:true,
            body:accountTypes['admin']      // 使用 admin 賬號登錄(跳過 UI 的登錄)
        })
        cy.visit('/profile')
        cy.url().should('include','profile')     //驗證目標url 是否正確
        cy.get('#headerTitle')
        .should('have.text','個人信息')   // 驗證是否包含標題 個人信息,
    })
})
提取登錄方法爲公共方法
Cypress.Commands.add('login', (userType, options = {}) => {
        const accountTypes = {   // 設置賬號類型
            admin:{
                account:'admin',
                password:'123456'
            }
        }

        cy.request({
            url:'http://yourhost/login',
            method:'POST',
            form:true,
            body:accountTypes[userType]      // 使用 admin 賬號登錄
        })
    })

describe('login with different account',function(){
    beforeEach(function() {
        cy.login('admin')
        cy.visit('/')
    })

    it('進入商品列表頁面',function(){

        cy.contains('商品列表').click()
        cy.get('#headerTitle')
        .should('have.text','商品列表')   // 驗證是否包含標題 商品列表
    })

    it('進入訂單列表頁面',function(){
        cy.contains('訂單列表').click()
        cy.get('#headerTitle')
        .should('have.text','訂單列表')   // 驗證是否包含標題 訂單列表
    })
})
命令行執行所有用例
npm run cypress:run
具體運行參數可以在 package.json 下配置:
"scripts": {
   "cypress:run": "cypress run --browser chrome"
 }
解決chrome 下的跨域問題:
在 cypress.json 中添加:
"chromeWebSecurity": false
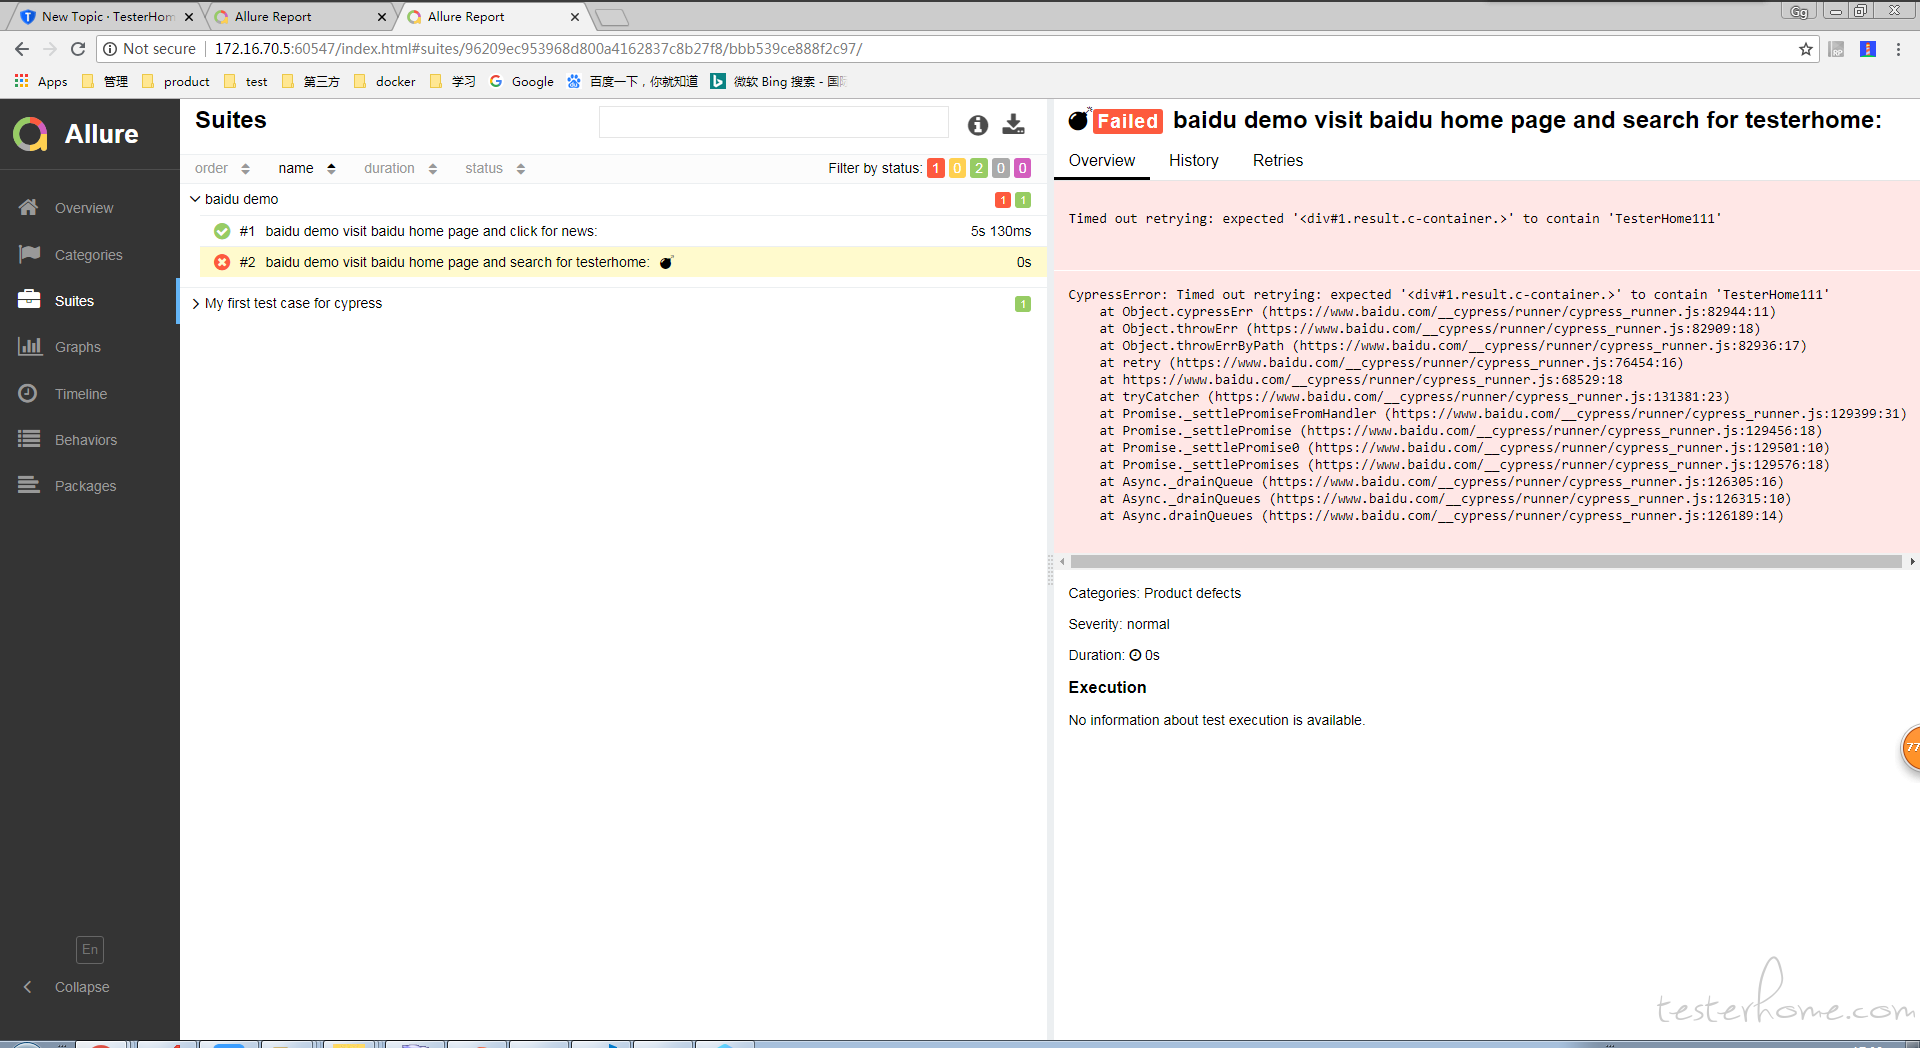
生成Junit-allure報表
在 cypress.json 中添加依賴:
"reporter": "junit",
"reporterOptions": {
  "mochaFile": "results/my-test-output[hash].xml",   // 通過hash 標籤區分不同文件的用例結果
  "toConsole": true
}
執行 cypress run 的時候會自動生成xml文件
使用 allure 生成對應報告:
// 生成allure 報告
allure generate results --clean

// 打開報告
allure open allure-report
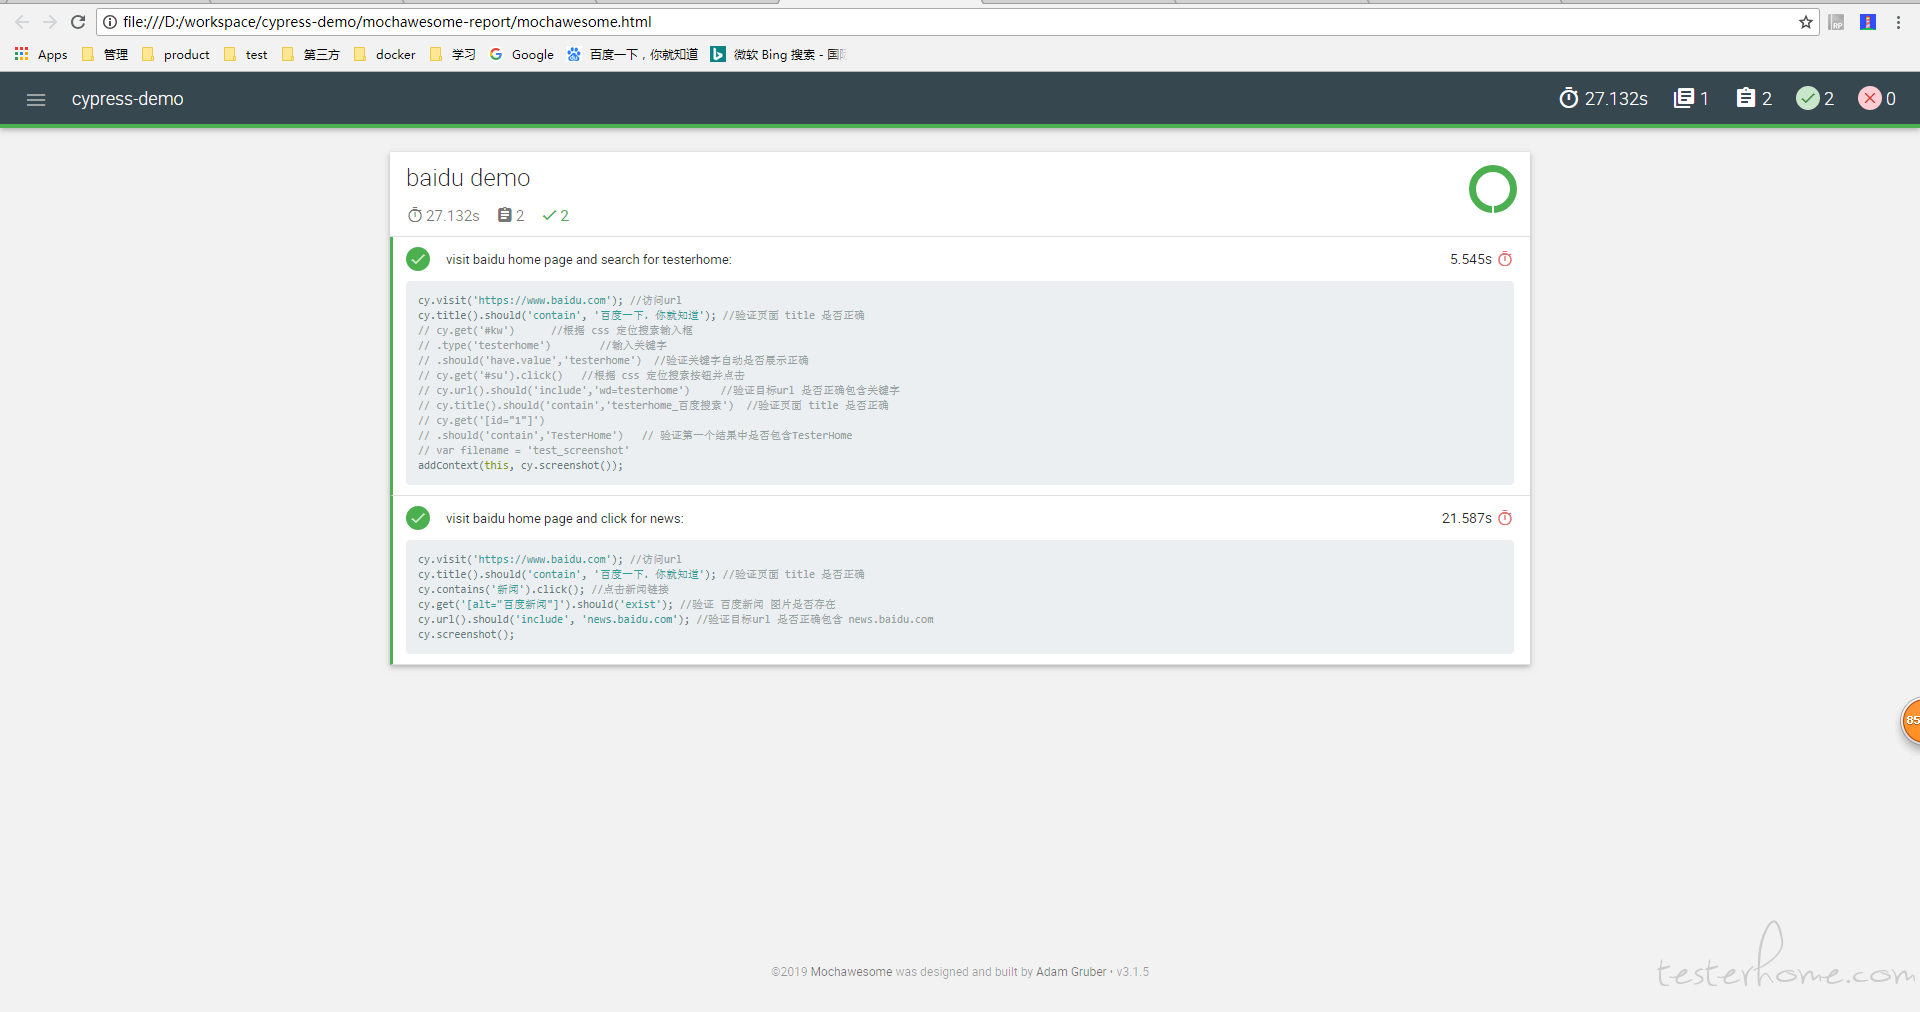
生成 mocha awsome 報告
安裝對應模塊:
注意: mocha 必須指定 5.2.0, 否則會報錯
npm install --save-dev [email protected] mochawesome mochawesome-merge mochawesome-report-generator
配置cypress 對應報告信息 cypress.json:
"reporter": "mochawesome",
"reporterOptions": {
  "overwrite": false,
  "html": false,
  "json": true
},
編寫執行測試和生成報告的腳本:
scripts\cypress.js
const cypress = require('cypress')
const fse = require('fs-extra')
const { merge } = require('mochawesome-merge')
const generator = require('mochawesome-report-generator')

async function runTests() {
  await fse.remove('mochawesome-report')
  const { totalFailed } = await cypress.run()
  const jsonReport = await merge()
  await generator.create(jsonReport)
  process.exit(totalFailed)
}

runTests()
在 package.json 文件添加對應啓動腳本:
"scripts": {
   "cypress:open": "cypress open",
   "cy:run": "node scripts/cypress.js"
 }
啓動執行:
npm run cy:run
查看報告:
mochawesome-report\mochawesome.html
總結
優點:
- 速度感覺上比selenium 要快。
- 內置的request 方法可以直接跳過UI 層的登錄,但要求是你能調用對應的登錄接口。
- 某些步驟運行失敗時自動重試。這樣可以提高運行的穩定性。
- 運行失敗時自動截圖。
待研究:
- 可以使用allure 或 mochawesome 生成報告, 但如何在報告裏附上截圖? 暫時沒找到好的方法解決。
- 與jenkins 的集成: 嘗試使用docker 來執行用例並生成報告,但目前卡在無法獲取到docker中任務完成的退出節點。
- 用例能否併發運行?

