實驗環境:
物理主機 redhat7.0 內核版本 3.10.0-123.el7.x86_64
虛擬機 redhat6.5 內核版本 2.6.32-431.el6.x86_64
server10.example.com 172.25.254.10
所需軟件包: cacti-0.8.8h.tar.gz
cacti-spine-0.8.8h.tar.gz
php-snmp-5.3.3-26.el6.x86_64.rpm
monitor-v1.3-1.tgz
1.Cacti 簡介
cacti 是用 php 語言實現的一個軟件,它的主要功能是用 snmp 服務獲取數據, snmp 需要的變量數據是通過讀取 mysql 數據庫得到,然後用 rrdtool 儲存和更新數據,當用戶需要查看數據的時候用 rrdtool 生成圖表呈現給用戶。
rrdtool 對數據的更新和存儲就是對 rrd 文件的處理,rrd 文件是大小固定的檔案文件,它能夠存儲的數據筆數在創建時就已經定義。
1. Snmp 用來收集數據;
2. Rrdtool 用來存儲數據和生成圖表;
3. Mysql 用來配合 PHP 程序存儲一些變量數據並對變量數據進行調用。
2.cacti基本配置
(1)[root@server10 mnt]# yum install httpd -y
[root@server10 mnt]# tar -zxf cacti-0.8.8h.tar.gz
[root@server10 mnt]# mv cacti-0.8.8h /var/www/html/cacti
(2)[root@server10 mnt]# yum install php php-mysql mysql-server -y
##簡單的lnmp架構
[root@server10 mnt]# yum install rrdtool -y
(3)[root@server10 mnt]# yum install php-snmp-5.3.3-26.el6.x86_64.rpm -y
##php-snmp的版本要和php的版本相同
(4)配置數據庫
[root@server10 mnt]# /etc/init.d/mysqld start ##打開數據庫
[root@server10 mnt]# mysql_secure_installation ##數據庫安全初始化,給一個root密碼,接下來都是y
[root@server10 mnt]# mysql -uroot -p ##查看數據庫是否初始化正確,我給的root密碼是westos
[root@server10 mnt]# mysql -uroot -p
Enter password:
Welcome to the MySQL monitor. Commands end with ; or \g.
Your MySQL connection id is 11
Server version: 5.1.71 Source distribution
Copyright (c) 2000, 2013, Oracle and/or its affiliates. All rights reserved.
Oracle is a registered trademark of Oracle Corporation and/or its
affiliates. Other names may be trademarks of their respective
owners.
Type 'help;' or '\h' for help. Type '\c' to clear the current input statement.
mysql> SHOW DATABASES;
+--------------------+
| Database |
+--------------------+
| information_schema |
| mysql |
+--------------------+
2 rows in set (0.00 sec)
mysql>
cd /var/www/html/cacti
<1> mysqladmin -pwestos create cacti ##創建cacti數據庫用戶
<2> mysql -pwestos cacti < cacti.sql ##將cacti.sql表導入cacti數據庫
<3> mysql -predhat -e "grant all on cacti.* to cacti@localhost identified by 'redhat';" ##將cacti數據庫的所有內容的權限賦給本地用戶cacti
<4> mysql -ucacti -predhat ##進入cacti數據庫查看一下
《1》show databses;
《2》use cacti;
《3》show tatbls;
(5)配置cacti的apache訪問頁
cd /var/www/html/cacti/include/
<1>vim config.php
29 $database_username = "cacti";
30 $database_password = "redhat";
39 $url_path = "/cacti/";
42 $cacti_session_name = "Cacti";
<2>/etc/init.d/httpd restart ##重啓apache
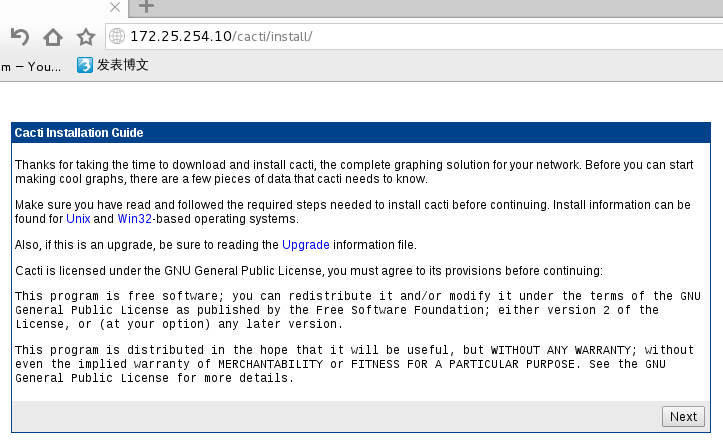
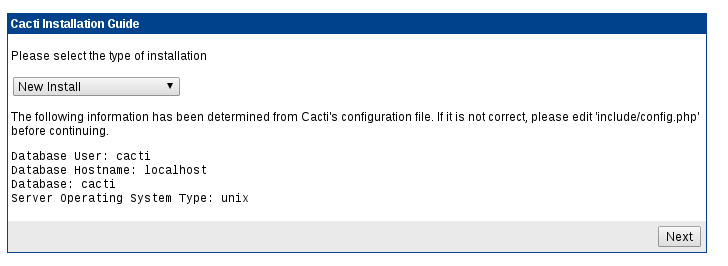
<3>瀏覽器訪問http://172.25.254.10/cacti/ ##注意虛擬機和物理機的時間要同步
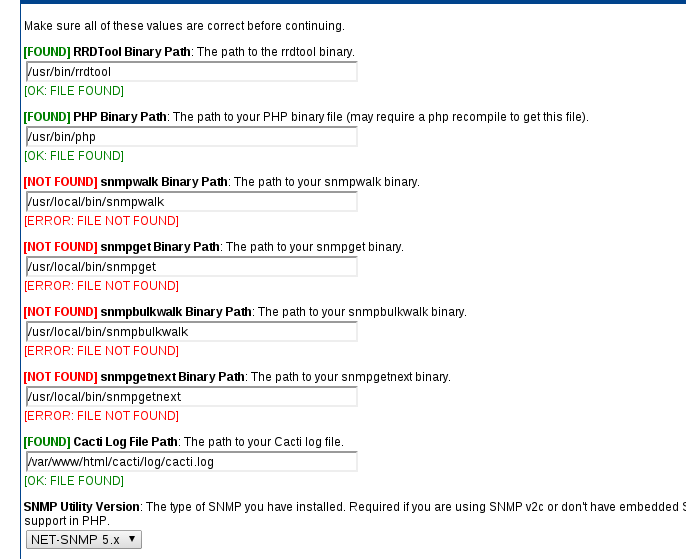
(6)瀏覽器訪問時有紅色警告出現,那是因爲cacti服從snmp協議,虛擬機上當然要有這個協議支持咯!
(7)yum install net-snmp-utils -y ##安裝snmp協議
useradd -u 1000 -M -d /var/www/html/cacti cacti ##/var/www/html/cacti裏的文件的所屬用戶和用戶組都是id(1000),這是因爲用戶不存在,我們需要建立一個id=1000用戶,安全第一
su - cacti
<1>crontab -e ##編輯定時任務
*/5 * * * * php /var/www/html/cacti/poller.php > /dev/null 2>&1
<2>crontab -l ##查看定時任務
瀏覽器刷新查看
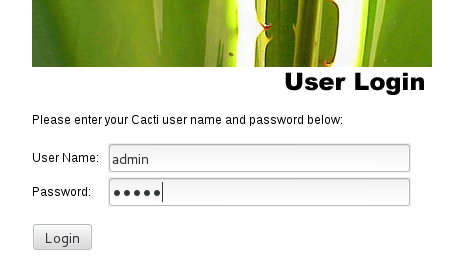
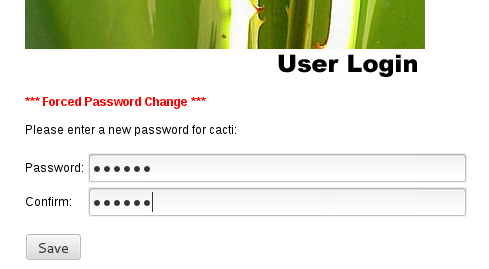
(8)網頁登陸,密碼爲admin,然後改密碼
基本的安裝就完成了,現在正在監控虛擬機主機。

